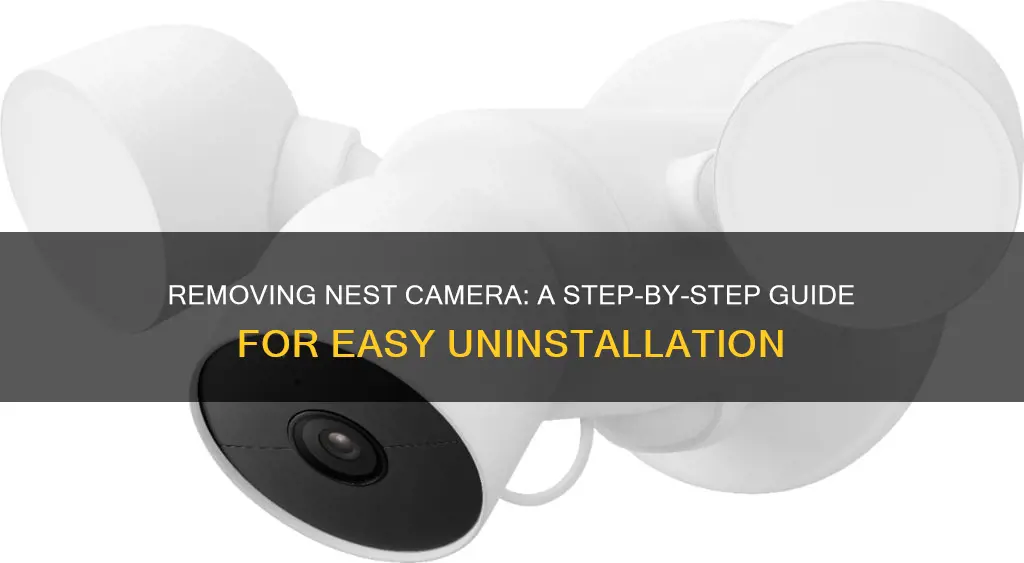
Removing a Nest camera from its wall mount is a simple process, but it's important to follow the correct steps to avoid damaging the device and to ensure security during the removal process. This is especially important if you have a wired Nest camera, as you will need to disconnect the wiring safely by turning off the power at the circuit breaker. For battery-powered Nest cameras, simply ensure the device is powered off before beginning. Once this is done, you can proceed to remove the camera by twisting it counter-clockwise and gently pulling it away from the wall mount.
| Characteristics | Values |
|---|---|
| Camera type | Nest Cam (wired, indoor, 2nd gen) |
| Removing from wall plate | Grip the base of the camera (not the camera head) and turn it counter-clockwise until it clicks and detaches |
| Removing secure loop | Open the loop by pulling down on its tab until it slips off the wall mount |
| Removing from wall mount | Grip the base of the camera and pull it away from the plate |
| Removing from stand | Grip the base of the camera stand and pull the camera away from the base |
| Nest Cam Indoor | Attaches to a metal wall plate with a magnet. To remove, pull the camera away from the plate |
| Nest Cam IQ Indoor | Twist the camera until the screws become loose. If on a flat surface, no action is needed |
| Nest Cam Outdoor | Attaches to a metal plate with a magnet. To detach, pull the camera away from the plate |
| Nest Cam IQ Outdoor | Uses a lock to attach to the wall. Use the included hex key to detach the camera from the base |
| Nest Doorbell (wired, 2nd gen) | Use the included hex key. Insert at the top of the doorbell and turn counter-clockwise to loosen the screw, then pull the doorbell up and away from the wall |
| Nest Doorbell (battery) | Use the release tool included in the box or a flathead screwdriver. Insert into the hole at the top of the doorbell and press down to release, then pull the doorbell away from the wall |
| Nest Doorbell (wired) | Use the included release tool, a paperclip or thumbtack. Insert into the hole at the bottom of the doorbell and press upward until it snaps off the base, then pull it away from the wall |
What You'll Learn

How to remove a Nest Cam Indoor from a wall mount
To remove a Nest Cam Indoor from its wall mount, you must first determine how the camera is attached to the wall. If your Nest Cam Indoor is attached to a wall mount, you will need to detach the camera by twisting it counter-clockwise until it releases. If your Nest Cam IQ Indoor is attached to a wall mount, gently twist it until the screws become loose. Once the screws are loose, you can remove them and take the camera off the wall.
If your Nest Cam Indoor is mounted on a metal wall plate with a magnet, simply grip the camera and pull it away from the metal plate. The magnet is strong, so you will need to use a firm grip. The same process applies to the Nest Cam Outdoor, which also uses a magnet to attach to a metal plate.
It is important to note that if your Nest Cam IQ Indoor is resting on a flat surface, there is no need to remove it as the camera stand and base cannot be detached from the camera head.
Additionally, before removing your Nest Cam, consider the security implications of temporarily leaving your home vulnerable. Ensure you have alternative security measures in place, such as additional cameras or alarms. Also, review your Nest Cam's warranty and return policy, as removing the device incorrectly may void your warranty. If you are uncomfortable with the removal process, consider seeking professional assistance.
Removing Your Reverse Camera: A Step-by-Step Guide
You may want to see also

Removing a Nest Cam IQ Indoor from a wall mount
To remove a Nest Cam IQ Indoor from a wall mount, you will need to first rotate the camera's base until it unscrews from the mount. Then, you can remove the screws holding the mount in place on the wall or ceiling.
If you are removing the camera from the wall mount, grip the base of the camera and pull it away from the metal plate. The wall mount uses a strong magnet, so be sure to grip the base firmly.
If you are removing the camera from the stand, grip the base of the camera stand and pull the camera away from the base.
If you are removing the camera from a magnetic stand, grip the metal ring at the top of the stand and turn to unscrew the ring.
If you are removing the Nest Cam IQ Indoor from a tripod, grip the camera's base and pull it away from the tripod.
If you are removing the Nest Cam IQ Outdoor, you will need to use the included hex key to detach your camera from the base. Insert the hex key into the hole on the camera's base and turn it counterclockwise. If you do not have the hex key, you can purchase a 2.5mm (3/32") hex key from your local hardware store.
Rear Camera's Superpower: Seeing Through Trailers
You may want to see also

Detaching a Nest Cam Outdoor from a wall mount
To detach a Nest Cam Outdoor from its wall mount, you must first determine how the camera is attached to the wall. The Nest Cam Outdoor typically attaches to a metal plate using a strong magnet.
If your camera is magnetically attached, simply grip the camera and pull it away from the plate. This should require a firm pull, but it should not require excessive force. Be sure to grip the base of the camera and not the camera head to avoid accidentally damaging the device.
If your Nest Cam Outdoor is attached to a wall mount with screws, you will need to loosen these before you can remove the camera. You can do this by twisting the camera counter-clockwise until the screws become loose. If your camera is attached to a wall mount with screws and will not twist, you may need to use a hex key to detach it. Insert the hex key into the hole on the camera's base and turn it counter-clockwise to detach the camera from the wall.
Once you have successfully detached your Nest Cam Outdoor from its wall mount, you can proceed to remove the wall mount itself. To do this, simply unscrew the mount from the wall. If you are reusing the camera, be sure to store it safely and handle it with care to avoid damage.
Why Smartwatches Lack Cameras: A Privacy-First Approach
You may want to see also

Unsnapping a Nest Hello from a wall mount
Unsure how to remove your Nest Hello from its wall mount? The process is relatively straightforward, but doing it the right way ensures your video doorbell remains unscathed. Before you begin, make sure you have alternative security measures in place, such as additional cameras or alarms, as removing your doorbell temporarily leaves your home vulnerable.
Now, if you have the Nest Hello, start by locating the hole at the bottom of the device, behind the speaker holes. Insert the removal tool into this hole and press down until it is fully inserted. Then, pull out the tool, and the Nest Hello should come right off. If you've misplaced the removal tool, you can use the same tool used to remove SIM cards from phones.
If you have the Nest Cam Indoor, the process is even simpler. The camera is attached to a metal wall plate with a magnet. To remove it, simply grip the camera and pull it away from the plate.
For the Nest Cam IQ Indoor, check if it is attached to a wall mount or resting on a flat surface. If it's on a wall mount, gently twist the device until the screws become loose. If it's on a flat surface, there's no need to do anything as the camera stand and base cannot be separated.
Finally, for the Nest Cam Outdoor, grip the camera and pull it away from the metal plate, as it is attached with a magnet, similar to the Nest Cam Indoor.
Apple Watch Ultra: Camera Expectations and Realities
You may want to see also

Removing a Nest Doorbell (Wired, 2nd Gen) from a wall mount
To remove a Nest Doorbell (Wired, 2nd Gen) from a wall mount, you will need the hex key that came with your doorbell. You will also need a Phillips screwdriver.
- Turn off the power for your doorbell at your home's breaker box. Check that the light is off and that the doorbell doesn't ring when you press the chime button. You may need to turn off the central power for your home to ensure the power is off.
- Insert the hex key into the screw at the top of the doorbell and turn it counterclockwise to loosen the screw.
- Pull the doorbell up and away from the wall.
- Use a screwdriver to loosen the screws on the back of the Nest doorbell and detach the doorbell wires. If a Nest wire extender was used, detach it from the system wires, too. To do this, pinch each terminal to open it up, then pull the wire out.
- Now that the doorbell has been removed, use a screwdriver to remove the screws and detach the wall plate.
If you are uninstalling the Nest Doorbell (Wired, 2nd Gen) because you plan to install a new doorbell, you will also need to uninstall the chime connector. To do this, go to your chime box and remove its cover. Disconnect each chime wire from the connector wire, then reattach the chime wires to their terminals in the chime. You will need to use a photo of your chime's wiring to know which wire to connect to each terminal. Once all the wires are reconnected, remove the chime connector and put the chime cover back on.
Understanding the Lens of Public Perception
You may want to see also
Frequently asked questions
The Nest Cam Indoor and Outdoor are attached to a metal wall plate with a magnet. To remove the camera, simply grip the base of the camera and pull it away from the plate.
If your Nest camera is stuck, try twisting it counter-clockwise to release it.
If your Nest Cam IQ Indoor is attached to a wall mount, gently twist it until the screws become loose. Then, remove the screws that hold the mount in place on your wall or ceiling.
To remove your Nest camera from a stand, grip the base of the camera stand and pull the camera away from the base.
To remove your Nest camera from a magnetic stand, grip the metal ring at the top of the stand and turn to unscrew the ring.


