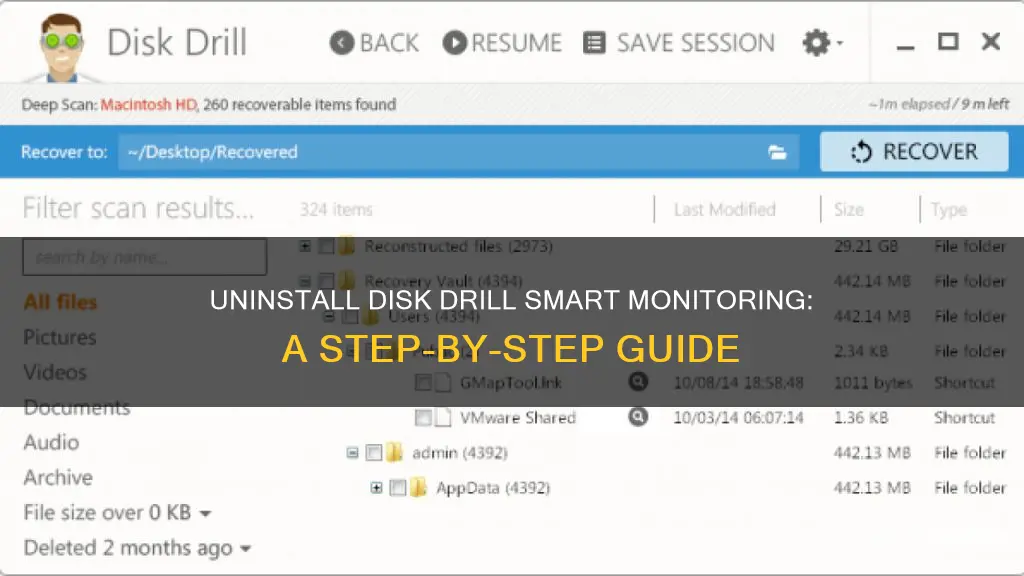
Disk Drill is a third-party application that provides additional functionality to the OS X system and is quite popular among Mac users. The application, when installed, creates files in several locations and its preference and application support files remain on the hard drive even after deletion from the Application folder. To fully remove Disk Drill, you will need to follow a few steps. First, quit the application and end all its processes. Then, delete the application using the Trash. Log in with an administrator account and open the Applications folder in the Finder. Search for Disk Drill, and drag it to the Trash. Next, remove all components related to Disk Drill in Finder. Search for relevant names using Spotlight and delete the preference and support files. Finally, empty the Trash to fully remove Disk Drill.
| Characteristics | Values |
|---|---|
| How to remove Disk Drill smart monitoring | Terminate Disk Drill process(es) via Activity Monitor; Delete Disk Drill application using the Trash; Remove all components related to Disk Drill in Finder; Empty the Trash to fully remove Disk Drill |
| How to remove the SMART monitoring tool from Disk Drill | Open Activity Monitor and look for the process named SmartDaemon; Select Quit Process from the toolbar; Go to /Library/Application Support and delete the entire folder for CleverFiles; Empty the Trash; Run Onyx and use the tool to rebuild the LaunchServices |
What You'll Learn

Terminate Disk Drill processes via Activity Monitor
To terminate Disk Drill processes via Activity Monitor, follow these steps:
- Open the Activity Monitor application. This can be found in the Utilities folder in Launchpad.
- Select "All Processes" from the drop-down menu at the top of the window.
- Look for any processes associated with Disk Drill in the list. These may include processes named "SmartDaemon" or simply "Disk Drill".
- Click the "Quit Process" icon in the left corner of the window. If that doesn't work, try Force Quit by pressing Cmd + Opt + Esc, selecting Disk Drill in the pop-up window, and clicking "Force Quit".
- A pop-up dialog box will appear. Click "Quit" to end the process.
By terminating the Disk Drill processes via Activity Monitor, you can ensure that the application is completely closed and no longer running in the background before proceeding with the uninstallation process.
It is important to note that simply deleting the Disk Drill application by moving it to the Trash may not remove all its components from your Mac. To fully uninstall Disk Drill and free up disk space, you will need to follow additional steps, including removing its preference files, application support files, and other related components.
Uncover Parental iPhone Monitoring: Privacy Protection Tips
You may want to see also

Delete the Disk Drill application using the Trash
To delete the Disk Drill application using the Trash, follow these steps:
- Launch the Disk Drill application.
- Click on the Disk Drill icon in the menu bar and select "Preferences".
- In the "General" tab, you will see the "Remove Disk Drill" button. Click on it.
- Confirm the action by clicking "Confirm Disk Drill removal".
- Empty the Trash bin to delete the Disk Drill application completely.
This method is the standard way to uninstall applications on a Mac. However, it is important to note that Disk Drill creates low-core modules and additional service files on your disk, so simply dragging the app to the Trash may not be enough to remove all components of the software.
To ensure a complete uninstallation, you can use a third-party uninstaller application such as App Cleaner & Uninstaller, which will automatically find and remove all support files associated with Disk Drill. Alternatively, you can manually delete the Disk Drill components by following the steps outlined in the sources below.
Electricity Monitors: Accurate or Deceitful?
You may want to see also

Remove all components related to Disk Drill in Finder
To remove all components related to Disk Drill in Finder, you will need to exit the Disk Drill application on your Mac.
First, go to the Applications folder and find the Disk Drill app. Move it to the Trash.
Next, open the Finder tool and press Go. Choose the Go To Folder option. This will open a window with a search bar. Type the following and press Go: ~/Library.
This will open the Mac's main Library folder. Within this folder, you will need to check all the files and folders related to CleverFiles and Disk Drill. These can typically be found in the following subfolders:
- /Application Support/
- /Saved Application State/
Find both Disk Drill and CleverFiles associated data and move them to the Trash.
Once you have moved all the relevant files and folders to the Trash, you can empty the Trash and reboot your computer.
Another way to uninstall Disk Drill and its components is by using the Terminal. First, download the Disk Drill installer from the website. Open the DiskDrill.DMG file, but do not delete the Disk Drill app located within the Applications folder.
Now, open the Terminal, which can be found in Applications > Utilities. Type in the following command and execute it:
Sudo /Volumes/DiskDrill/Disk\ Drill.app/Contents/Resources/uninstall
After executing this command, Disk Drill should be removed from your system, and you can reboot your computer.
Removing a Location from Moz Local Monitoring
You may want to see also

Empty the Trash to fully remove Disk Drill
Emptying the Trash is the final step in fully removing Disk Drill from your Mac. Before you do this, you should launch Disk Drill, go to the top menu bar, select Disk Drill -> Preferences -> General, and then click the "Remove Disk Drill" button. If you can't get to Preferences, you can delete the Disk Drill components manually by re-downloading and re-opening the installer, launching Terminal, and executing the following command:
Sudo /Volumes/DiskDrill/Disk\ Drill.app/Contents/Resources/uninstall
After that, you can empty the Trash to fully remove Disk Drill from your system.
It's important to note that the "Secure Empty Trash" option in macOS will affect Disk Drill's file recovery technology. This option overwrites the space occupied by erased files with zeros, making deleted files unrecoverable. While this is a useful security feature, it also means that Disk Drill's Recovery Vault and Deep Scan features won't be able to recover your files later on. Therefore, it's recommended to disable the "Secure Empty Trash" option in your Finder Preferences if you want to be able to recover deleted files in the future.
LCD Monitors: Eye Strain Culprits or Just Another Screen?
You may want to see also

Use a third-party uninstaller
If you're looking to remove the Disk Drill Smart Monitor from your Mac, you may have tried the usual method of dragging the app to the Trash. However, Disk Drill installs additional "Extra" modules like the Smart Monitor, which will remain on your device. This means that the S.M.A.R.T. monitoring tool will continue to appear in your menu bar.
To completely remove Disk Drill and its additional components, you can use a third-party uninstaller. Here's a step-by-step guide:
Using a Third-Party Uninstaller:
- Reinstall Disk Drill: Before you begin, you may need to reinstall Disk Drill to ensure that all the necessary files are present for a complete uninstallation.
- Choose a Third-Party Uninstaller: There are several third-party uninstaller options available for Mac, such as AppCleaner or Omni Remover. These tools are designed to thoroughly remove all associated files and components of an application.
- Run the Third-Party Uninstaller: Once you've downloaded and installed your chosen uninstaller, open it and follow its instructions to remove Disk Drill. Typically, you'll need to locate the Disk Drill application within the uninstaller and initiate the removal process.
- Scan and Uninstall: The third-party uninstaller will scan your system for all files and components related to Disk Drill. After the scan is complete, you can proceed with the uninstallation process.
- Empty Trash and Restart: After using the uninstaller, remember to empty your Trash bin to permanently delete the Disk Drill files. Finally, restart your Mac to ensure that all changes take effect and complete the removal process.
By following these steps and using a third-party uninstaller, you can effectively remove Disk Drill and its additional components, including the S.M.A.R.T. monitoring tool, from your Mac. This method ensures a more comprehensive removal compared to simply dragging the app to the Trash.
ViewSonic VA1938wa-LED: Does it Have HDMI?
You may want to see also


