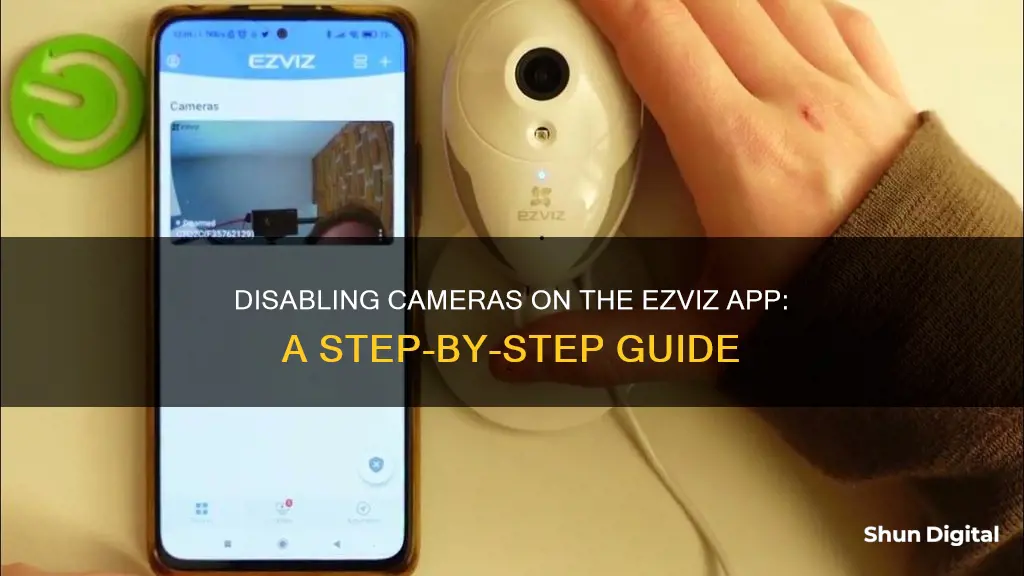
EZVIZ is a smart home system that allows users to connect and control a variety of devices, including security cameras, via a mobile app. If you want to remove a camera from your EZVIZ account, you can do so by following a few simple steps. This paragraph will outline the process of removing a camera from the EZVIZ app, ensuring that you no longer have access to its live feed and that any associated data is deleted.
What You'll Learn

Log into your EZVIZ account
To log into your EZVIZ account, you will need to download the EZVIZ app to your mobile phone. You can find the EZVIZ app in the App Store for iOS, Google Play for Android, or the HUAWEI APP Gallery for HUAWEI. Once you have downloaded the app, you will need to register an account using your email or phone number and log in.
Logging into your EZVIZ account will give you access to all your EZVIZ products. You can view live feeds of all your EZVIZ cameras, doorbells, and more, all at the same time. You can also remotely play back video recordings stored on your CloudPlay and/or micro SD card. Additionally, you can receive instant alerts through push notifications or emails in real time when motion detection is triggered.
If you are a CloudPlay subscriber, you have the option to "Cancel Subscription" and/or "Delete Video Clips" stored in the EZVIZ Cloud Storage service. It is important to note that selecting the "Delete Video Clips" option will delete all video clips stored in the Cloud Service, and these cannot be recovered.
Once you are logged into your EZVIZ account, you can also manage, control, and interact with your EZVIZ products. You can remotely control your pan/tilt cameras, turn on/off your home appliances, interact with visitors, and more. You can also add, delete, rename, rearrange, and/or change the layout of your EZVIZ products to customize your dashboard.
Exploring NVR Systems: Viewing All Cameras
You may want to see also

Open the camera's live view page
To open the cameras live view page, you must first log into your EZVIZ account. You can do this by downloading the EZVIZ app from the App Store (for iOS), Google Play (for Android), or the HUAWEI APP Gallery (for HUAWEI). Once you have downloaded the app, you can register an account with your email or phone number and log in.
After logging in, you will be able to see the image of the camera. Tap on this image to open the "live view" page. From here, you can view the live feed from your EZVIZ camera. If you have multiple cameras, you can view the feed from all of them simultaneously. You can also play back video recordings stored on your CloudPlay and/or micro SD card.
Additionally, you can receive instant alerts when motion detection is triggered and customize the detection zone and sensitivity to filter out irrelevant alerts. You can also remotely control your pan/tilt cameras, turn appliances on/off, interact with visitors, and more.
The EZVIZ app is the central hub for all your EZVIZ products, allowing you to manage, control, and interact with your devices in one place.
Enhancing Camera Vision: Blue Thermal Sight
You may want to see also

Enter the Device Settings page
To enter the Device Settings page, follow these steps:
First, log into your EZVIZ account. You can do this by opening the EZVIZ app on your mobile device and entering your login credentials. Make sure you have downloaded the EZVIZ app onto your phone before proceeding.
Next, tap on the image of the camera you wish to remove. This will open the "live view" page. From here, you can access the settings for your camera.
Once you are on the "live view" page, you will see an icon in the top right corner that looks like a gear. Tap on this gear icon to enter the Device Settings page. This is where you can adjust various settings for your camera, such as image encryption and the camera name.
If you are experiencing issues with your camera being offline, you may need to enter the Device Settings page to troubleshoot. To do this, open your EZVIZ app and tap on the three-dot icon next to the name of your camera. From there, you can access the Device Settings page and adjust your Wi-Fi settings.
The Device Settings page is also where you can delete your camera from your EZVIZ account. After entering the Device Settings page, swipe down to the bottom of the page, and you will see the "Delete Device" option. Tapping this will unbind the camera from your account. Please note that this action cannot be undone, and all video clips stored in the Cloud Service will be permanently deleted.
Q-See Cameras: Compatible with Other DVR Systems?
You may want to see also

Tap Delete Device to unbind it
To remove a camera from your EZVIZ account, you must first log into your account. Once you're logged in, tap on the image of the camera you wish to remove to open the "live view" page.
From the top right corner of the "live view" page, tap on the "gear icon" to enter the Device Settings page. From here, you can swipe down to the bottom of the page and tap "Delete Device" to unbind the camera from your account.
If you are a CloudPlay subscriber, you will also have the option to "Cancel Subscription" and/or "Delete Video Clips" stored in the EZVIZ Cloud Storage service. It is important to note that selecting the "Delete Video Clips" option will delete all video clips stored in the Cloud Service, and these cannot be recovered.
If you are attempting to unbind a device from its original account, there are a few additional steps to consider. Firstly, ensure that the device and the phone running the Mobile Client are on the same local area network. You can then add the device by scanning the QR code or Hik-Connect domain. If the result shows that the device has been added to another account, you will need to tap "Unbind Device" to start the process of unbinding it from its current account.
In some cases, you may encounter a network exception. If this occurs, connect your phone to the Wi-Fi network and ensure that the device is on the same local area network as your phone. Alternatively, you can unbind the device from its account in the local GUI, as long as the device supports this option. On the Unbind Device page, you will be prompted to enter the device password and the verification code displayed on the image.
Hacking CC TV Cameras: A Step-by-Step Guide
You may want to see also

Confirm deletion of video clips
To confirm the deletion of video clips from your EZVIZ Cloud Storage service, you must first log into your EZVIZ account. From there, tap on the image of the camera to open the "live view" page. In the top right corner, you will see the "gear icon", which will open the Device Settings page when tapped. Swipe down to the bottom of the Device Settings page, and you will see the "Delete Device" option, which will also give CloudPlay Subscribers the option to "Delete Video Clips".
WARNING: By selecting the "Delete Video Clips" option, you will be deleting ALL video clips stored in the Cloud Service. These CAN NOT be recovered.
To confirm the deletion of video clips from your SD card, log into the EZVIZ mobile app, tap on the serial number or name of the camera, scroll down to the storage status and tap on storage status. Select the memory card and tap on reformat. This will delete all the videos on the SD card.
To confirm the deletion of videos or images saved in My Album on the EZVIZ app, log in to your EZVIZ account, tap your profile photo on the top left, and enter My Album. Tap Edit on the top right corner, select the files you would like to delete, and tap Delete. Alternatively, when you play each file, you will also be able to see the delete icon.
A Simple Guide to Removing Camera Tracking in CapCut
You may want to see also


