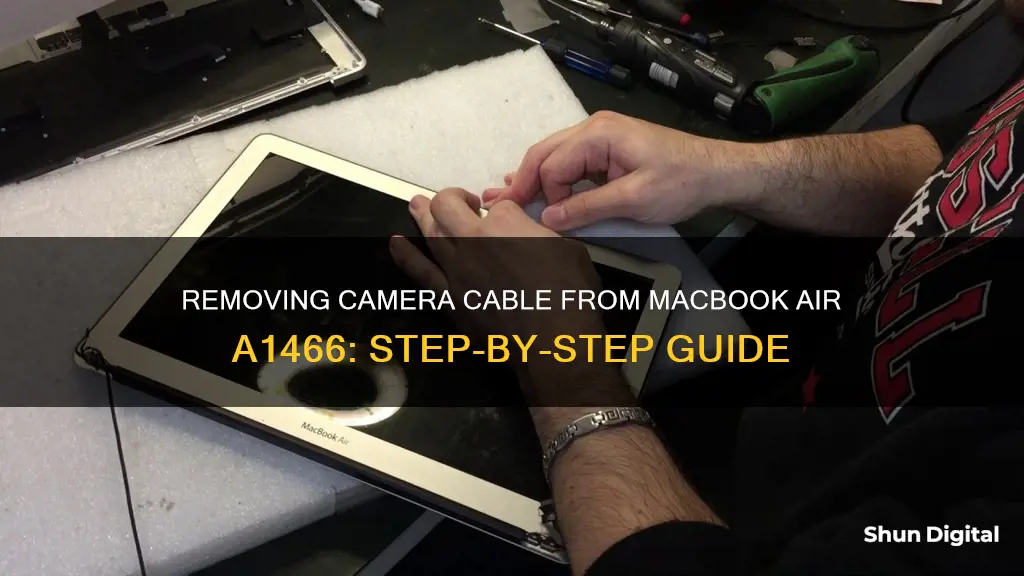
If you want to remove the camera cable from your MacBook Air A1466, you'll first need to remove the bottom cover by unscrewing the screws from the bottom of your laptop. Then, disconnect the battery cable from the logic board. Next, remove the IO Board Flex Cable, the fan, and the IO board. Finally, carefully disconnect the camera cable from the logic board. It's important to note that you should not pull on the cable itself, but instead use tweezers to push the connector out.
What You'll Learn

Disconnect the battery
To disconnect the battery when removing the camera cable from a MacBook Air A1466, follow these steps:
Begin by removing the 10 P5 Pentalobe screws that secure the bottom cover of the laptop. Two of these screws are longer than the other eight, so be sure to take note of their original positions to ensure proper reassembly. Once the screws are removed, lift up the cover and set it aside carefully.
Now, locate the battery connector on the logic board. The next step is to pull out the battery connector using the black tab. It is important to pull on the black tab, rather than the cable itself, to avoid any damage.
At this point, the battery should be successfully disconnected from the logic board. However, it is still physically attached to the laptop. To fully remove the battery, you will need to carefully lift and separate it from the adhesive holding it in place. Be cautious and gentle during this step to avoid damaging any internal components.
By following these steps, you will have safely disconnected and removed the battery from your MacBook Air A1466, allowing you to proceed with further repairs or maintenance. Remember to handle the battery with care and ensure proper disposal or recycling if it is being replaced.
It is important to note that working on a laptop's internal components can be complex and delicate. If you are uncomfortable or unfamiliar with the process, it is advisable to seek assistance from a professional or experienced technician to ensure the safety of your device.
Whole Foods Camera Surveillance: Who's Watching?
You may want to see also

Remove the IO board flex cable
To remove the I/O board flex cable from a MacBook Air A1466, follow these steps:
Firstly, remove the 10 P5 Pentalobe screws that secure the bottom cover. Two of these screws, marked with yellow circles, are longer than the other eight, marked with red circles. Once these are removed, lift up and separate the cover from the body.
Next, disconnect the battery connector from the logic board by pulling it out using the black tab. Then, disconnect the flex cable from the logic board and I/O board. To do this, lift up the connector using a plastic pry tool.
Now, separate the cable from the fan, which is attached by adhesive tape. Be careful with the next step: lift up the left side of the connector locking tab so that it opens up at a 90-degree angle. Using tweezers, pull the fan cable out of the connector.
Finally, remove the I/O board. When removing the board, take a close look at how the webcam cable is routed to ensure you don't cause any accidental damage.
Uninstalling Camera App: A Guide for Android Users
You may want to see also

Remove the fan
To remove the fan from your MacBook Air A1466, you'll first need to power down your device and close the display, laying it on a soft surface, top-side down.
Next, use a P5 Pentalobe driver to remove the ten screws securing the lower case. These screws are of varying lengths, so it's important to make a note of which screw goes where to avoid confusion when reassembling. Once the screws are removed, wedge your fingers between the display and the lower case and pull upward to remove the lower case.
With the lower case removed, you can now disconnect the battery by pulling on the clear plastic tab attached to the battery connector. Be sure to pull parallel to the board, towards the front edge of the Air, and avoid lifting upward on the connector to prevent damage to the connector socket.
Now, you'll need to remove the I/O board cable. Use the flat end of a spudger to pry the I/O board cable connector up and out of its socket on the I/O board. Then, carefully peel the cable away from the adhesive securing it to the top of the fan. It's important to note that this cable has an especially deep socket, so take extra care when disconnecting it.
With the I/O board cable disconnected, you can now focus on the fan cable. Use the tip of a spudger to carefully flip up the retaining flap on the fan cable ZIF socket. Make sure you are prying up on the hinged retaining flap, not the socket itself.
Next, peel off the rubber gasket from the adhesive on the top of the fan. With the gasket removed, you can now unscrew the fan itself. There are typically three Torx T5 screws securing the fan, but these may vary in length, so be sure to make a note of their positions for reassembly.
Once the screws are removed, you can now lift and remove the fan from the I/O board side, pulling it free from the upper case. Be cautious as the fan ribbon cable is still attached, and you don't want to snag it.
And that's it! You've successfully removed the fan from your MacBook Air A1466. Remember to keep all your screws and components organized to make reassembly easier.
Finding Your Logitech Camera on a Network
You may want to see also

Remove the IO board
To remove the IO board from your MacBook Air A1466, you will need to have already completed steps 1-8 of the MacBook Air Screen Repair Guide. This includes sourcing a replacement display assembly, purchasing the necessary tools, planning the repair, backing up your computer and shutting it down, removing the bottom cover, disconnecting the battery, removing the IO board flex cable, and removing the fan.
Now, to remove the IO board:
First, remove the cables connected to the IO board. Start with the speaker cable, which gets lifted directly up from the connector.
Next, remove the ZIF connector for the microphone in the same way you did for the fan. Be sure to carefully lift the plastic flap on the connector with the pointy end of a spudger.
If your MacBook Air is a 2010, 2011, or 2012 model, you will need to remove the iSight camera cable from its connector on the IO board. The 2013-2017 models have this connector attached to the logic board, which will be removed later.
Finally, remove the screw holding down the IO board, disconnect the IO power cable, and lift the IO board out.
Now that the IO board is removed, you can continue with the rest of the MacBook Air Screen Repair Guide.
Finding the Camera on Your Vizio Smart TV
You may want to see also

Disconnect the iSight cable
To disconnect the iSight cable from a MacBook Air A1466, follow these steps:
First, determine the model year of your MacBook Air A1466. The iSight cable connection differs between the 2010-2012 models and the 2013-2017 models. For the 2010-2012 models, the iSight cable is connected to the IO board, while for the 2013-2017 models, it is connected to the logic board. Knowing the model year of your device will help you locate the correct cable connection.
For the 2010-2012 models:
- Remove the bottom cover of your MacBook Air by unscrewing the P5 Pentalobe screws.
- Disconnect the battery connector from the logic board by pulling it out using the black tab.
- Lift the left speaker connector to disconnect it from the IO board.
- Remove the IO board by unscrewing the Torx T5 screw.
- Disconnect the iSight cable from the IO board. Be careful not to pull the cable directly; use tweezers to push the connector out instead.
For the 2013-2017 models:
- Follow steps 1-2 for the 2010-2012 models to remove the bottom cover and disconnect the battery.
- Disconnect the iSight cable from the logic board. Again, be careful not to pull the cable directly. Pull the cable towards the battery, not upwards, to avoid ripping the connector.
In both cases, it is important to handle the cable connections with care to avoid damaging the logic board or any other components.
X-Ray Vision: Camera Tricks to See Through Clothes
You may want to see also


