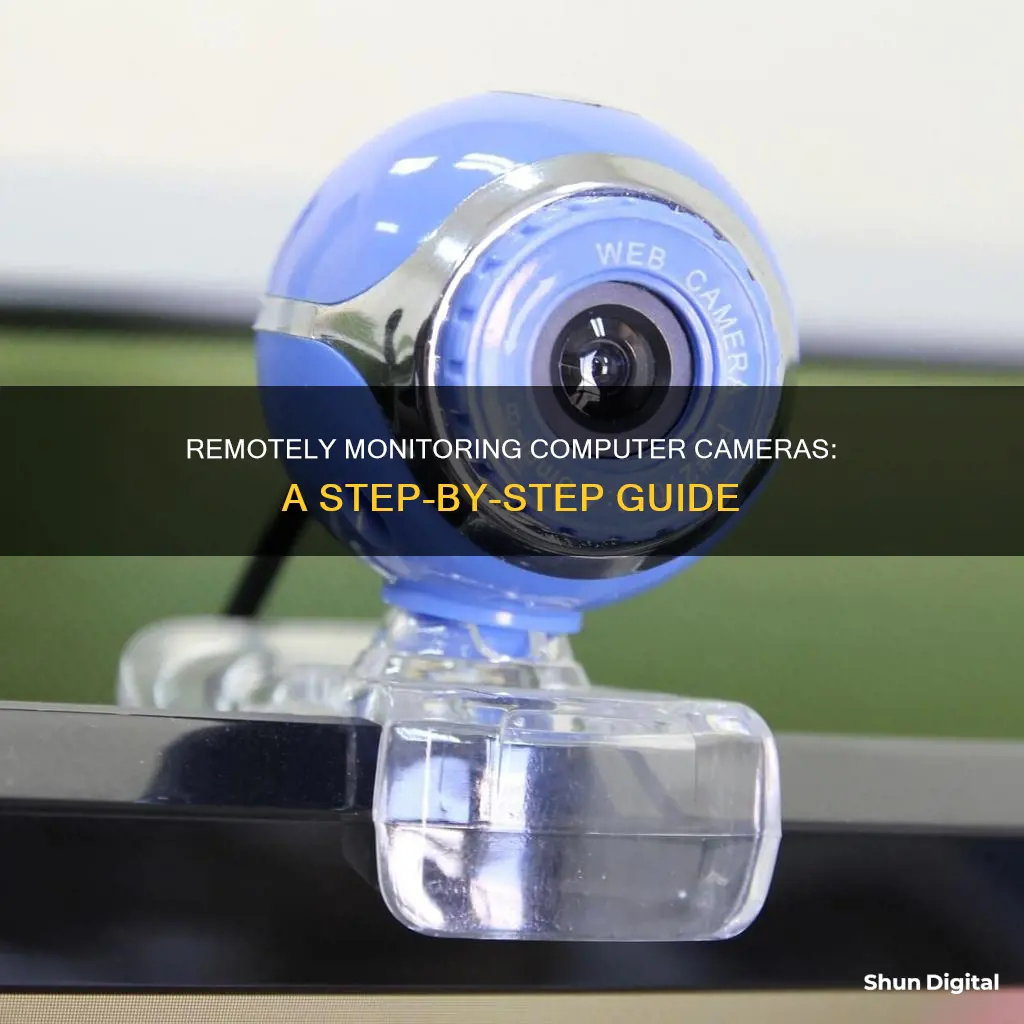
Remote viewing cameras are a convenient way to monitor and access live video feeds from anywhere in the world, as long as you have an internet connection. They are often used for home or business security, and can be accessed through an app or web browser. This can be especially useful if your phone is not compatible with the camera's app or if the camera doesn't have one. To set up remote access, you will need to connect your camera to a power source and configure its network settings. This may involve port forwarding, which allows data to go directly from one device to another. Once your camera is set up, you can log in and view the feed from any device with a web browser.
| Characteristics | Values |
|---|---|
| Ease of setup | Varies depending on the method and device, but generally easy to set up |
| Required equipment | Computer, camera, power adapter, network cable, router |
| Connection type | Wired or wireless |
| Software | Reolink Client, Yawcam, WebCam Monitor, USB Network Gate |
| Compatibility | Windows, Mac, Linux, iOS, Android |
| Cost | Free or paid software |
What You'll Learn
- Connect a wireless camera to a computer via a router
- Connect a PoE (Power over Ethernet) wired camera to a computer
- Connect a PoE wired camera to a computer with a PoE injector or switch
- Connect a CCTV camera system to a computer without a router network
- Connect a CCTV camera system to a computer with a router network
![]()
Connect a wireless camera to a computer via a router
Connecting a wireless camera to a computer via a router is a straightforward process, but it does require some basic networking knowledge. Here is a step-by-step guide on how to do it:
Step 1: Prepare the Necessary Equipment
To connect a wireless camera to a computer via a router, you will need the following:
- A wireless camera (with a power adapter and a network cable)
- A router
- A computer
Step 2: Power the Wireless Camera
Start by plugging your wireless camera into a power source using the power adapter. This is an essential step to ensure the camera has a constant power supply.
Step 3: Connect the Camera to the Router
Use the network cable to connect the wireless camera to the router. This step is crucial for establishing a data connection between the camera and the router.
Step 4: Allow Time for Booting
Once the camera is connected to the router, give it a few minutes to boot up completely. This step is often overlooked, but it is important to ensure the camera has enough time to initialise all its functions.
Step 5: Access the Camera's Web Interface
To configure the camera's settings, you need to access its web interface. This is usually done by opening a web browser on your computer and entering the camera's IP address. The default IP address for the camera might be provided in the user manual or on a label on the camera itself.
Step 6: Configure Network Settings
In the camera's web interface, navigate to the network settings. Here, you will need to configure the camera to connect to your desired WiFi network. This typically involves selecting the correct WiFi network (SSID) and entering the corresponding password.
Step 7: Disconnect the Network Cable
Once you have configured the camera's WiFi settings and confirmed that it is connected to the WiFi network, you can disconnect the network cable that was used to initially set up the connection between the camera and the router.
Step 8: Install Surveillance Software on Your Computer
To view the footage from your wireless camera, you will need to install surveillance software on your computer. There are various options available, such as Reolink Client or SmartPSS. This software will allow you to access the camera's live feed and configure various camera functions.
Step 9: Configure Software Settings
After installing the surveillance software, open it on your computer. In most cases, the software will automatically detect the camera on the same network. However, if it doesn't, you may need to input the camera's UID or IP address manually. Configure the software settings according to your preferences, such as selecting the camera's resolution, frame rate, and motion detection settings.
Step 10: Test the Connection
Finally, test the connection between the wireless camera and your computer by ensuring that you can view the camera's live feed on your computer. Make sure to test the camera's functionality, including motion detection and recording capabilities.
By following these steps, you should be able to successfully connect a wireless camera to your computer via a router and remotely monitor the camera's footage. Remember to keep your camera's firmware and software up to date to ensure optimal performance and security.
Charging Camera Batteries: A Step-by-Step Guide
You may want to see also
![]()
Connect a PoE (Power over Ethernet) wired camera to a computer
There are several ways to remotely monitor a computer camera, including connecting IP cameras over the internet via an app or client, or setting up port forwarding.
If you're looking to connect a PoE (Power over Ethernet) wired camera to a computer, here's a detailed guide to help you through the process:
Step 1: Understand PoE Technology
PoE, or Power over Ethernet, is a technology that allows you to transmit power and data over a single Ethernet cable without affecting data speeds. This simplifies the amount of infrastructure needed and provides greater flexibility in camera placement since you don't need to install cameras near electrical outlets.
Step 2: Gather Required Components
To connect a PoE camera to your computer, you will need the following:
- PoE camera (make sure it supports PoE)
- Network cable (Cat 5/5e/6 Ethernet cable)
- Router with PoE capability
- Surveillance software (e.g., Reolink Client)
Step 3: Connect the Camera to the Router
Use the network cable to connect your PoE camera to the router. This single cable will provide both power and network access to the camera.
Step 4: Launch Surveillance Software
On your computer, install and launch surveillance software like Reolink Client. This software will allow you to view and configure your camera's settings.
Step 5: Add the Camera in the Software
In the surveillance software, add the camera by entering its unique ID or UID. This will allow the software to detect and display the camera.
Step 6: Configure Camera Settings
Once the camera is added, you can configure its settings according to your preferences. This includes setting up functions, adjusting resolution, and enabling features like motion detection.
Step 7: Remotely Access the Camera
If you want to access the camera feed from another computer that is not on the same network, you will need to input the camera's UID into the software on that device. This will allow you to remotely monitor the camera feed from anywhere.
Step 8: Ensure Reliable Power
PoE provides better power reliability by having a central power source. Additionally, you can create an uninterruptible power source (UPS) for your PoE switch to ensure the camera continues to run even during a power outage.
Step 9: Maintain and Troubleshoot
PoE systems have lower maintenance requirements than traditional setups. However, ensure that you use high-quality components to maximize reliability. Regularly check your camera's power consumption and adjust as needed to prevent overloading.
By following these steps, you should be able to successfully connect and remotely monitor your PoE wired camera through your computer.
Charging Pentax Cameras: A Quick Guide to Powering Your Device
You may want to see also
![]()
Connect a PoE wired camera to a computer with a PoE injector or switch
To connect a PoE wired camera to a computer, you will need a PoE injector or switch, a network cable, a router, and a wireless IP camera connected to a power supply. The steps are quite similar to connecting without a PoE injector/switch.
First, connect all the devices as shown in the picture below, ensuring your wireless IP camera is connected to a power supply.
Next, open the Reolink Client on your computer and add the camera. You can now watch the live view directly. If you need to access the camera from another computer that is not on the same network, you will need to input the camera's UID into the software to remotely access it.
Once you connect the PoE IP camera to the PoE injector or switch, which is connected to a router via Ethernet cables, you have successfully connected the camera to the network. For a wireless IP camera, you will need to use a network cable to connect it to the router if you haven't set up the WiFi network configuration. You can then set up the WiFi configuration to make the wireless IP camera connect wirelessly.
It is important to note that you should only use a CCTV Camera World-approved device or you risk frying the camera due to incorrect voltage.
Outdoor Wi-Fi Camera Battery Life: How Long Does It Last?
You may want to see also
![]()
Connect a CCTV camera system to a computer without a router network
To connect a CCTV camera system to a computer without a router network, you will need a few things: a power supply to power the camera, a network cable, and basic technical skills. The process is relatively straightforward and can be done in a few minutes.
Firstly, you will need to connect the power supply to the camera to ensure it is charged and functional. This can be done using the power adapter that usually comes with the camera.
Next, use a network cable to connect the camera to your computer. This will be a physical connection, so ensure you have the correct cables and ports. You will also need to disable your computer's network if it is already connected, to ensure a smooth setup.
Now, you will need to find the security camera's IP address. This can be done by using surveillance software, which will scan and find the camera's default IP address.
Following this, you will need to change your computer's IP address to match the network prefix of the camera. This will ensure they are on the same network and can communicate with each other.
Finally, you can open your surveillance software and set up the configurations for your camera's functions.
This method is a direct way to connect a CCTV camera to your computer without the need for a router network. It is important to note that without a router network, the camera will not be able to transmit data or send alarms to your phone. However, you can still record and save footage directly onto your computer.
Privacy Mode: Understanding Your Phylink Camera's Stealth Setting
You may want to see also
![]()
Connect a CCTV camera system to a computer with a router network
To connect a CCTV camera system to a computer with a router network, you can follow these steps:
- Connect all the cameras to the NVR (Network Video Recorder): This includes connecting the NVR to your computer monitor and mouse, as well as charging the NVR and cameras using the provided power adapters. For a WiFi system, the NVR and WiFi cameras will automatically connect once they are charged. For a PoE (Power over Ethernet) system, use network cables to connect the PoE cameras to the NVR.
- Connect the NVR to your router: Use the provided network cable to connect the NVR to your router.
- Start watching the IP cameras: A startup and setup wizard should guide you through the process of watching your cameras and configuring any additional settings. If you need to access the IP cameras from another computer that is not on the same network, you will need to input the NVR's UID into the software to remotely access the cameras.
It is important to note that if you are using a WiFi system, you will need to ensure that your router is providing a strong WiFi signal to the cameras. This can be done by assessing the router's WiFi signal strength at your desired installation spots before finalising the camera placement.
Additionally, make sure that your router produces separate SSIDs for 2.4GHz and 5GHz networks. Some routers combine both frequencies under one SSID, which wireless cameras may not be able to connect to.
Activating Macro Mode on Panasonic Cameras: A Step-by-Step Guide
You may want to see also
Frequently asked questions
You can remotely access your computer's camera by connecting it to your smartphone or another computer. This can be done through an app, port forwarding, or by using a network cable to connect to a router.
The best way to remotely monitor your computer camera depends on your specific use case. If you want to monitor your camera from your phone, you should use an app. If you want to monitor your camera from another computer, you can use port forwarding or a direct connection with a network cable.
Yes, it is possible to remotely monitor your computer camera without an internet connection by connecting your camera directly to your computer with a network cable. However, this method may not support remote viewing from another device on a different network.
To set up remote monitoring for your computer camera, you will need to find your camera's IP address and input this into your viewing software or app. You may also need to configure port forwarding settings on your router.