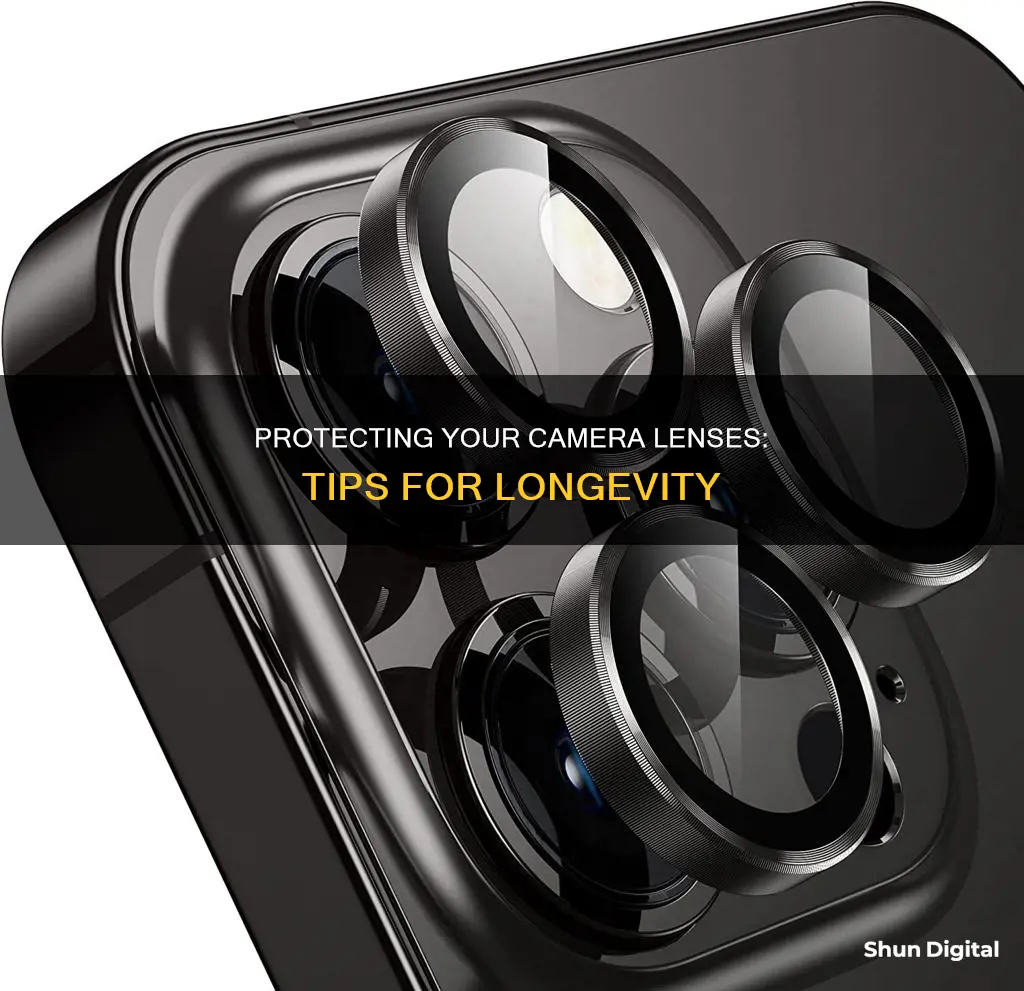
Camera lenses are delicate and expensive, so it's important to know how to protect them. Here are some tips to keep your camera lens safe:
- Use a lens filter: A UV or ND filter will add a layer of protection to your lens and help prevent scratches.
- Keep lens caps on: Front and rear lens caps should be kept on your lenses at all times when not in use.
- Use a lens hood: Lens hoods protect your lens and filter from physical damage and also help prevent ugly flares in your pictures.
- Use a camera strap: Invest in a good camera strap to avoid accidental drops.
- Keep your camera in a bag: Get a dedicated camera bag with compartments to keep your camera gear separate and protected.
- Be careful when changing lenses: Avoid changing lenses outdoors or in dusty environments. Always point the camera down and use lens caps to protect the lens elements.
- Clean your lens regularly: Use a camera cleaning kit to keep your lens free of dust and moisture.
- Protect your lens from fungus: Store your camera and lens in a cool, dry place. Use silica gel to absorb moisture and prevent fungal growth.
- Get insurance: Accidents can happen, so it's a good idea to have insurance coverage for your camera gear.
| Characteristics | Values |
|---|---|
| Use a filter | Protects against scratches and dust |
| Keep a lens cap on | Protects against scratches and dust |
| Keep a hood on | Protects against damage |
| Keep your camera attached to your body at all times | Prevents drops |
| Keep your gear in the right bag | Prevents damage |
| Be careful when changing lenses | Minimises the chance of dust and damage |
| Use a UV filter | Protects against scratches and dust |
| Keep front and rear caps on the lens when it's in your bag | Protects against dust and damage |
| Keep your lenses separate in the bag | Minimises the chance of damage |
| Wrap a plastic bag around your lens | Protects against water, mud, dirt and sand |
| Keep your camera covered | Protects against water damage |
| Keep your camera and lens in a cool, dry place | Prevents fungal damage |
| Use a tripod | Prevents drops |
What You'll Learn

Use a UV filter to protect against scratches and dust
A UV filter is a glass filter that screws onto the front of your camera lens. Its primary function is to block ultraviolet rays from entering the lens, but it also serves as a protective barrier, safeguarding your lens from scratches, dust, dirt, and other environmental factors.
Benefits of Using a UV Filter
- Protection from scratches and dust: The UV filter acts as a protective layer, shielding your lens from scratches and keeping dust and dirt away from the front element. This is especially useful when shooting outdoors or in challenging environments, such as sandy or dusty areas.
- Reduced haze and colour cast: In certain conditions, a UV filter can enhance image quality by reducing haze and minimising the blue colour cast caused by ultraviolet light. This results in clearer and more vibrant images.
- Lens protection: The filter provides an extra layer of protection against accidental drops, impacts, and scratches. While it may not protect against severe damage, it can safeguard against minor scratches and reduce the need for costly repairs or replacements.
- Protection from other environmental factors: In addition to scratches and dust, a UV filter can protect your lens from a variety of environmental hazards, including sand, salt spray, snow, and liquids.
Considerations When Using a UV Filter
- Image quality impact: While generally minimal, UV filters can slightly reduce image quality by blocking a small percentage of incoming light. This can result in a slight decrease in sharpness and contrast.
- Lens flare and vignetting: The additional glass element introduced by the UV filter can cause unwanted lens flare or vignetting, especially when shooting towards a bright light source or when using multiple filters.
- Glass quality: The glass used in UV filters is typically weaker than the glass in camera lenses. Therefore, the filter may break during a drop that would not have damaged the lens itself.
- Internal lens damage: It's important to note that a UV filter will not protect against internal lens damage. If a lens sustains a significant impact, there is likely to be internal damage regardless of whether a filter is used.
Tips for Effective Use of UV Filters
- Select a high-quality filter: Opt for a UV filter from a reputable brand, as cheaper filters may compromise image quality and introduce artefacts. Look for filters made of optical glass with multi-layer coatings to minimise optical aberrations.
- Consider the shooting environment: Assess the shooting conditions and the value of your camera lens. If you frequently shoot in challenging environments or have expensive lenses, a UV filter can provide valuable protection.
- Proper maintenance and cleaning: Regularly clean your UV filter using a microfiber cloth or lens cleaning solution to remove dust, fingerprints, and smudges. Handle the filter with care to avoid scratches, and store it in a protective case when not in use.
- Combine with a lens hood: Using a lens hood in addition to the UV filter can provide extra protection. The hood will likely take the brunt of any impact, keeping the filter and lens undamaged.
In conclusion, while UV filters have their limitations, they can be a valuable tool for photographers, offering protection against scratches, dust, and other environmental factors. By selecting high-quality filters, understanding their limitations, and employing proper maintenance techniques, photographers can effectively utilise UV filters to safeguard their camera lenses.
Zeiss Camera Lenses: Cleaning and Maintenance Guide
You may want to see also

Keep a lens cap on to prevent damage
Keeping a lens cap on your camera is one of the most effective ways to protect your lens from damage. While it may seem obvious, it's important to keep your lens capped when it's not in use. This simple step can prevent scratches, dust, and other damage to your lens.
When your camera is stored away in a bag or cabinet, make sure to put the lens cap on. This will protect the lens from any bumps or knocks that could occur during transport. It will also keep dust and dirt from settling on the lens, which can cause scratches or affect image quality. Even if your camera bag is made of soft material, it can still attract dust and lint, which can then get onto your lens if left uncapped.
In addition to protecting your lens from physical damage, keeping a lens cap on can also prevent light damage. Strong light sources, such as direct sunlight, can damage your shutter or sensor. By keeping your lens capped when not in use, you block the light from entering the lens and potentially causing harm. This is especially important for older film cameras or cameras with Micro Four Thirds sensors, as these are more susceptible to light damage.
Another benefit of using a lens cap is that it provides an extra layer of protection against water damage. If you're shooting in rainy or humid conditions, or even just walking through a crowded city street, the lens cap will help keep moisture off your lens. This can prevent water spots or other damage that could affect your images.
Some photographers choose to use UV filters or lens hoods instead of lens caps, but these don't provide the same level of protection. While a UV filter can protect against scratches and dust, it won't shield your lens from physical impacts or water damage. Lens hoods are useful for reducing lens flare and protecting against minor bumps, but they don't cover the entire lens, leaving it vulnerable to the elements.
In conclusion, keeping a lens cap on when your camera is not in use is a simple yet effective way to protect your lens from various types of damage. It's an inexpensive way to safeguard your investment and ensure that your lens remains in good condition for years to come. By taking this precaution, you can have peace of mind and focus on capturing great photos without worrying about damaging your equipment.
Cleaning Camera Lenses: A Step-by-Step Guide
You may want to see also

Keep a lens hood on to protect the filter
Keeping a lens hood on your camera is a great way to protect your lens filter from damage. The hood will act as a barrier, so if you accidentally bump into something, the hood will take the impact and keep your filter safe. This is especially useful if you have an expensive filter, such as a vari-ND filter, a special polarizer, or a Leica-branded UV/IR filter.
Lens hoods are particularly effective when paired with long zoom lenses, as these often come with large hoods that provide ample protection. Even smaller lenses, like the Leica 28mm Elmarit-M, can benefit from a hood to keep their filters safe. Additionally, using a lens hood can help reduce flare in your photographs, improving image quality.
While a lens hood offers excellent protection, it's important to note that it may not be sufficient in all situations. For example, if you're shooting in an environment with seawater or flying sand, it's recommended to use a UV filter as well. A UV filter will provide an extra layer of defence against these elements, which can be highly corrosive to your lens and camera.
Another consideration is the potential impact on image quality. Lens hoods are designed to maintain image quality, but in some cases, they may cause a slight decrease in clarity and contrast. However, this effect is usually minimal and outweighed by the benefits of added protection.
By combining a lens hood with a high-quality UV filter, you can effectively protect your camera lens and filter from various types of damage. This two-pronged approach ensures that your photography equipment remains safe and functional, even in challenging environments.
Cameras and Lenses: Capturing the 3D World
You may want to see also

Keep your camera in a bag to prevent bumps and scratches
Keeping your camera in a bag is a great way to prevent bumps and scratches. However, not all bags are created equal when it comes to protecting your camera gear. Here are some tips to help you keep your camera safe and secure:
Use a Dedicated Camera Bag
A dedicated camera bag is designed specifically to protect your camera and lenses. These bags typically have padded compartments to keep your gear organised and separated, reducing movement and providing padding from any bumps or knocks your bag may encounter. Camera bags also often have adjustable dividers, allowing you to customise the compartments to fit your specific gear. This is especially important if you plan to carry multiple lenses or other accessories.
Choose the Right Bag for Your Needs
When selecting a camera bag, consider the amount of gear you have and the type of activities you engage in. If you need to carry a minimal amount of camera gear along with other non-photographic equipment, such as camping gear or clothes for travel, a smaller camera cube or insert that can fit into a larger bag may be a good option. These inserts are padded and provide protection for your camera within a larger bag. Some popular options include the Think Tank Stash Master, F-Stop ICU, and Peak Design Camera Cube.
Protect Your Lenses with Lens Caps
Even when stored in a camera bag, your lenses can still get scratched. Be sure to use both front and rear lens caps to protect the glass elements from scratches. This is especially important if you don't have a dedicated camera bag, as soft materials used in regular bags can attract dust and dirt, which can then stick to your lenses. Keeping lens caps on will also protect your lenses from any stray objects in your bag, such as zippers or watch straps.
Keep Your Gear Dry
If you find yourself shooting in wet environments, it's important to take steps to keep your camera gear dry. While some cameras are weather-sealed, it's still a good idea to wipe off any visible water with a towel and then let your camera air dry before placing it back in your bag. Silica packs are also useful to absorb any moisture that may be lingering in your bag.
Be Mindful of Your Surroundings
Even with a dedicated camera bag, it's important to be aware of your surroundings and take precautions to avoid bumps or scratches. For example, if you're shooting in a crowded or busy environment, consider using a lens hood to add extra protection for your lens. Additionally, re-evaluate your camera strap—a camera holster that attaches to your backpack strap may be a safer option, as it keeps your lens pointed down, reducing the chances of it bumping into something.
The Importance of Pristine Camera Lenses for Perfect Pictures
You may want to see also

Be careful when changing lenses to avoid dust and moisture
Changing lenses is one of the riskiest moments for your camera, as it is vulnerable to dust and moisture when the lens is removed. Here are some tips to avoid these issues:
Firstly, always be prepared. Have the replacement lens ready to go so that the camera body is exposed for as little time as possible. It is also a good idea to practice changing lenses, so that you can be quick and efficient when doing so. This will reduce the window of opportunity for dust to enter the camera.
Secondly, be mindful of your environment. Change lenses in a clean, calm, indoor environment, away from fans, vents, and open windows. If you are in a dusty or humid location, consider changing the lens inside a bag, or using a plastic bag to cover the camera body and protect it from the elements. If you are in a very dusty environment, it may be worth changing lenses inside a bag designed for this purpose, or a simple plastic trash bag.
Thirdly, be aware of the camera's positioning. It is recommended to position the camera downward when removing and attaching a lens, to prevent dust or dirt from falling into the lens opening. However, others disagree with this method, stating that dust can enter the camera from multiple angles, and that flipping the camera slows you down, making the process more awkward.
Finally, some general tips include: turning off the camera before changing the lens, as the image sensor can attract dust with its electric charge; checking the lens for dust before attaching, and using a blower to remove any; and attaching dust caps to the camera body and lens when they are not in use, especially if it will be a prolonged period of time.
By following these precautions, you can minimize the chances of dust and moisture entering your camera when changing lenses.
Lens Specification for Crop Sensor Cameras: What You Need to Know
You may want to see also
Frequently asked questions
Always keep your camera with you, and don't leave it in your car or on display. If you must leave it in your car, lock it in the trunk/boot. You can also get insurance for your camera equipment.
Use a UV or ND filter to add a layer of protection.
Keep your lens caps on at all times when you're not using your camera.
Cover your camera with rain gear, such as a plastic bag or a hotel shower cap.
Store your camera and lens in a cool, dry place.


