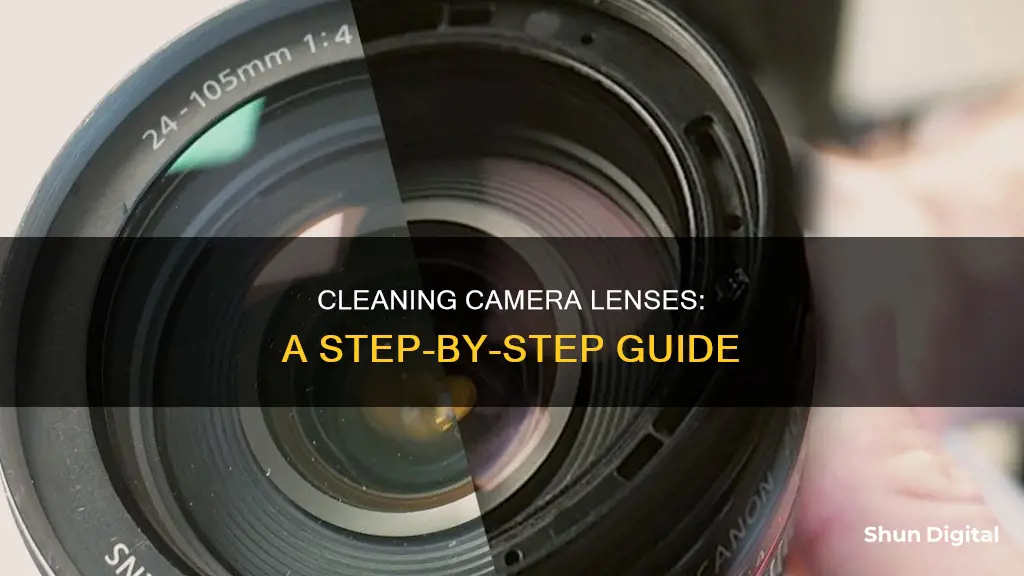
Keeping your camera lenses clean is essential for maintaining image quality and the longevity of your equipment. While cleaning the inside of a camera lens can be a delicate process, it is possible to do it yourself if you have the necessary tools and feel confident in your abilities. Here is a step-by-step guide on how to clean the inside of a camera lens:
Step 1: Prepare the Necessary Tools and Workspace
- Ensure you have a clean and well-lit workspace.
- Gather the required tools: a compressed air blower, lens cleaning solution, a soft brush, and a microfiber lens cleaning cloth.
Step 2: Remove the Front Protective Ring
- Wear protective gloves to prevent fingerprints.
- Gently lift the front protective ring using a flathead screwdriver or a credit card.
- Use a hair blower to blow away any dry dust from the inner ring surface.
- Clean the ring with a moistened cotton swab and an optical cleaning solution.
Step 3: Disassemble and Clean the Front Element
- Unscrew the front element using lens spanner wrenches or appropriate tools.
- Place the element on a lined napkin and cover the hole with a lens cap.
- Brush off dust with a soft brush.
- Clean small stains and grease marks with a microfiber cloth and lens cleaning solution, avoiding touching internal elements.
Step 4: Internal Cleaning and Reassembly
- Zoom in to access the internal elements and clean them using a soft brush or Lenspen.
- Finish the cleaning process with a hairdryer to ensure no dust remains.
- Carefully return the focus to its original position and reassemble the lens components.
It is important to note that you should avoid cleaning the inside of your camera lens unless it is necessary. Excessive cleaning can damage the lens and cause wear and tear on delicate components. Additionally, always use specialised lens cleaning solutions and avoid household chemicals, as they may harm lens coatings or other sensitive parts.
What You'll Learn
- Use a blower to remove dust and debris from the lens
- Use a soft-bristled brush to remove remaining dust
- Apply a lens cleaning solution to a microfiber cloth or lens tissue
- Gently wipe the lens in a circular motion, working from the outside in
- Finish with a dry microfiber cloth to remove any remaining moisture
![]()
Use a blower to remove dust and debris from the lens
Keeping your camera lens clean is essential for maintaining image quality. One of the first steps in cleaning a camera lens is to use a blower to remove dust and debris. Here is a detailed, step-by-step guide on how to do this effectively:
Firstly, it is important to choose the right type of blower. A manual air blower is recommended, as it is safer than using canned or compressed air, which can blast and destroy the camera sensor and optics. A blower specifically designed for camera lens cleaning, such as a Giottos Rocket Blower, is ideal.
Before using the blower, inspect the camera lens for any potential flying debris that could be dangerous or cause damage. Remove any loose branches, sticks, or other items in the vicinity that could be affected by wind gusts. It is also crucial to wear protective gear, including closed-toe shoes, long clothing that covers your arms and legs, and eye protection. Ear protection is also advised, as leaf blowers can be loud.
When using the blower, work in good light, with the lens facing upward. Hold the blower at a 45-degree angle to the lens and blow from one side of the lens to the other in fast, successive puffs. This technique helps prevent scratching the glass by accidentally blowing larger dust particles across the surface.
If there are sticky specks of dust or dirt on the lens, a blower might not be sufficient to remove them. In this case, a soft-bristled brush designed for camera lens cleaning, such as the CURA Kabuki Lens Brush, can be used after blowing. Gently sweep the brush from one side of the lens to the other, being careful not to push down hard to avoid scratching the lens.
It is also important to note that a blower should be part of your regular camera maintenance kit. Keeping your camera bag and lens innards clean will help prevent dust and dirt from building up and attaching to the lens. Additionally, always use a blower before wiping the lens with a cloth or tissue to avoid dragging dust particles across the surface and causing scratches.
By following these steps and techniques, you can effectively use a blower to remove dust and debris from your camera lens, ensuring it is clean and well-maintained for optimal image quality.
Lenses for Full-Frame Cameras: What's the Difference?
You may want to see also
![]()
Use a soft-bristled brush to remove remaining dust
Using a soft-bristled brush to remove dust from your camera lens is a delicate process that requires careful attention to ensure effective cleaning without causing any harm to the lens. Here are some detailed instructions to guide you through this process:
Prepare Your Workspace
Before you begin, it is essential to create a clean and well-lit workspace. Make sure you have all the necessary tools, including a soft-bristled brush, a lens cleaning solution, and a microfiber lens cleaning cloth. It is also recommended to wear protective gloves to prevent fingerprints from smudging the lens.
Remove the Front Protective Ring
The first step is to gently remove the front protective ring of the lens. You can use a flat-head screwdriver or even a credit card to carefully lift it. Be cautious not to apply too much force, as you don't want to damage the ring or the lens.
Blow Away Dust with a Hair Blower
Once the protective ring is removed, use a hair blower to blow away any dry dust or debris from the inner ring surface. Ensure you direct the airflow at a 45-degree angle across the lens, starting from one side and moving to the other. This will help dislodge any loose dust particles.
Clean the Ring and Front Element
Moisten a cotton swab with an optical cleaning solution and gently wipe down the inner ring surface. You can also use lens cleaning solution on wipes to remove any grease stains, being careful not to touch the internal elements of the lens. After cleaning the ring, proceed to unscrew the front element using lens spanner wrenches or other appropriate tools. Place the front element on a lined napkin and cover the lens hole with a lens cap to protect it from dust.
Brush Away Dust with a Soft-Bristled Brush
This is where the soft-bristled brush comes into play. Gently brush away any remaining dust particles from the front element and the inner surfaces of the lens. Sweep the brush in gentle, light motions, being careful not to press too hard on the brush. Remember, the goal is to remove dust without scratching the lens or leaving any fibres behind.
Clean Small Stains with a Microfiber Cloth
For any small stains or smudges that remain, use a microfiber lens cleaning cloth. Moisten a corner of the cloth with a few drops of lens cleaning solution and gently wipe the affected areas. Always use a clean, dry cloth to avoid transferring dirt or dust back onto the lens.
Reassemble the Lens
Once you are satisfied that all dust and stains have been removed, it's time to reassemble the lens. Carefully return the focus to its original position and screw the front element back into place. Make sure you handle the lens with care during this process to avoid introducing new dust particles.
Final Checks and Precautions
After reassembling the lens, take a moment to inspect it and ensure that all dust has been removed. You can use a blower to remove any remaining dust particles and finish cleaning with a hair dryer to ensure no dust remains. Finally, attach the front lens cap to prevent dust from adhering to the lens during storage.
It is important to note that cleaning the inside of a camera lens should be done sparingly and only when necessary. Excessive cleaning can lead to wear and tear on delicate components. Additionally, always avoid using household chemicals or compressed air, as these can damage the lens coatings or exert excessive force on the glass and connections.
Precision Alignment: Camera Lenses and Their Secrets
You may want to see also
![]()
Apply a lens cleaning solution to a microfiber cloth or lens tissue
When applying a lens cleaning solution to a microfiber cloth or lens tissue, it is important to use the right amount of liquid. One or two drops of the solution are usually enough to clean a lens. Putting too much fluid on the cloth can damage the camera's optics, as the excess liquid can flow inside the camera.
To apply the solution, fold the lens tissue or microfiber cloth into a triangle or square pad. Then, gently dab the cloth or tissue onto the solution, ensuring that it is not oversaturated. With the lens facing upwards, hold it firmly with one hand. Take the damp cloth or tissue in your other hand and gently wipe across the lens surface, using a side-to-side or circular motion.
Once you have wiped the entire surface, use a clean, dry piece of lens tissue or microfiber cloth to gently wipe away any remaining moisture. Allow the lens to air dry completely before inspecting the surface for any remaining smudges, oils, fingerprints, or grime. If necessary, repeat the process until the lens is streak-free.
Japan's Camera Lens Market: Affordable Photography Superpower?
You may want to see also
![]()
Gently wipe the lens in a circular motion, working from the outside in
When cleaning your camera lens, it's important to be gentle and meticulous to avoid damaging the lens or leaving streaks. Here's a detailed guide on how to gently wipe the lens in a circular motion, working from the outside in:
Before you begin, gather the necessary tools: a blower, a soft-bristled brush, lens cleaning solution, and a microfiber cloth or lens cleaning tissue. Ensure you are working in a clean, dust-free environment to prevent additional dust from settling on the lens.
Start by using the blower to remove any loose dust or debris from the lens surface. Hold the lens facing upward and blow across it from a 45-degree angle, moving from one side to the other. This step is crucial as it prevents you from accidentally scratching the lens by wiping away dust particles with a cloth.
Next, use the soft-bristled brush to address any sticky specks of dust or dirt that the blower may have missed. Gently sweep the brush across the lens surface, working from one side to the other, being careful not to press too hard.
Now it's time to apply the lens cleaning solution. Place a few drops of the solution onto a folded lens cleaning tissue or microfiber cloth. With the lens facing upright, gently wipe the lens surface using a circular motion, starting from the outer part of the lens and working your way in. This will effectively remove fingerprints, oil, smudges, dirt, and dust.
Once you've wiped the entire surface, use a clean, dry piece of lens cleaning tissue or microfiber cloth to remove any remaining moisture. Allow the lens to air dry completely before inspecting it for any remaining smudges or streaks. If necessary, repeat the previous step to ensure a streak-free finish.
Finally, polish the lens with a microfiber cloth using a left-to-right or circular motion. Your lens is now clean and ready for use!
Remember to always handle your camera lens with care and follow these steps whenever your lens needs a refresh.
Universal Camera Lenses: A Myth or Reality?
You may want to see also
![]()
Finish with a dry microfiber cloth to remove any remaining moisture
To finish the process of cleaning the inside of your camera lens, use a dry microfiber cloth to remove any remaining moisture. Microfiber cloths are essential for any lens care kit. They are soft and fine-weave, which is ideal for a final polish. They are also washable and reusable, so you can use them multiple times.
When using a microfiber cloth, it's important to remember to fold it into a padded square or triangle. This will ensure that you don't drag dust around the surface of the lens and scratch it. With the lens facing upright and held firmly in one hand, gently wipe the glass with the microfiber cloth in the other hand. You can use a left-to-right motion or a circular motion, as long as you have already removed any dust and grime with a blower or brush in previous steps.
Microfiber cloths are a great tool to have in your camera bag, as they can be used for both the initial cleaning and the final polish. They are also versatile and can be used to clean the rear element of the lens, which is smaller and may require the use of the corner of the cloth.
It's important to note that you should not use a microfiber cloth to blow away dust, as this can scratch the lens. Instead, use a blower or a soft-bristled brush specifically designed for lens cleaning. Additionally, make sure that the microfiber cloth is clean and dry before using it to avoid leaving streaks or transferring dirt and grime back onto the lens.
By following these steps and using a dry microfiber cloth for the final polish, you can effectively clean the inside of your camera lens and maintain its pristine condition.
Camera Lenses: Understanding Their Value and Depreciation Over Time
You may want to see also
Frequently asked questions
You will need a blower, a soft-bristled brush, a microfiber cloth, and a lens cleaning solution.
First, use the blower to remove any large pieces of dust or dirt from the lens. Then, use the brush to gently sweep away any remaining dust. Finally, apply a few drops of the lens cleaning solution to the microfiber cloth and gently wipe the lens in a circular motion, working from the centre outwards.
It is recommended to clean your camera lens as needed and as infrequently as possible. However, if you notice dust, smudges, lint, or water spots on the front element of your lens, it is a good idea to clean it before use.
Do not use canned or compressed air as it can damage the camera sensor and optics. Avoid using household chemicals, such as acetone, ammonia, bleach, glass cleaner, or disinfectant, as they may harm the lens coatings or other sensitive parts.
Yes, a microfiber cloth is one of the recommended tools for cleaning camera lenses. However, ensure that the cloth is clean and free of any dirt or debris before use.