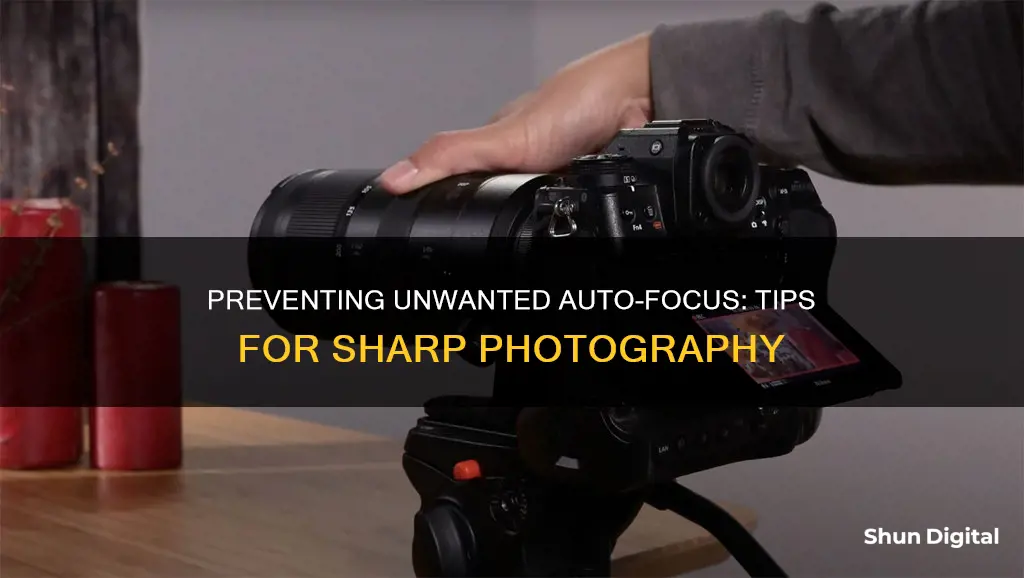
Autofocus is a handy feature for many photographers, but it can also be a nuisance when it tries to focus on the wrong subject or causes a delay in capturing a moment. While some cameras may not have a native function to disable autofocus, there are several workarounds and alternative settings to prevent your camera from auto-focusing.
What You'll Learn

Lock autofocus when live
If you are experiencing issues with your camera's autofocus, such as the video appearing to be "popping", you can lock the autofocus when live. This can be done by following these steps:
- Navigate to the Camera Control tab.
- At the bottom, toggle the slider for "Lock Autofocus When Live" to the on position.
- When you send a source live, the "AF" in the top-middle will be turned off, indicating that the autofocus function is disabled.
By disabling the autofocus, your camera will no longer "pop" in and out, and the focus will remain locked. This is particularly useful if you are using the Preview window and want to use autofocus in Preview mode but disable it in the Live view.
Understanding Raw Image Files in Photography
You may want to see also

Use manual focus
Manual focus is a great way to ensure your camera doesn't auto-focus. It's a useful skill to learn and can be a game-changer when you know when and how to use it.
To use manual focus, you need to override your lens's autofocus mechanism and adjust the focus via a ring on the lens barrel. This is known as the focus ring, and it's usually located in the middle of the lens barrel for prime lenses and near the end for zoom lenses.
First, locate the focusing mode switch on your camera or lens, which is typically labelled "AF/MF." Switch it to "MF" to activate manual focus. If you can't find the switch, check your lens manual, as some lenses might not have this feature.
Once in manual focus mode, look through your camera's viewfinder and twist the focus ring. You should see the focus shift, with different areas of the scene going in and out of focus. Continue adjusting the ring until your desired subject comes into focus.
Manual focus is particularly useful in scenarios where autofocus tends to struggle, such as:
- Macro and close-up photography: Autofocus often locks onto the wrong place, so manual focus gives you more control and precision.
- Low-light situations: Autofocus may struggle in low-light conditions, so manual focus is essential to ensure you can still capture sharp images.
- Shallow depth of field scenarios: When working with ultra-wide apertures, focusing must be precise. Manual focus allows you to carefully set your point of focus.
- Street photography: Using a technique called zone focusing with manual focus can help you capture fast-paced street scenes without the delays of autofocus.
- Creative effects: Techniques like shoot-through (focusing on a subject through a veil of leaves and branches) are easier to achieve with manual focus.
- Wide-angle photography: Autofocus may lock onto unwanted areas of the image, so manual focus gives you more control over the point of focus.
- Panorama photography: Manual focus helps maintain consistency in focusing distance across multiple images used to create a panorama.
- Hyperfocal distance photography: This technique requires precise focusing to achieve complete clarity throughout the frame, which is easier to achieve with manual focus.
- Low-contrast situations: Autofocus relies on contrast between light and dark tones, so it may struggle with low-contrast scenes.
While manual focus is powerful, it's not always the best option. It may be challenging to use with moving subjects or fast-paced scenarios, so autofocus is generally more suitable for genres like sports, wildlife, bird, event, and car photography.
Charging GoPro Batteries: No Camera, No Problem
You may want to see also

Adjust aperture settings
Adjusting the aperture settings on your camera is a powerful way to control focus, depth of field, brightness, and more. The aperture refers to the opening in the lens that lets light through to the camera's image sensor. By adjusting the size of this opening, you can control how much light enters the lens and, consequently, the focus and exposure of your image.
Most cameras allow you to adjust the aperture using an f-stop dial. The f-stop number, also known as the f-number or f-value, is a measure of how wide the aperture is. A lower f-stop number indicates a wider aperture, while a higher f-stop number indicates a narrower aperture.
By adjusting the aperture settings, you can control the depth of field in your images. A wider aperture (lower f-stop) will give you a shallow depth of field, resulting in a focused foreground and blurry background. This is great for isolating your subject and creating a soft, dreamy look. On the other hand, a narrower aperture (higher f-stop) will give you a deeper depth of field, keeping both the foreground and background in focus. This is ideal for landscapes or group photos where you want everything in the frame to be sharp.
Additionally, adjusting the aperture can help you compensate for low-light conditions. In dark environments, increasing the aperture size (lowering the f-value) will allow more light to enter the lens, resulting in a brighter image. Conversely, in very bright conditions, decreasing the aperture size (raising the f-value) can help prevent overexposure.
It's important to note that the available f-stop range will depend on your camera lens. Different lenses have different maximum and minimum aperture settings, so be sure to refer to your lens specifications for the exact values.
When using autofocus, the camera will automatically adjust the aperture to the needed values for proper exposure. However, you can still control the overall brightness and depth of field of your images by shooting in Aperture Priority mode (A or Av). This mode allows you to set the aperture manually while the camera handles the other exposure settings.
Bridge Cameras: Can They Shoot RAW?
You may want to see also

Use 'One Shot' mode
One-Shot AF is the name of Canon's Single-Servo autofocus system. This mode is used for photographing static scenes or subjects that are not moving. When you press the shutter button halfway, the camera will focus on the subject once and lock that focus. The photographer can then recompose their framing and capture images. The autofocus system will stay locked until the photographer removes their finger from the shutter release and presses it again.
One-Shot AF is best used when you don't know which mode to use as it is a good general-purpose setting. It is also a good mode to use when you want to focus on a peripheral subject not covered by the Area AF frame.
- Set the lens focus mode switch to AF.
- Switch on the camera.
- Set the Mode Dial to one of the P / Tv / Av / M / B modes.
- Press the DRIVE AF button.
- While looking through the viewfinder, or at the LCD panel, turn the main dial to select the auto-focus mode.
Note: One-Shot AF is also referred to as Single-Shot AF (Sony) and AF-S (Nikon).
Fighting a Speeding Camera Ticket: Worth the Effort?
You may want to see also

Disable autofocus in camera settings
Disabling autofocus on your camera can be done by adjusting the camera settings. Here are the steps you can follow to disable autofocus and gain more control over your photography:
For Apple Devices:
- Open the Camera app.
- Tap and hold your finger on the object you want to focus on for a few seconds.
- Once the square starts to pulse, release your finger.
- The autofocus will be locked, indicated by the AE/AF lock at the bottom of the screen.
For Windows Devices:
- Open the Start menu and locate the Camera app.
- Within the app, look for the Focus icon, usually denoted by a slider symbol.
- Select the Focus icon to access the manual focus settings.
- Use the focus slider to adjust the focus level according to your preference.
- The "M" icon will indicate that manual focus is now enabled, and autofocus is disabled.
For DSLR Cameras:
- Familiarize yourself with the basic notions of Depth of Field (DoF) and Aperture.
- Switch your camera to Av mode to have more control over the aperture setting.
- Adjust the aperture to the desired value (e.g., F/11, F/16, or F/22) to increase the depth of field and have everything in focus.
- Keep in mind that larger aperture values may require more light or higher ISO settings.
Additionally, you can prevent continuous autofocus by switching your AF mode to "One Shot" mode. This will lock the focus when you half-press the shutter button and maintain that focal length until you release and press again.
Focusing on the Right Things: Choosing Your Camera Focus
You may want to see also
Frequently asked questions
During a video call, drag down from the top right corner to access the Control Centre. Tap the "Video Effects" button, then toggle "Centre Stage" off.
This will depend on the make and model of your phone. On some Android phones, you can lock the focus by opening the camera app and pressing on the screen for 1-2 seconds. On Apple devices, you can disable autofocus by tapping and holding the screen until the focus box disappears and "AE/AF lock" appears.
Disabling autofocus can help you achieve specific photographic effects, such as having everything in focus. It can also prevent issues with autofocus causing photos to be blurry or out-of-focus, especially in low-light conditions or when there is a lot of movement in the frame.


