Manual mode is a setting on your camera that gives you full creative control over your photos. It allows you to adjust the aperture, ISO, and shutter speed to your liking, giving you more influence over how the final image looks.
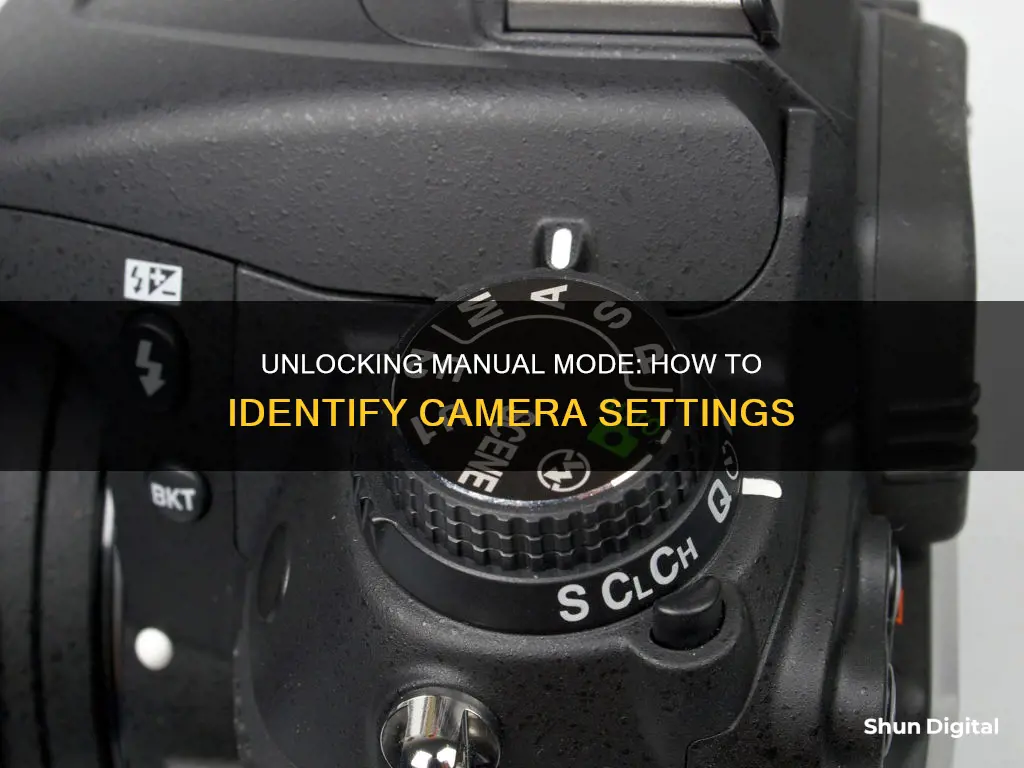
To know if your camera has a manual mode, look for the PASM or PSAM dial. This is one of the most important dials on your camera. You can switch to manual mode by rotating the dial to the M setting.
Manual mode gives you complete control over your exposure settings, including the aperture, ISO, and shutter speed. These three elements make up the exposure triangle, and balancing them is key to achieving the perfect shot.
Aperture refers to the hole in the lens that lets light through to the sensor. It is usually adjustable and is expressed as a number or f-stop. A wider aperture (lower f-stop number) lets in more light, while a narrower aperture (higher f-stop number) lets in less light.
Shutter speed refers to how long the shutter stays open, usually measured in fractions of a second. A faster shutter speed lets in less light, while a slower shutter speed lets in more light.
ISO measures the sensitivity of the camera sensor to light. A higher ISO means the sensor is more sensitive to light, resulting in a brighter image. However, higher ISO settings can also introduce digital noise, affecting image quality.
By understanding and adjusting these three settings, you can take full advantage of manual mode to capture the perfect shot.
| Characteristics | Values |
|---|---|
| Camera mode | Manual |
| Aperture | Adjustable |
| Shutter speed | Adjustable |
| ISO | Adjustable |
What You'll Learn
![]()
Aperture, shutter speed and ISO make up the exposure triangle
Aperture, shutter speed and ISO are the three sides of the exposure triangle, which work together to produce a properly exposed photograph. These three elements are all interdependent, so changing one will require an adjustment to at least one of the others to maintain the correct exposure.
Aperture refers to the size of the hole in the lens that lets in light. The bigger the hole, the more light that reaches the sensor. The aperture also controls the depth of field, with a wide aperture creating a shallow depth of field that will keep the subject sharp but the background blurry. A narrow aperture will result in a deeper depth of field, keeping the foreground and background in focus.
Shutter speed is the length of time the shutter remains open, dictating how long light is allowed to hit the sensor. A slow shutter speed will increase the amount of light entering the camera and is ideal for low-light scenes, but it will also introduce motion blur. A fast shutter speed is better for bright, well-lit scenes and for minimising motion blur.
ISO is a measure of the sensor's sensitivity to light. A low ISO means less light sensitivity and is ideal for bright conditions, whereas a high ISO means the sensor is more sensitive to light and is better for low-light conditions. However, a high ISO can introduce more noise into the final image, detracting from the overall image quality.
The exposure triangle is an essential concept for photographers to master, allowing them to capture the creative images they envision.
Street Camera Shopping: Tax Included?
You may want to see also
![]()
Manual mode gives you complete control over your exposure settings
ISO controls your camera's sensitivity to light. A higher ISO value will result in a more exposed photo, while a lower ISO value will result in less exposure. It's important to note that higher ISO values can introduce graininess and noise to your images, so it's generally recommended to use lower ISO values whenever possible.
Aperture refers to the opening in your lens that lets in light. It is measured using f-numbers, with a low f-number indicating a wide aperture and a high f-number indicating a narrow aperture. A wide aperture (low f-number) will result in a shallow depth of field, with your subject in focus and the background blurry. On the other hand, a narrow aperture (high f-number) will keep both the foreground and background in focus, resulting in a sharper image.
Shutter speed refers to the amount of time the shutter remains open, allowing light to hit the camera sensor. A faster shutter speed will result in a darker image, while a slower shutter speed will let in more light and create a brighter image. Shutter speed also affects the sharpness of your image, with faster shutter speeds freezing motion and slower shutter speeds potentially creating motion blur.
By adjusting these three settings in Manual mode, you can achieve the exact exposure and creative effects you desire. You can make your photos appear as dark or light as you want, ensure perfect sharpness, create different depth of field effects, and maintain high-quality images in low-light conditions.
Manual mode is particularly useful when you want to have complete control over your camera settings, such as when shooting in a studio or with consistent lighting conditions. It is also beneficial when you want to underexpose or overexpose your photos intentionally for creative effects or maintain consistent exposure across multiple images.
Unlocking Camera Raw: Unfiltered Power for Your Photos
You may want to see also
![]()
You can control depth of field, motion blur and image sharpness
Manual mode gives you full control over your camera's settings, allowing you to adjust the aperture, ISO, and shutter speed to achieve the desired effects. These three elements form the exposure triangle, which is essential to understand when shooting in manual mode.
The aperture controls the depth of field, or how much of your image is in focus. A wide aperture (low f-number) will keep your subject or foreground in focus while blurring the background, resulting in a shallow depth of field. On the other hand, a narrow aperture (high f-number) will keep both the foreground and background in focus, creating an image with a sharp depth of field.
Shutter speed determines how motion is captured in your image. A fast shutter speed will freeze motion, resulting in a crisp and clear image. Slowing down the shutter speed will create motion blur, capturing the movement of your subject. The longer the shutter is open, the more motion blur you will achieve. This technique is particularly useful for capturing the feeling of movement in landscapes, such as smoothing out water or capturing star trails.
ISO controls the camera's sensitivity to light. A higher ISO value increases the light sensitivity, resulting in a brighter image. However, a very high ISO can lead to a loss of sharpness and increased graininess. On the other hand, a lower ISO value reduces light sensitivity, creating a darker image but with less noise and graininess.
By adjusting these three settings independently in manual mode, you can control the depth of field, motion blur, and overall sharpness of your images. Experimentation is key to mastering manual mode, allowing you to create images that truly reflect your artistic vision.
Is Your Webbie HD Camera Charging?
You may want to see also
![]()
How to set your camera to manual mode
Setting your camera to manual mode can seem scary, but it's actually easier than it looks. Manual mode gives you complete control over your camera's settings, including aperture, shutter speed, and ISO. By manually adjusting these settings, you can achieve more creative control over your photos.
To set your camera to manual mode, follow these steps:
- Set the dial on your camera to Manual (M) mode. This is usually done by turning the mode dial on the top of your camera.
- Choose your preferred image format (JPEG, RAW, etc). RAW format is usually preferred by photographers since the images will retain maximum detail and more color information.
- Point your camera at the desired subject to assess lighting conditions.
- Adjust the white balance to the desired color on the camera's Menu. This will ensure that anything that is white in an image will appear truly white, and other colors will also appear accurate.
- Configure the basic manual shooting settings: Aperture, Shutter Speed, and ISO. These three settings determine a photo's level of exposure, and can be adjusted on the LCD screen menu or by using shortcut knobs or dials on the camera body.
Now you're ready to start shooting in manual mode! Remember that there is no magic formula for manual settings, and you'll need to tweak them as you go depending on what you're shooting and the lighting conditions. Play around with the settings and take lots of photos to get a feel for how they affect your images.
Charging the Eufy 2C: A Quick Guide to Powering Up
You may want to see also
![]()
How to set your white balance
Have you ever taken a photo and noticed that it has a bluish or yellowish tint? This is because of your camera's auto white balance setting. When you take your camera off auto, you can manually adjust the white balance to get the colours in your photo exactly as you want them.
Your camera will probably have different white balance settings, such as Daylight, Cloudy, Shade, and Flash. When you set it to one of these, you are choosing a specific colour temperature to match your setting. This is a quick way to set the colour balance, but it might not be a perfect match.
Kelvin White Balance
There is an even better white balance choice that gives you more control: Kelvin white balance. This is simply a scale of colour temperature, from the warmest colours of sunrise and yellow indoor lighting around 2500 Kelvin, to the coolest colours of deep shade around 9000 Kelvin.
How to Set Kelvin White Balance
Check your camera’s manual to see exactly how to set the white balance. Generally, in the menu where you choose Daylight/Shade, you just choose Kelvin or Custom. Then go into your menu settings and set the exact Kelvin temperature number you want to use.
Minor adjustments to the Kelvin temperature you choose can make a big difference to the final outcome. However, if you don’t mind a little editing, you can always tweak it in Lightroom.
Other Ways to Set White Balance
Auto White Balance (AWB)
Most modern digital cameras have an "Automatic White Balance" (AWB) setting. For the most part, your camera does a pretty great job of correcting the colour when this option is selected.
Custom White Balance (CWB)
If AWB isn’t making your whites and colours as true-to-life as you'd like, you can take your white balance to the next level by using the Custom White Balance (CWB) setting. The photos below show the difference between the AWB setting and the CWB setting.
Using a Gray Card or ExpoDisc
Whether you white balance using a gray card or an ExpoDisc, the principle is the same: show your camera what "neutral" temperature looks like in your particular lighting conditions. That will allow it to apply that information to your photos and correct for warm or cool lighting.
Editing in Adobe Lightroom
Now that your white balance is as good as you can get it, it's time to edit in Lightroom. Keep in mind that editing should be about enhancing an already-great photo.
The Eye Dropper Tool
The eye dropper tool is your best friend when it comes to putting the finishing touches on your white balance! In Lightroom Classic, the eye dropper is located right above the Temperature and Hue sliders in the main editing panel. In Adobe Lightroom CC and Adobe Lightroom Mobile, the eye dropper is located under the "Color" tab.
The Tint Slider
If you're seeing some purple tones in your whites, moving the Tint slider just slightly toward the green end can sometimes help bring your whites and highlights to a more neutral white. Same goes if you're seeing some green hues in your photo: move the Tint slider just slightly toward the pinky/purple end of the slider.
HSL/Color Mix Panels in Adobe Lightroom
Lightroom gives you the ability to change the Hue, Saturation, and Luminance of the individual colours in your images. In Lightroom Classic, you'll find these sliders in the HSL panel. In Lightroom CC and Lightroom Mobile, you'll find them under "Color Mixer" in the "Color" tab.
Charging Your Kodak 12MP Camera: A Step-by-Step Guide
You may want to see also
Frequently asked questions
Manual mode is a setting on your camera that allows you to have full control over your exposure settings. This means you have complete creative control, giving you more influence over how the final image looks.
Most cameras have a "PASM" or "PSAM" dial on top of the camera where you can change your camera mode. Simply rotate the dial to the letter "M" to switch to manual mode.
In manual mode, you will have control over three essential elements of exposure: ISO, aperture, and shutter speed. Balancing these three settings to achieve the perfect exposure is the main objective when shooting in manual mode.
This will depend on the lighting conditions and your desired effect. A lower ISO is generally better for image quality, but you may need to increase it in low-light situations. A wider aperture (lower f-number) will create a shallower depth of field, blurring the background, while a narrower aperture (higher f-number) will keep more of the image in focus. Faster shutter speeds will freeze motion and prevent blurry photos, while slower shutter speeds can be used to create motion blur effects.