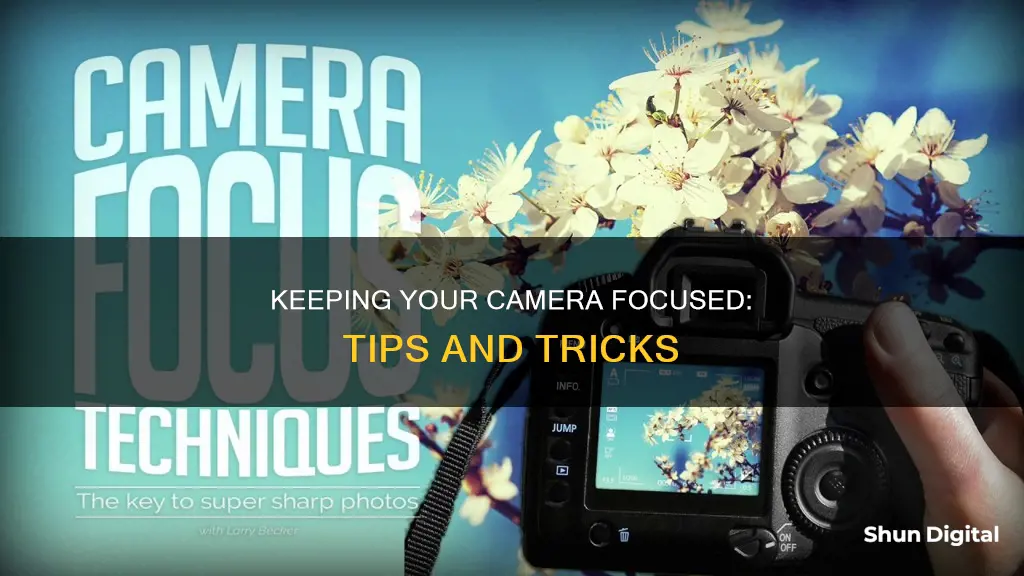
Keeping a camera in focus is a crucial aspect of photography, and there are several methods to achieve this, depending on the equipment and the situation. One common technique is to use autofocus, which automatically adjusts the focus when the shutter button is depressed halfway. However, for more control, manual focus can be utilised by twisting the focus ring on the lens. This allows the photographer to fine-tune the focus by observing the image through the viewfinder or an LCD screen. Additionally, adjusting the aperture and depth of field can influence the focus, with a larger aperture resulting in a shallower depth of field and a blurred background. When shooting with a smartphone, tapping the screen directs the focus to the desired area, and maintaining camera stability is crucial to prevent blurry images.
What You'll Learn

Use a higher aperture to increase your range of focus
Aperture is one of the three pillars of photography, alongside shutter speed and ISO. It is the opening in a lens through which light passes to enter the camera. Aperture is measured in f-stops, with a small f-number (e.g. f/2.8) corresponding to a larger aperture size, and a large f-number (e.g. f/16) corresponding to a smaller aperture size.
A larger aperture will let in more light, resulting in a brighter photograph. It will also produce a shallow depth of field, which is when the background of an image is blurred. This is often used in portrait photography to draw attention to the subject.
A smaller aperture will let in less light, resulting in a darker photograph. It will also produce a wider depth of field, which is when more of the image is in focus from foreground to background. This is often used in landscape photography to capture as much detail as possible.
- Set your aperture to around f/11 or higher to achieve a deep depth of field. This is especially useful for outdoor photography in bright conditions, where a small aperture can help prevent overexposure.
- If you are photographing a scene with a lot of depth, you will need to focus precisely to ensure that both the foreground and background are in focus. One way to do this is to use the hyperfocal distance, which is the optimum focusing distance for getting everything in focus from the foreground to infinity. To find the hyperfocal distance, double the distance from the closest object to the lens. For example, if the closest object is three feet away, the hyperfocal distance is six feet.
- If you are using a modern DSLR camera, take advantage of the live-view function to zoom in on the image on the LCD screen and manually adjust the focus.
- If your camera has a depth-of-field preview button, you can use this to see the resulting depth of field before taking the shot.
- If you are photographing at night or in low-light conditions, try using a flashlight or laser pointer to illuminate the scene and help your camera focus.
Charging the Bdpower Wi-Fi Camera: A Step-by-Step Guide
You may want to see also

Focus on the closest thing to the camera
Focusing on the closest thing to the camera is a technique that can be used in any situation, whether the range you're trying to get in focus is three feet to infinity, or three inches to nine inches. This technique is especially useful when you have objects stacked in front of each other.
- Focus on the closest thing to the camera.
- Then, focus on the farthest object.
- Finally, centre the focusing ring halfway between those distances. This means the distance marks on the lens, not halfway out in the field.
Let's say you focus on the closest thing to the camera, and it's seven feet away. Then you focus on the farthest object, and it's 20 feet away. To find the optimum focusing point, you would manually turn the focus ring until it shows that you're halfway between the 7-foot mark and the 20-foot mark on the distance scale of the lens.
If the closest and farthest distances don't align with the foot or meter marks on the focusing ring, you can mark the closest and furthest points with your fingernails. Then, focus halfway between those marks.
This technique works well if your lens has a distance scale. However, many modern lenses don't. In that case, you can try the "quick-and-dirty method":
- Use manual focus and look through the viewfinder.
- Focus on the closest object to the camera.
- Next, focus on the farthest object.
- Rock the focusing ring about halfway between those two distances.
- Check if the foreground and background look equally out of focus. If the foreground looks sharper, you've focused too close; if the background looks sharper, you've focused too far. If both look equally fuzzy, you've found the right spot.
This technique requires the aperture to be wide open, so it's easier to see what's in focus.
Charging Your PowerShot S110: A Step-by-Step Guide
You may want to see also

Use autofocus to lock onto a bright point in the image
Using autofocus to lock onto a bright point in the image is a great way to ensure your camera is focusing on the right area. This technique is especially useful when you want to focus on an off-centre subject, as your camera will usually focus on the centre of the image.
Here's how you can use autofocus lock to focus on a bright point in the image:
- Look through the viewfinder and position the focus point on the bright point in the scene that you want to focus on.
- Press the shutter button halfway down until the focus-OK lamp in the viewfinder eyepiece glows steadily, indicating that the camera has successfully focused.
- Holding the shutter button halfway down, reorient the camera so that your desired composition appears in the viewfinder.
- Press the shutter button all the way down to take the picture.
Now, your camera has locked focus on the bright point in the image, and you can take multiple shots with the same focus point without having to reset the focus for each shot.
Remember, once you've locked the focus, don't change the distance between your camera and the subject. If you move closer or farther away, the camera will end up focusing on the wrong part of the scene.
This technique is particularly useful when there is movement in the background that might trick your camera into switching focus. By locking the focus on a bright point, you can ensure that your camera remains focused on your intended subject, even if there are moving elements in the background.
Focusing Smart Cameras: Tips for Crisp and Clear Shots
You may want to see also

Use manual focus for a better tactile feel
Manual focus lenses are usually more pleasurable to focus than autofocus lenses. They have a better tactile feel, and the precise focus ring movement will assist you in getting accurate focus.
Manual focus gives you a more direct connection with your camera, and by extension, a more direct connection with your art. It is one thing for your brain to rotate the focusing ring with your left hand and stop rotating at the correct focus, and a whole different thing to wait for the green light or beep confirming focus has been achieved.
Manual focus lenses are also more reliable in low-light conditions. Autofocus struggles in low-light scenarios, especially if you’re shooting without any form of illumination. Your lens will hunt and never lock on anything, so manual focusing is a must.
Manual focus can also be useful for macro photography, low-contrast situations, and astrophotography.
Manual focus lenses are also great for street photography. One technique called zone focusing can be used to dial in a relatively narrow aperture, giving you a good depth-of-field window to work with. You can then focus manually in advance. Over time, you’ll learn precisely where the window of focus exists. Then, when you spot that perfect subject or scene, you won’t have to wrestle with focusing at all.
Manual focus lenses are also great for videography. One technique called focus peaking is part of some live view systems, mirrorless cameras, and point-and-shoot cameras. Focus peaking shows you regions in the frame where the highest contrast exists by highlighting them in a bright colour. The real advantage of focus peaking is when you are using manual focus lenses. Instead of relying on your eyesight to determine when the scene is in focus, focus peaking lets you determine the plane and depth of focus very quickly.
The Making of a Camaro: An Inside Look
You may want to see also

Use a camera with a good autofocus system
Autofocus (AF) is a standard feature in modern cameras, and while it is a great tool, it is not always perfect. The autofocus system in a camera is designed to intelligently adjust the camera lens to obtain focus on the subject. However, there are times when it fails to achieve a satisfactory focus, resulting in a blurry image. This is where a good autofocus system comes into play.
When purchasing a camera, it is essential to look for one with a robust and versatile autofocus system. The number, position, and type of autofocus points available vary across camera models. High-end SLR cameras can have 45 or more autofocus points, while other cameras may have as few as one central AF point. The more autofocus points a camera has, the more flexibility and accuracy it offers.
There are two main types of autofocus systems: phase detection and contrast detection. Phase detection autofocus, commonly found in DSLR cameras, is faster and more accurate than contrast detection, which is used in mirrorless cameras, point-and-shoot cameras, and smartphone cameras. However, most modern cameras use a hybrid AF system, combining both phase and contrast detection for optimal performance.
When choosing a camera, it is also worth considering the autofocus modes available. Single autofocus, also known as AF-S, is suitable for static subjects as it stops focusing once it locks onto the subject. Continuous autofocus, or AF-C, on the other hand, is ideal for moving subjects as it continuously adjusts the focus to ensure a sharp image.
In addition to the number of autofocus points and the type of autofocus system, other factors can influence autofocus performance. These include the light level, subject contrast, and camera or subject motion. A well-lit scene with high-contrast subjects and minimal motion will generally yield better autofocus results.
When using autofocus, it is important to ensure that the camera lens is set to autofocus mode, usually indicated as "AF" or "A" on the lens. This allows the camera to automatically adjust the focus when the shutter button is depressed halfway. Additionally, some cameras have an "auto depth of field" feature, which ensures that a cluster of focus points are all within an acceptable level of focus, making it easier to capture group photos.
While autofocus has become an integral part of photography, there are times when manual focus is preferred or necessary. Manual focus, denoted as "MF" on the lens, gives the photographer more control over the image, allowing them to fine-tune the focus by rotating the focus ring on the lens. This is particularly useful when shooting at night or in low-light conditions, as autofocus may struggle in such scenarios.
In conclusion, while autofocus is a convenient feature, investing in a camera with a good autofocus system, such as those found in high-end SLR cameras, can significantly improve your photography experience and the overall quality of your images.
How to Fight Camera-Based Speeding Tickets in Tennessee
You may want to see also
Frequently asked questions
First, switch your camera to manual focus. You can then twist the focus ring until your subject is sharp. You can also use live view mode to fine-tune the focus.
To get a blurred background, you should use the largest aperture setting. This will result in a shallow depth of field, which yields a sharply focused subject and a blurred background.
One way to focus your camera at night is to pre-focus during the day. Focus your camera at a distant object during the day using autofocus, then switch the camera to manual focus and use tape to keep the focus ring from moving.
One way to keep your subject in focus while moving is to use a high aperture. This will give you a greater depth of field, so your subject will stay in focus even as you move the camera closer or further away.


