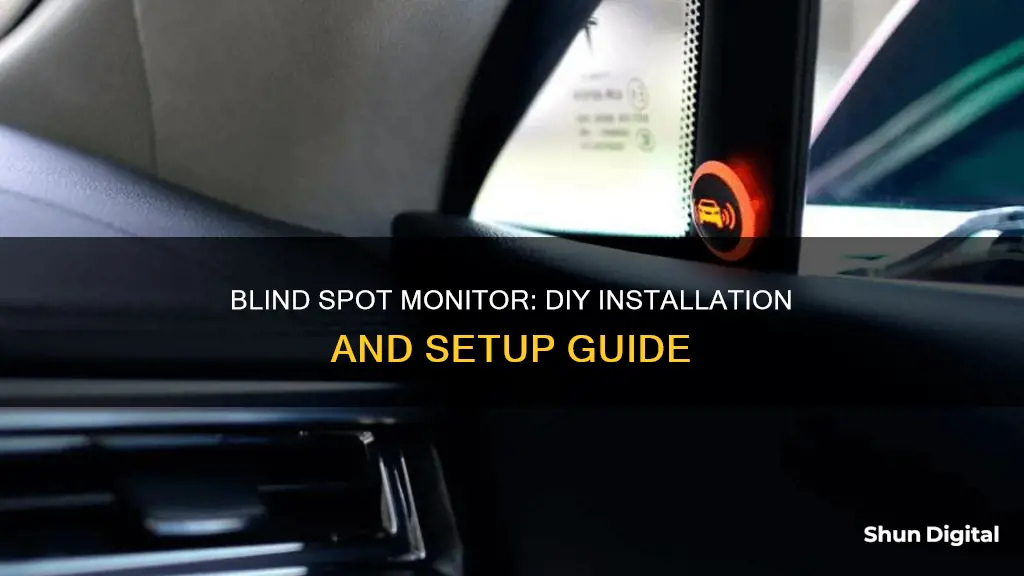
Aftermarket blind spot monitors are a great way to enhance safety on the road, especially for older vehicles or large vehicles like RVs that are not equipped with certain types of technology. These systems use sensors and, in some cases, cameras to detect vehicles in a driver's blind spot, providing both visual and audio alerts to prevent crashes and increase response time.
While professional installation is recommended, it is possible to install an aftermarket blind spot monitor yourself. The process involves marking and calibrating the placement of sensors, cleaning and adhering them to the rear bumper, mounting LED indicators inside the cabin, and adjusting the volume of alerts.
However, it's important to note that the installation process can vary depending on the vehicle and the specific blind spot monitoring system being installed. As such, it's always a good idea to consult the owner's manual or a professional for guidance before attempting any installation or modifications.
| Characteristics | Values |
|---|---|
| Purpose | Notifies driver if another vehicle has entered their blind spot |
| Installation | Professional installation is recommended, but self-installation is possible |
| Components | Sensors, indicator, control box, alarm system |
| Sensor technology | Radar, sonar, lidar |
| Sensor placement | Side mirrors, rear bumper |
| Indicator type | Visual, audible |
| Volume | Adjustable |
| Vehicle compatibility | Universal, compatible with all vehicle ages, makes and models |
What You'll Learn

Choosing the right system
Aftermarket blind spot monitoring systems are a great way to increase your driving awareness and prevent crashes. When choosing the right system for your vehicle, there are several factors to consider. Firstly, ensure that the system is compatible with your vehicle's age, make, and model. Most aftermarket systems are universal, but it is important to check before purchasing.
The next thing to consider is the type of sensor technology you want. Sensors are the eyes of the blind spot monitoring system and can include radar, sonar, and lidar technologies. Some systems even use cameras inserted into the side mirrors. Think about the accuracy you require from your sensors. Higher-quality sensors tend to be more accurate, but advanced algorithms are also necessary to differentiate between positive and false alarms.
The indicator type is another important consideration. Indicators alert you when the sensor detects a hazard, and they usually come in the form of visual LED lights and audible alarms. You can control the volume on most systems, and some even allow you to adjust the intensity and sequence of flashing lights.
Finally, decide on your budget. Aftermarket blind spot monitoring systems vary in price, with the most affordable systems selling for under $250 and the higher-end systems costing $500 or more. If you are installing the system yourself, make sure you have the necessary tools and follow the installation instructions carefully. Alternatively, you can opt for professional installation, which is recommended for more complex systems.
Best 32-Inch Gaming Monitors: Ultimate Buying Guide
You may want to see also

Sensor installation
Firstly, it is important to determine the ideal position for the radar sensor. In some vehicles, the sensor will be installed at the rear of the car, while in others, it will be placed on the side. Refer to the manual or guidelines provided with your specific blind spot monitoring system to identify the correct location for sensor installation. Once you have identified the correct position, use a double-sided sticker or the provided bracket to mount the radar sensor securely in place.
The next step is to adjust the angle of the sensor. This step is crucial as the angle directly affects the alarm area and the overall functionality of the blind spot monitoring system. You can use a protractor, which is sometimes included in the kit, to measure and adjust the angle of the sensor according to the specifications in the manual. Ensure that the radar sensor's angle matches the one mentioned in the instructions. Additionally, make sure that the radar is not mounted in an inverted position and that no metal objects are blocking the sensor.
After securing and adjusting the sensor, you will need to connect the wiring. The wiring process can vary depending on the specific blind spot monitoring system, but there are some general steps that apply to most installations. First, identify the different wires in the power supply, such as the grounding wire (usually black) and the positive and negative terminals. Connect the grounding wire to the negative pole or ground of the vehicle. Then, connect the yellow wire from the power supply to the vehicle's power source, typically the ACC 12V. Similarly, connect the red wire from the power supply to the same power source.
Next, establish the correct wiring for the indicator lights. Connect the indicator wire extension from the main wire harness to the respective side indicators. If your system includes a control box, connect all the wire harnesses to the specified terminals. Additionally, attach the buzzer and indicator light extension harness to their designated terminals. Finally, provide power to the control box by connecting it to the power source or power cord.
Once all the wiring connections are secure, test the system by starting the engine and checking if the sensors and indicators are functioning correctly. If the system does not work as expected, carefully review your connections and refer to the manual for further guidance. If issues persist, consult a professional or contact the blind spot system operator for assistance.
Identifying Your ASUS Monitor: A Step-by-Step Guide
You may want to see also

Control box installation
Some blind spot sensor systems come with pre-equipped control boxes that bring extra functions, such as increasing, decreasing, or muting the volume of the buzzer, or changing the intensity and sequence of the flashing lights. The process of installing a control box involves connecting all the wire harnesses to their specific terminals. Attach the buzzer and indicator light extension harness to their particular terminal, and then connect the control box to a power source or power cord to supply power.
It is important to note that installing a blind spot detection system can be complex and difficult, especially for high-end or top-tier detection systems with advanced alarm systems and additional control boxes. In such cases, it is recommended to seek the help of a professional technician with exceptional expertise in the field.
Chevy Equinox: Blind Spot Monitoring Feature Explained
You may want to see also

Alarm system installation
The alarm system of most blind spot monitors includes a buzzer and a pair of warning lights. The installation process is pretty straightforward and can be done by following these steps:
Firstly, decide on the placement of the buzzer and warning lights, keeping in mind that they should be easily visible and audible to the driver. A common location for the warning lights is the lower window pillar between the dashboard and side mirror. Use the double-sided stickers provided with the kit for installation. For the buzzer, you can use adhesive glue or stickers, or if it comes with a mounting pad and screws, install it in front of the dashboard near the driver's seat.
If you are installing a system with a control box, this should be mounted in a easily accessible location. Connect all the wire harnesses to the appropriate terminals, including the buzzer and indicator light extension harness. Finally, provide power to the control box by connecting it to the power source or power cord.
It is important to note that if you feel unsure about the installation process, it is best to consult a professional or contact the manufacturer for assistance.
Choosing the Right Monitor Stand: Measurements and Sizing
You may want to see also

Indicator installation
The indicator is a crucial part of any aftermarket blind spot monitor system, as it is how the system alerts you to potential dangers. Indicators typically take the form of visual LED lights and an audible alarm. You may also be able to control the volume of the indicator.
When installing the indicator, you will need to mount the LED indicators inside the cabin of your vehicle. They should be placed somewhere that is easily visible without requiring you to take your eyes off the road. For example, a common placement for indicators is on each side of the dash, near the A-pillars. This way, you know whether the other vehicle is on your left or right.
Once you have installed the indicators, you should test the system and adjust the volume to ensure that it is loud enough to hear but will not startle you.
Theatre Mode: ASUS Monitor's Unique Feature Explained
You may want to see also
Frequently asked questions
An aftermarket blind spot monitor is an advanced driver assistance system (ADAS) that notifies the driver if there is a vehicle in their blind spot, i.e., the space just off the rear quarter areas of the vehicle. This helps to prevent crashes and increases the driver's response time.
A blind spot monitor uses a set of sensors mounted on the side mirrors or rear bumper to detect vehicles in the adjacent lanes. If the sensors detect something dangerous, they alert the driver via an audible and/or visual warning. Some vehicles also use backup cameras as part of the system.
While professional installation is recommended, it is possible to install an aftermarket blind spot monitor yourself. The process involves marking sensor placement, cleaning and calibrating, sticking the sensors in place, mounting the LED indicators, and adjusting the volume.


