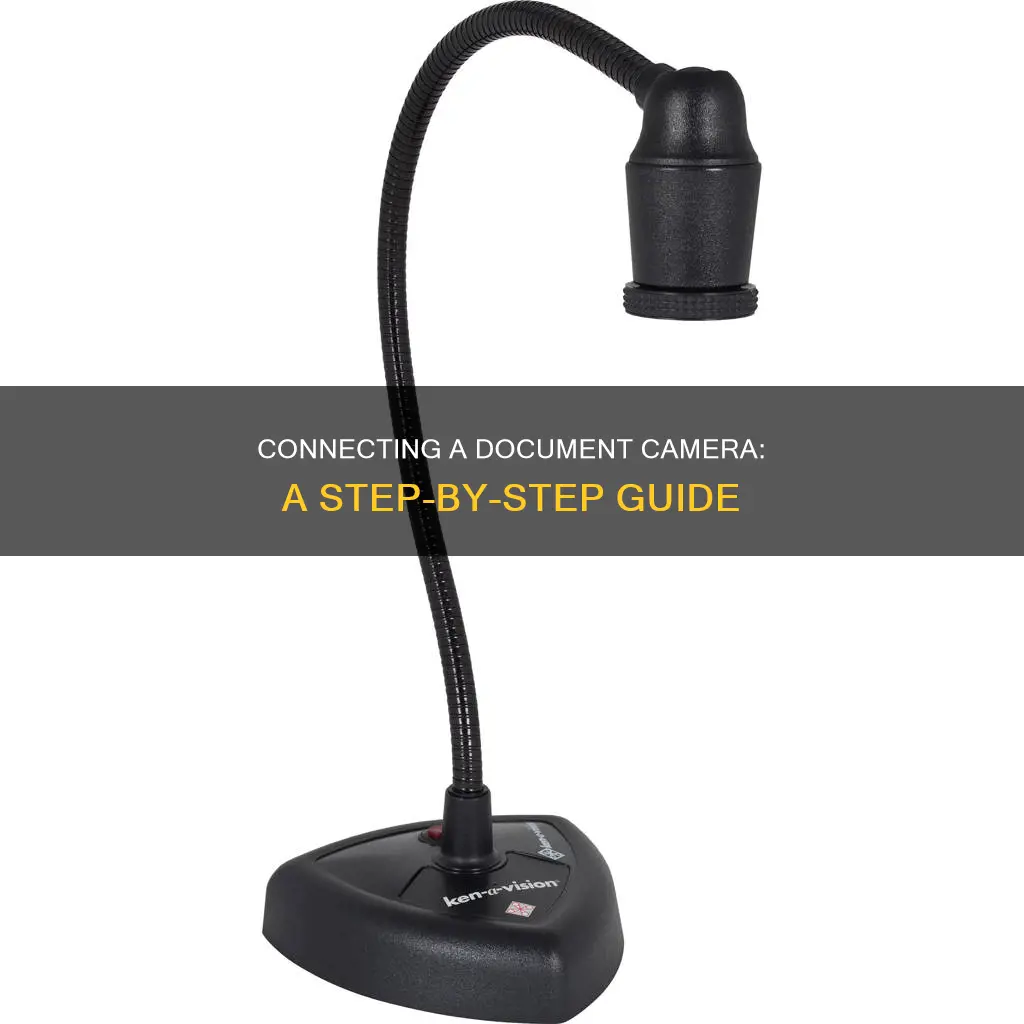
Connecting a document camera to a computer is a straightforward process. You will need a USB cable, a computer with an open USB slot, and your camera. Most document cameras made in the last few years can be connected to a computer, allowing the image from the camera to appear as a window on the computer screen. This enables users to utilise the screen capture and annotation tools of interactive whiteboard software to work with the live image from the document camera.
| Characteristics | Values |
|---|---|
| Connection type | USB cable |
| Cable shape | Standard flat USB plug for the computer, square-shaped plug for the camera |
| Software | Manufacturers' websites |
| Power | Power adapter to avoid draining the camera's battery |
What You'll Learn
![]()
Check your camera and computer ports
To hook up a document camera to a computer, you will need to use the correct cable and the right software.
The cable you need to connect the camera to the computer is a USB cable. This is the same kind of cable used for connecting printers and external hard drives. The USB cable will have a standard flat USB plug on the end that connects to the computer, and a more square-shaped plug that connects to the document camera.
Check that your document camera has a USB port that matches the USB cable. The USB port on the document camera may be labelled "USB B". If your computer does not have any available USB ports, you may need to purchase a USB hub or use a different USB port on your computer.
Once you have connected the camera to the computer using the USB cable, you will need to install the required software. You can usually find this on a CD that came with the camera, or you can download it from the manufacturer's website.
How Adobe Camera Raw Fixes Distortion Issues
You may want to see also
![]()
Connect your camera and computer with a cable
To connect your document camera to your computer with a cable, you will need the right cable and software. The cable to connect to the computer is not a video cable, but a USB cable. It is the same kind used for connecting printers and external hard drives. It will have a standard flat USB plug on the end that connects to the computer, and a more square-shaped plug that connects to the document camera.
Turn on your camera. The way to do this will vary depending on the model, but most cameras allow you to do this from a dial near the top of the camera. Plug the small end of the camera's cable into your camera. Most camera models have a port shaped like the small end of the cable on their body; this port may be hidden under a plastic flap. The plastic flap will usually say something like "Video Out".
Plug the USB cable into your computer. The USB end is rectangular and should fit into a port on your computer's side (or CPU for desktop units). Make sure that the hollow side of the USB end is on top.
Once you have the cable plugged into both the PC and the camera, make sure your camera is turned on and set to the right mode so it can be recognised by your computer. This varies by camera model, so you may have to check your manual. On many cameras, this is called "Play mode".
Your camera's drivers should now install. If this is your first time connecting your camera, this may take a few minutes. You should then see a pop-up window asking what you want to do with the device once the drivers are installed. You may be asked to select an option, follow some prompts, and select "Download" or "Save".
Simplisafe Cameras: Where Are They Manufactured?
You may want to see also
![]()
Use a software to access your camera
To connect a document camera to a computer, you will need the right cable and the right software. The cable used to connect the camera to the computer is a USB cable, specifically a USB Type-B cable. This is the same type of cable used for connecting printers and external hard drives. The USB cable will have a standard flat USB plug on the end that connects to the computer, and a more square-shaped plug that connects to the document camera.
Once you have the correct cable, you will need to download the software for your specific document camera. All manufacturers of document cameras have software download areas on their websites where you can obtain the latest version of the software. For example, if you are using a SMART Document Camera 650, you can download the SMART Document Camera software for Windows and Mac operating systems from the SMARTtech website. If you are using an interactive whiteboard, you can also download the software from the iQ app store on the display.
After you have downloaded the software, you can connect your document camera to your computer using the USB cable. Open the document camera software on your computer, and you will see a list of available cameras that you can connect to. Select the document camera you want to connect to, and if you plan to use the camera often, you can save it to your favourites list for quicker connection in the future.
Once connected, you can use the software to control the live image from the document camera. This includes freezing the image, annotating over the image, capturing screenshots, and recording video. You can also use the software to adjust the camera's settings, such as the resolution, image mode, and image frequency.
Surveillance Cameras: Crime Deterrent or Privacy Concern?
You may want to see also
![]()
Troubleshooting common issues
Check your camera settings
If your camera access is disabled in your settings, no applications will be able to use it. Open your settings, go to "Privacy", then "Camera", and allow apps to use your camera. Also, look at "Choose which apps can access your camera" and make sure the apps you require have camera access and are enabled.
Check your antivirus software
Antivirus software can sometimes prevent your webcam from working, to avoid unauthorized access. Check the settings in your software or check the antivirus software company's website for more information. Usually, all you need to do is allow access in the antivirus software by whitelisting your webcam in the privacy settings.
Install or update camera driver software
Windows will usually install the necessary camera driver when it installs the hardware, but if your webcam is not working, you may need to visit the manufacturer's website and download the driver installation package. Even if your camera driver installed initially, there may be an updated version that will solve your problem.
To update the webcam driver software, go to Device Manager and find the webcam device under the "Cameras", "Imaging devices" or "Sound, video and game controllers" branch and right-click it, then select "Update device driver" from the contextual menu.
Test your webcam with another device
Test your camera with another device to find out if it's your device or webcam that's not working. Carry out the full setup process, and if you can, test it out on a video call to prove there's nothing wrong with the webcam hardware.
Try a different USB port
If you're using a USB cable to connect your camera to your computer, try using a different USB port.
Make sure the correct device is enabled
Even if you've just connected your webcam, your computer may not have the right input device selected. Some devices also get confused when both a built-in and external webcam are available. Check the settings of the application you're using to ensure it's set to the webcam you want.
Check your hardware drivers
If you're using an external camera, try using it with a different USB port on your device first. If that doesn't work, or your camera is built into your device, try this:
- Select Start, type "device manager", then select it from the search results.
- Find your camera under "Cameras", "Imaging devices", or "Sound, video and game controllers".
- If you can't find your camera, select the Action menu, then select "Scan for hardware changes".
- Wait for it to scan and reinstall updated drivers, restart your device, then open the Camera app again to test it.
Evading Surveillance: Strategies to Outsmart Tracking Cameras
You may want to see also
![]()
Enjoy your camera and computer connection
Now that you've successfully connected your document camera to your computer, it's time to explore the benefits of this setup and make the most of your connected devices.
With this connection, you can easily transfer photos and videos from your camera to your computer for safekeeping, editing, or sharing with others. This ensures that you don't run out of storage space on your camera, as you can always offload your media to your computer. Additionally, having your media on your computer makes it easier to organise, edit, and back up. You can use built-in apps like Windows Photos or Mac Photos for basic photo management, or explore more advanced software for editing videos or using your camera as a webcam.
If you're a teacher or student, connecting your document camera to an interactive whiteboard can be especially useful. This setup allows you to use the screen capture and annotation tools of your whiteboard software to work with the live image from your document camera. You can also directly capture images and videos from the camera, enhancing your teaching or learning experience.
Remember to keep your camera's battery charged and ensure that your computer has the latest drivers and updates installed for a seamless connection. Enjoy exploring the creative possibilities that this setup offers!
Car Mode: How Your Camera Adapts for Clearer Photos
You may want to see also
Frequently asked questions
You will need a USB cable, a computer with an open USB slot, and your camera. The USB cable should have a standard flat USB plug on the end that connects to the computer, and a more square-shaped plug that connects to the document camera.
First, ensure your computer is on. Then, turn on your camera and plug the small end of the camera's USB cable into its output port. Next, plug the other end of the cable into the computer's USB port.
Once the camera is connected, you may need to install the necessary software. If your computer cannot recognise your camera, insert the CD that came with your camera or download the software from the manufacturer's website.
If you are unable to connect the camera to the computer, you can take the memory card to a photo processing centre, which should be able to copy the photos onto a CD. You can then download the photos from the CD to your computer.