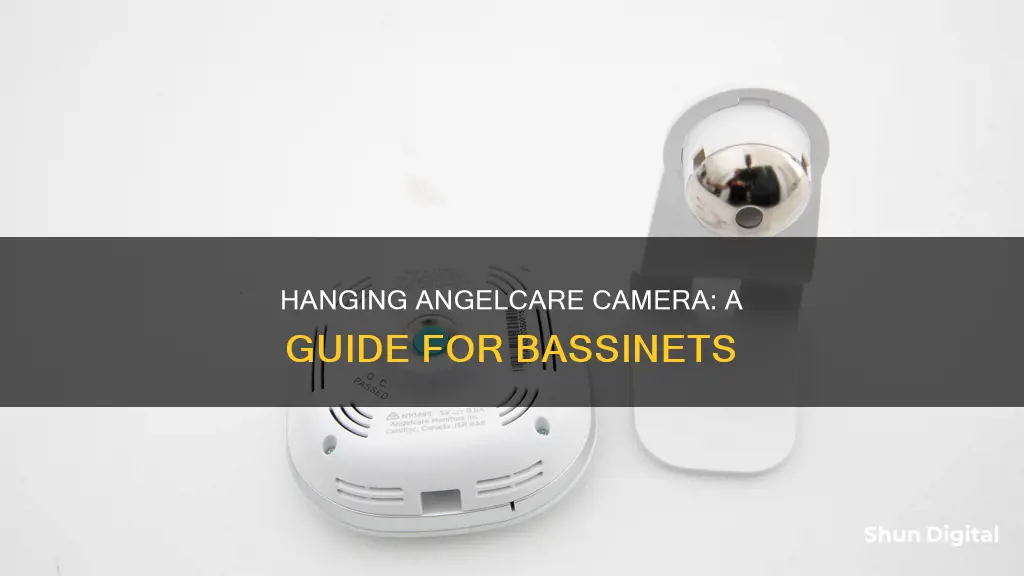
The Angelcare baby monitor is a popular choice for new parents, offering both video and audio monitoring, as well as movement detection. While the monitor provides peace of mind for parents concerned about SIDS, it can be tricky to figure out how to set it up safely and effectively. This is especially true for bassinets, where mounting options are more limited than with cribs. In this article, we'll explore different approaches to hanging the Angelcare camera from a bassinet, taking into account safety, functionality, and personal preferences.
| Characteristics | Values |
|---|---|
| Mounting options | Tripod, 3M velcro strips, lamp post clamp, wall mount |
| Crib type | Bassinet, play yard, crib |
| Motion detection | Detects movement, not breathing |
| False alarms | Occasional false alarms |
| Power source | Battery |
| Additional features | Temperature sensor, nightlight, video monitor |
What You'll Learn
![]()
Using a tripod
Choose the Right Tripod:
Look for a flexible tripod designed specifically for baby monitors. It should have adjustable legs that can wrap around the bassinet frame securely. Make sure the tripod is compatible with your Angel Care camera model.
Assemble the Tripod:
If your tripod requires assembly, follow the manufacturer's instructions carefully. Typically, you'll need to attach the tripod legs to the central column, which then connects to the camera mount.
Position the Tripod:
Place the tripod on a stable surface near the bassinet, such as a bedside table or dresser. Adjust the height and angle of the tripod to ensure the camera is positioned correctly above the bassinet, providing a clear view of your baby.
Attach the Camera:
Securely attach your Angel Care camera to the tripod's mount. Ensure that the camera is firmly in place and won't slip or fall. Some tripods may have an adapter or clip specifically designed for your camera model.
Adjust the Camera Angle:
With the tripod in place, carefully adjust the camera angle as needed. You may need to bend or wrap the tripod legs around the bassinet frame to get the perfect view of your baby. Ensure the camera is stable and won't be knocked over.
Manage Cables:
Make sure to safely manage any cables from the camera and tripod. Avoid leaving cables loose or hanging, as they could pose a safety hazard. Use cable ties or cord covers to secure them to the tripod or nearby furniture.
Test the Setup:
Once you've mounted and adjusted your Angel Care camera, test the setup to ensure it's functioning correctly. Check the camera's viewing angle, sound, and connectivity to the parent unit. Ensure the camera is stable and doesn't obstruct any movement around the bassinet.
Securing Your Privacy: Taping Over Your Computer Camera
You may want to see also
![]()
Attaching to a lamp post
Attaching the Angelcare camera to a lamp post is a good solution if you want to avoid drilling holes in the wall or damaging the crib frame.
The Angelcare baby monitor has a screw hole underneath that can accommodate a mount. However, it can be challenging to find the right mount for this particular monitor.
If you have an IKEA lamp with a tall pole, you can try to find a clamp that attaches to the pole and then attach the camera to the clamp. This will allow you to adjust the height and angle of the camera to get the best view of the crib.
Make sure the camera is positioned so that you can see the entire crib and that there are no cords within the baby's reach. You can use cable ties or wraps to keep loose cables organised and out of the way.
Another option is to use a tripod, which can be adjusted to the desired height and provides a stable base for the camera.
When attaching any equipment to a lamp post, it is important to consider the weight of the camera and the stability of the lamp post itself. You may need to weigh down the lamp post or take other measures to ensure it can safely support the additional weight of the camera.
Additionally, you can paint the camera to match the colour of the lamp post to make it less noticeable.
Camera Batteries: How Long Do They Really Last?
You may want to see also
![]()
Hanging above the bassinet
When hanging the Angelcare monitor above a bassinet, there are a few key considerations to keep in mind. Firstly, it is important to ensure that the monitor is securely mounted to avoid any accidents. While some users suggest clipping the monitor to the frame of the bassinet, others recommend mounting it on a nearby wall or surface using adhesive solutions like 3M Velcro strips or nails. Another option is to use a tripod, which can be adjusted to the desired height and angle. However, tripods may not always be stable or compact enough for smaller spaces.
When positioning the monitor, it is crucial to ensure that the camera has a clear and unobstructed view of the entire bassinet. This may involve mounting the camera at a higher position, such as 7 feet above the bassinet, to capture a bird's-eye view. Additionally, the Angelcare monitor's cord should be safely routed and kept out of the baby's reach. This is an important safety consideration to prevent any hazards.
The Angelcare monitor's motion sensor feature is sensitive to movements in the air, such as those caused by a ceiling fan. Therefore, it is recommended to avoid using a ceiling fan in the same room as the monitor to prevent false alarms. The monitor may also give false alarms if the sensor pad is not placed on a flat, hard surface. A cork board or hardboard support placed under the bassinet mattress can provide the necessary flat surface for the sensor pad to function accurately.
When setting up the Angelcare monitor, it is essential to follow the manufacturer's instructions and perform the necessary tests to ensure optimal functionality. The sensor pad should be placed in the centre of the bassinet mattress, and the four-corner test should be conducted to set the appropriate sensitivity level. This test involves patting each corner of the mattress lightly and observing if the monitor detects the movement.
Overall, the Angelcare monitor can provide peace of mind for parents concerned about SIDS or their baby's breathing patterns. While false alarms may occur, many users appreciate the reassurance that the monitor provides. Additionally, the monitor's features, such as temperature display and nightlight, can be beneficial for new parents.
Focusing Your Raspberry Pi Camera: A Step-by-Step Guide
You may want to see also
![]()
Using 3M velcro strips
Step 1: Prepare the Surface
Clean the desired surface with rubbing alcohol to remove any dust or grime. This will ensure that the velcro strips adhere properly. Make sure the indoor temperature is between 50°F and 105°F for the best adhesion. Do not use the velcro strips on soft surfaces or wallpaper, and avoid hanging the camera directly over the bassinet.
Step 2: Choose the Right Strips
Select 3M Command velcro strips that are designed for hanging pictures or other objects. These strips come in different sizes, such as medium and large, and can hold weights up to 12 pounds. Choose a strip that can accommodate the weight of your Angel Care camera.
Step 3: Apply the Strips
Follow the instructions on the package to apply the velcro strips. Typically, you will need to separate the strips, remove the liners, and stick them to the camera and the chosen surface. Press firmly to ensure a strong bond.
Step 4: Position the Camera
After applying the velcro strips, position your Angel Care camera on the bassinet by attaching the velcro strips on the camera to the matching strips on the surface. Adjust the camera angle and height to get the desired view of your baby inside the bassinet.
Step 5: Regularly Check and Adjust
Periodically check the camera's position to ensure it remains secure and does not obstruct your baby's view or movement. The velcro strips can be adjusted and reattached if needed.
Apple's Surveillance Camera Mystery: Fact or Fiction?
You may want to see also
![]()
Placing on a shelf
If you're looking to place your Angelcare camera on a shelf, there are a few things to keep in mind to ensure you get the best view of your little one while they sleep soundly in their bassinet. Here are some tips to help you get set up:
First, consider the height of the shelf. You'll want to make sure it's high enough so that the camera can see into the bassinet without any obstructions. The ideal height will depend on the size and height of your bassinet, as well as the field of view of your particular Angelcare camera model. Make sure to test out the camera at different heights to find the perfect spot.
Second, ensure the shelf is secure and stable. The last thing you want is for the shelf to wobble or, even worse, fall, so check that it's firmly attached to the wall or furniture it's mounted on. If using a free-standing shelf, consider attaching it to the wall with brackets for added stability.
Third, pay attention to the camera angle. You'll want to position the camera so that it has a clear view of your baby's entire body. Adjust the camera angle as needed to ensure you can see your baby's face and body without any obstructions. You may need to play around with the zoom and tilt functions on your camera to get the perfect view.
Fourth, manage the camera cords safely. Make sure to keep the cords away from the bassinet and out of your baby's reach. Use cord organisers or ties to neatly secure any loose cords to the shelf or nearby furniture. This will help prevent any tripping hazards and ensure your baby's safety.
Lastly, test the night vision. If your Angelcare camera has night vision capabilities, make sure to test it out in the evening to ensure you can still see your baby clearly. Adjust the camera angle and lighting in the room as needed to get the best view.
By following these tips, you'll be able to safely and effectively place your Angelcare camera on a shelf, giving you a clear view of your baby in their bassinet and peace of mind while they sleep.
Fight Camera Tickets: Know Your Rights, Texas!
You may want to see also
Frequently asked questions
Angel Care cameras have a screw hole underneath that can accommodate some kind of mount. You can try to find a mount that either clips to the frame of the bassinet or attaches to the wall. If you don't want to drill holes, you can use 3M Velcro strips with a sticky back to mount the camera to the wall. Another option is to buy a cheap tripod that can be adjusted to the desired height and angle.
Yes, the Angel Care monitor can be used in a bassinet. The sensor pad needs to be placed on a flat, hard surface, and you may need to use a hardboard support if the bassinet doesn't have a solid, stationary, completely flat, firm surface.
To install the Angel Care monitor in a bassinet, follow these steps:
- Remove the battery cover of the Sensor Pad and insert the battery with the + side facing up.
- Replace the battery cover and align the 2 dots to secure it.
- Remove the mattress from the bassinet and place the Sensor Pad with the Angelcare® logo side up in the centre of the mattress.
- If your bassinet does not have a solid, flat surface, place a hardboard between the bassinet base and the Sensor Pad.
- Replace the mattress.
- Perform the Sensor Pad Four Corner Test to set the optimal sensitivity.
Here are a few things to keep in mind:
- False alarms: The Angel Care monitor may give false alarms due to factors such as ceiling fans or the baby's position in the crib.
- Cord safety: Ensure that all cords are routed away from the baby and are out of their reach.
- Bassinet placement: If using a bedside crib, maintain a distance of at least 30 cm from your bed and ensure the crib is static and not attached to your bed.
- Limitations: The Angel Care Sensor Pad detects baby's movement and not their breathing. It may not alarm if the baby's movements are not detected properly.
Some users have reported positive experiences with the Angel Care monitor in a bassinet, stating that it provided peace of mind and helped with SIDS worries. However, others have mentioned issues with false alarms, especially when the baby moves to the edges of the bassinet or crib. Some users recommend using smaller monitors that hook onto the baby's diaper as an alternative.