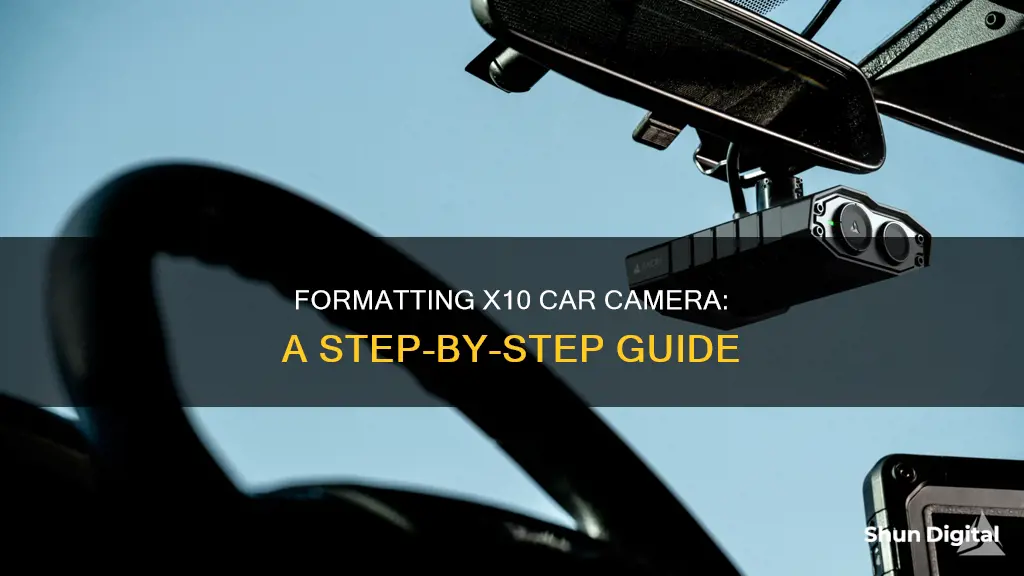
The IROAD X10 dashcam is a high-end model that captures ultra-high-resolution 4K video at a 165-degree wide angle. It is equipped with a range of features, including superior stability, efficient file handling, and extreme memory efficiency. The dashcam utilises the JDR system, which improves file system stability and eliminates the need for regular formatting. While the JDR format ensures the safety of the device and its data, users may still need to format their SD cards in certain situations. This can be done using a PC, Mac, or even the camera itself.
What You'll Learn

Formatting an SD card using a PC
Step 1: Connect the SD Card to Your Computer
Most modern computers have an SD card slot on the side. If your computer does not have an SD card slot, you can use an SD card reader that can be plugged into a USB port. If your SD card is a micro SD card, you may need an adapter to connect it to the computer.
Step 2: Open File Explorer
Once your SD card is connected, open the Windows File Explorer. In the Folder pane, select "This PC" or "My Computer." This will allow you to view all the drives connected to your computer, including your SD card.
Step 3: Locate Your SD Card Drive
Find the drive letter assigned to your SD card. The drive letter is usually assigned alphabetically, starting with "C" for the primary hard drive. Your SD card will be assigned a letter further along in the alphabet, such as "E" or "F."
Step 4: Right-Click on the SD Card Drive and Select "Format"
By right-clicking on the SD card drive and selecting "Format," you will open the "Format SD Card" dialog box. This is where you will specify the formatting options for your SD card.
Step 5: Choose the File System
In the "Format SD Card" dialog box, select the file system that is appropriate for your SD card. If your SD card has a capacity of less than 64 GB, choose the FAT32 file system. For SD cards with a capacity of 64 GB or higher, select exFAT.
Step 6: Select the Quick Format Option (Optional)
If you have formatted your SD card previously and want to perform a quick format, you can select the "Quick Format" checkbox. If this is the first time you are formatting the SD card, leave the "Quick Format" checkbox unchecked.
Step 7: Start the Formatting Process
Click on the "Start" button to begin formatting your SD card. A warning dialog box will appear, informing you that the data on the drive will be erased. Select "OK" to proceed with the formatting process.
Depending on the size of your SD card and the speed of your computer, the formatting process may take a few minutes to complete. Once the formatting is finished, you will have a fresh, empty SD card that is ready to be used in your X10 car camera or any other device.
Remember that formatting your SD card will delete all the data on it. Always back up important files to your computer or cloud storage before formatting your SD card.
Bus Camera Tickets: How Many Were Issued?
You may want to see also

Formatting an SD card using a Mac
To format an SD card using a Mac, follow these steps:
Firstly, insert the SD card into your Mac. If your Mac does not have a built-in SD card slot, you will need to use an external card reader. Ensure that the metal contacts on the card are facing down and towards the computer.
Next, open the Disk Utility application. You can do this by going to Applications > Utilities > Disk Utility, or by using Spotlight Search. With Disk Utility open, select the SD card from the list of available drives. Be careful to select the correct card if you have multiple cards or drives connected.
Now, click on the "Erase" button. Choose a file format such as FAT or ExFAT, which are the most common formats compatible with cameras. You may also see other options like NTFS or HFS+, but these are less common and usually reserved for using an SD card as an external hard drive.
Give your SD card a name, especially useful if you have multiple cards, and then click "Erase" again to begin the formatting process. This may take a few seconds or a few minutes, depending on the size of the SD card and the speed of the card reader.
Once the formatting is complete, eject the SD card from your Mac by dragging it to the trash or clicking the eject icon. You can then reinsert the SD card into your device.
Remember to always back up any important files on the SD card before formatting, as formatting will erase all data on the card.
The First Working Camera: A Historical Perspective
You may want to see also

Formatting an SD card using an Android device
To format an SD card using an Android device, you will need to first insert the SD card into your phone. The process for doing this will differ depending on your phone model. Most newer phones allow you to insert an SD card using the SIM tray. You can locate the SIM tray by looking for an oval-shaped compartment with a pinhole on the right. Once you've found it, insert a paperclip, pin, or the SIM tray tool into the pinhole and press down to eject the tray. Place the micro SD card into the tray and reinsert it into your phone.
After inserting the SD card, open the Settings app on your Android device. You can usually find it in the Quick Access menu or the Apps menu. Look for an icon that resembles a gear in the upper-right corner.
In the Settings app, navigate to the "Device care" or "Device Care" section. From there, select "Storage" and then "Portable storage" if it is available. If you see an "Advanced" option, tap on it and then select "SD Card."
Finally, tap on the "Format" option. This will initiate the formatting process and erase all data on the SD card. Make sure you have backed up any important data before proceeding.
Alternatively, you can format your SD card using a PC. Here's a general guide:
- Connect your Android device to your PC and mount it as a disk drive (i.e., mass storage mode).
- On your PC, open "My Computer" and locate your SD card/removable drive.
- In the Windows Control Panel, go to "Folder Options," then the "View" tab, and ensure that the option to show hidden files/folders is selected.
- Select all the files and folders in the drive (Ctrl-A), right-click, and choose "Copy."
- Paste the copied files into a new folder on your Desktop or another location.
- Right-click on your SD card drive and select "Format." Leave the default settings and click "Start."
- Once the format is complete, copy your backed-up data back onto the SD card.
Setting Up Outdoor Camera Feeds on Your Computer
You may want to see also

Format-free technology: JDR system
The JDR file system is GNET's proprietary technology designed to address data loss issues. Unlike other formats such as MP4, AVI, or TAT, the JDR system preallocates space for actual data files, which is why a memory card appears full even when it hasn't been used. This preallocation ensures that data is not lost when the power is cut off or disconnected, as the JDR system overwrites empty files with valid ones. This process also allows for data to be saved for up to 0.001 seconds after a power cut, ensuring that recordings are not lost in the event of an accident or sudden power loss.
The JDR system also excels in its handling of buffer memory. Instead of stacking data in the buffer memory, it immediately transfers processed data to the SD card. This approach mitigates the risk of data loss due to impacts or damage during the buffer memory's operation. Additionally, the JDR system's ability to save image files directly to the SD card as they are processed eliminates the possibility of recording failure in the event of an accident or power interruption.
Another notable feature of the JDR file system is its support for split-screen viewing. With this functionality, users can simultaneously view footage from up to four cameras on the GNET viewer, allowing for easy comparison of different angles during an incident. This capability is particularly advantageous in determining the circumstances of an accident or incident. It is important to note, however, that the split-screen feature is exclusive to JDR files, and extracting the files to other formats will result in the loss of this functionality.
The JDR file system offers a reliable and robust solution for dashcam recordings, providing peace of mind and ensuring that vital data is not lost, even in unexpected situations. Its unique approach to data handling and storage sets it apart from other file systems, making it a preferred choice for those seeking a dependable and secure recording solution for their vehicles.
Focus Camera: Price Drop Refunds and Your Credit Options
You may want to see also

Using a camera to format an SD card
Formatting an SD card will delete everything on it, including junk or corrupted files. It is a good way to reset or clear an SD card and it is recommended to do so when using a new card.
The most efficient way to format an SD card is with your camera. The steps to do so vary depending on the camera brand, so it is best to look in the camera's instruction manual or on the manufacturer's website. However, a general guide is as follows:
- Back up the files on the SD card to your computer or cloud storage service.
- Ensure the camera battery is fully charged.
- Turn off the camera and insert the SD card into the proper slot.
- Turn on the camera and select the "Menu" option.
- In the camera display, select the "Setup" menu and choose "Format", "Format Memory Card", or something similar.
- Select "OK" or "Confirm" on the camera.
- Wait while the camera formats the SD card—this may take a few minutes.
- When the SD card is formatted, turn off the camera.
It is important to note that formatting an SD card is permanent and once it is deleted, there is no way to recover the erased files. Therefore, it is crucial to back up all data before formatting. Additionally, make sure that the write-protect switch on the SD card is not turned on, as this will prevent the card from being formatted.
Beating the Seattle School Zone Camera Ticket
You may want to see also


