Focusing a camera is a critical skill in photography. If you don't focus properly, you will end up with blurry photos. Focusing can be done manually or automatically, and the process may differ depending on the type of camera you are using. In this guide, you will learn how to focus a camera, from DSLR and point-and-shoot cameras to smartphone cameras.
| Characteristics | Values |
|---|---|
| Camera type | DSLR, Point-and-shoot, Smartphone |
| Focus mode | Manual, Autofocus |
| Focus ring | Located near the front of the lens housing |
| Zoom | Controlled by the ring closest to the camera body |
| Focus distance | Measured in ft and m |
| Aperture setting | Controlled by a dial on the top of the camera |
| Shutter speed | Can be adjusted to decrease brightness |
| ISO | Set to 100 or 200 in well-lit conditions |
| Focus lock | Enabled by pressing and holding the screen |
What You'll Learn

Using manual focus on a DSLR
Switching to manual focus
To switch to manual focus, locate the focusing mode switch on your camera or lens. It will likely be labelled with “AF/MF”, where “AF” activates autofocus and “MF” activates manual focus.
Adjusting your focus
Adjusting the focus yourself is called manual focus. You can do this by turning the focus ring on the lens. If you have a zoom lens, you should have two rings: a zoom ring closest to the body of the camera, and a focus ring toward the end of the lens.
When to use manual focus
There are a few specific scenarios that benefit from using manual focus. These scenarios are often challenging for autofocus, where it either focuses on the wrong subject or struggles to find focus.
Macro
When shooting macro, the depth of field is shallow, so it's important to have complete control over what is in focus. Autofocus is challenged by macro shots and often spends too much time looking for the focus point.
Crowded settings
If you're trying to shoot a subject in a crowded setting of similar objects, the camera might have a hard time identifying exactly what you're trying to shoot.
Shooting "through" an object
You can achieve striking photos by keeping the object closest to the lens out of focus and focusing on a subject further away. In this case, use manual focus to ensure the further-away object is the one in focus.
Low light
If your lens has a smaller aperture, it will be difficult to autofocus in dimly lit scenes. So switch to manual focus, and be sure to hold the camera very steady when you get your shot.
Street photography
Locking your focus and aperture allows you to shoot continuously without changing either setting. For example, setting the focus ring on 3 meters and the aperture on F11 will result in everything between 1.8 and 7 meters being in focus.
Landscape
When shooting scenery, autofocus will often find something in the foreground, leaving the rest of the scenery blurred. In this case, focus on something far in the distance while you're in autofocus, then lock that focus by switching to manual before snapping your photo.
Tips for manual focusing
- Use your camera’s Live View function to preview a live feed of your camera’s sensor on the LCD. Magnify the image, then adjust the focus until you see perfect sharpness.
- Narrow the aperture to give yourself a larger margin of error. If you shoot at f/2.8, you must get the focus right. If you shoot at f/8, you can stray slightly behind or in front of your subject without worry.
- After taking a manually focused image, check the result on the LCD by zooming in to be absolutely sure you got the point of sharpness you needed.
- Use the focus peaking feature to see when the image is sharpest.
- When shooting with a wide-angle lens, it can be hard to control your lens’s autofocus as it might lock focus on an unwanted area of the image. In such cases, switch over to manual focus.
Charging Your Panasonic DMC-G6 Camera via USB
You may want to see also

Adjusting the depth of field
Depth of field is a foundational photography concept that relates to the amount of an image that is in sharp focus. It is the zone of sharp focus within a picture, and it can be controlled by adjusting your camera settings and choice of lens.
Aperture settings
The aperture is the opening in your lens that lets light pass through to the sensor. Aperture settings can be adjusted to control the depth of field. A small aperture lets in less light and will result in a deeper depth of field, keeping most of the image in focus. A larger aperture lets in more light and will give you a shallower depth of field, keeping only a small part of the image in focus.
Distance between camera and subject
The distance between the camera and the subject also affects the depth of field. Moving closer to the subject will result in a shallower depth of field, while moving further away will increase the depth of field.
Focal length of the lens
The focal length of the lens also plays a role in determining the depth of field. A longer focal length will result in a shallower depth of field, while a shorter focal length will give you a deeper depth of field.
By adjusting these three factors—aperture settings, distance from the subject, and focal length—you can control the depth of field in your images and achieve the desired effect.
Understanding Raw Camera Link Data: Unlocking the Power
You may want to see also

Focusing a smartphone camera
Auto-focus is a feature of digital cameras that allows them to focus correctly on a subject. It enhances the quality of the photo over fixed-focus cameras and allows for close-up shots. Auto-focus uses a motor attached to the focus group of the lens to automatically adjust the focus. It is a light-dependent method that achieves focus by means of trial and error. The camera moves the focus motor back and forth, even past the focal point, in search of the highest contrast between the pixels.
Phones use passive auto-focus with contrast measurement. This means that the camera needs contrast to focus and may struggle with a blank wall or in low-light conditions. Some phone cameras use their LEDs as a focus assist light to help in low-light conditions.
Touch focus, on the other hand, allows the user to select which part of the image the camera should focus on by touching the corresponding object in the viewfinder. This feature is only available on cameras with a touch screen. There is nothing physically different about the focus process; the user is simply choosing the area of contrast on which to base the focus.
For more experienced photographers, the focus can also be adjusted manually using a slider in the camera app. This feature is typically found in the Manual Mode or 'professional' mode' of your camera app. If your camera app does not have this feature, you can find it in many third-party apps that allow you to manually control your camera.
Manual focus gives you full control and provides creative freedom. However, it can be challenging to adjust in low lighting conditions, and it may take a while to adjust. Auto-focus, on the other hand, is quick and can be pretty accurate in most cases.
Where's the Power? 35mm Cameras and Their Battery Usage
You may want to see also

Focusing in low light
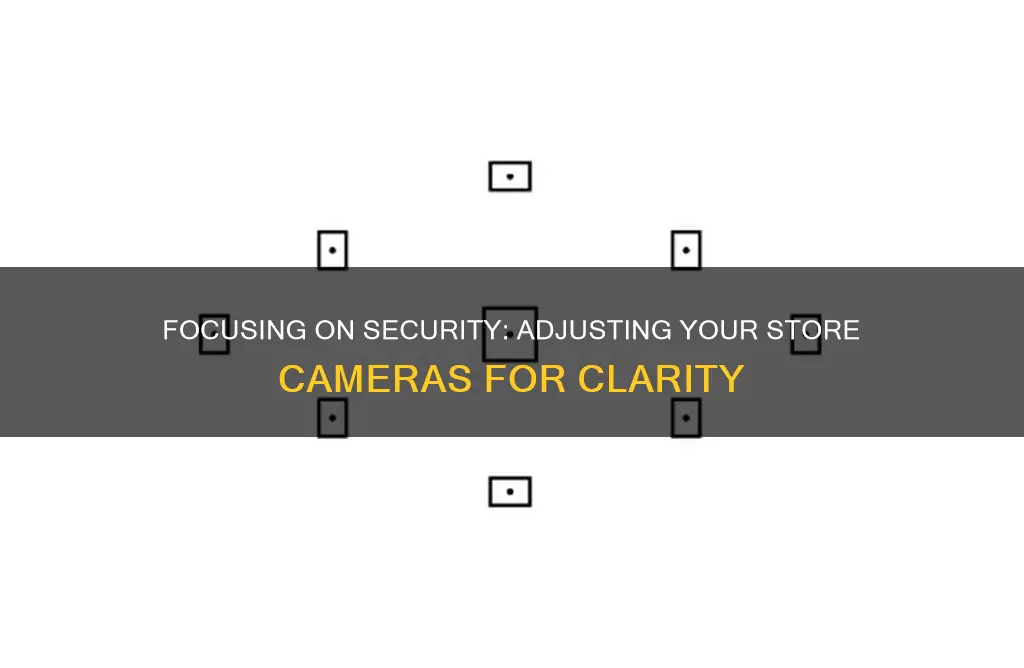
It can be challenging to focus a store camera in low light, but there are several techniques that can help you get sharp shots. Here are some detailed tips to improve your low-light photography:
Understand autofocus struggles
Firstly, it's important to understand why autofocus struggles in low light. Your camera focuses by looking for points of contrast in the subject. In low light, there may not be enough light to create the needed contrast, causing the lens to hunt for focus by zooming in and out. Modern cameras are getting better at focusing in low light, but it's still not perfect.
Use manual focus
One reliable way to get sharp shots in low light is to switch to manual focus. While it takes some practice, it can become second nature. Turn on the live view and zoom in on your subject or the part of the scene you want in focus. If your camera has it, turn on exposure simulation, or open the aperture as wide as possible to let in more light. Engage live view, then zoom in on the screen to find a bright point of light, such as a candle, a star, or a streetlight. Manually spin the focus ring until you see a smaller, sharper point of light. Engage manual focus and carefully adjust the focus ring until your subject is sharp. Go slightly past the focus point and bring it back slowly to ensure the focus is precise. Disengage autofocus to prevent the lens from hunting for focus again. Using a tripod is recommended for this technique, as low light may require a long shutter speed.
Use a flashlight
If you're struggling to see your subject, try using a flashlight to illuminate it. You can use the flashlight on your phone or a separate LED flashlight. Shine the light on your subject, autofocus, lock the focus, turn off the flashlight, and then take the photo. This method may require an assistant or the subject's cooperation, especially if you're using a tripod. Be careful not to move the camera after focusing, as it can result in losing focus.
Adjust camera settings
Adjusting your camera settings can also help with low-light focusing. Use a higher ISO, but be mindful of the amount of digital noise that may be introduced at higher sensitivities. A fast lens with a wide aperture, such as f/2.8 or f/1.4, can also help, but be aware that a wider aperture makes it harder to achieve focus due to a shallower depth of field. Finally, choose the right shutter speed—anything below 1/60th of a second may introduce motion blur from unsteady hands or moving objects.
Use autofocus assist features
Many modern cameras and external flashes have autofocus assist features that can help in low-light situations. These features typically project a red or infrared light beam onto your subject, allowing the camera to focus accurately. This method is useful for relatively close subjects within 15-20 feet. However, it may limit the number of autofocus points you can use, and the bright light may be bothersome to your subject or draw unwanted attention.
Focus on a bright area or the subject's edge
If you're not using a flashlight or autofocus assist, try to find a brighter patch in the scene on the same focal plane as your subject and focus on that area. Alternatively, focus on the edge of your subject, where there is a contrast between light and dark areas. This can help your camera's focusing system detect the necessary contrast for achieving focus.
Use live view
If your subject is too far away for autofocus assist to work, try switching to live view. In live view, your camera's autofocus works differently and is typically more accurate in low light, as it uses contrast detection autofocus. Live view allows autofocus to work in all areas of the frame, even at the edges. However, using live view may require a tripod to stabilise the camera since your arms will be outstretched.
Use back button focus
Once you've achieved focus using the techniques above, consider using back button focus to lock in your focus. This prevents the camera from trying to refocus before you take the shot.
Focus manually with the lens scale
If all else fails, you can always resort to manual focusing with the help of your lens's scale. First, turn off autofocus to avoid damaging the autofocus mechanism. Set your camera and lens to manual focus, then look through the viewfinder and turn the focus ring until your subject is sharp. If your lens has a lens scale, you can use it to judge the distance and adjust the focus accordingly.
Use hyperfocal focusing
Hyperfocal focusing is a technique mainly used for landscape photography or when shooting from a distance. It involves understanding depth of field and using a wide aperture to give yourself a greater depth of field to work with. There are also depth of field apps and calculators available to help you understand and utilise this technique effectively.
With these tips and techniques, you'll be able to improve your low-light photography skills and capture sharp, focused shots even in challenging lighting conditions.
Camera Tickets in LA: Do You Have to Pay?
You may want to see also

Focusing on moving objects
Understand the Pattern of Movement
Before attempting to capture a moving object, it's essential to understand how it moves. Is it moving erratically, like a football or hockey game, or in an expected line, like runners on a track? This understanding will guide your focusing decisions and camera settings.
Utilize Continuous Autofocus
When photographing moving subjects, set your camera to continuous autofocus mode. This mode, also known as continuous shooting mode or burst mode, will keep the focus on the object as long as you hold the shutter button halfway down. For Nikon cameras, set the focus mode to continuous-servo AF (AF-C), while for Canon, use AI Servo AF.
Adjust the AF-C Priority Selection
The AF-C priority selection setting depends on the speed and nature of the moving object. For precise timing and slower movements, like skating or cycling, use FOCUS + RELEASE (Nikon) or Focus Priority (Canon). On the other hand, for rapid movements and sudden appearances, like in football or volleyball, use RELEASE (Nikon) or Release Priority (Canon).
Choose the Right Autofocus Area Mode
The autofocus area mode determines how much of the frame will be in focus. If there are obstacles between you and the subject, use a single-point autofocus to ensure the camera focuses on the intended object. For Nikon cameras, use Dynamic AF-Area Mode, and for Canon, use AF Point Expansion. A 9-point dynamic area autofocus is generally good for most situations, while a 21-point dynamic area autofocus is useful if the subject might move towards the edge of the frame.
Maintain a Good Distance
Another crucial aspect of capturing moving objects is maintaining a good distance between the camera and the subject. Before starting the shoot, determine the ideal distance and communicate it to the subject to ensure they stay within the frame and in focus.
Use a Higher Aperture
Investing in a camera with an inbuilt autofocus system is advantageous for capturing moving objects. If you don't have such a camera, consider using a higher aperture to get clearer images. A lens with an f-stop of 2.8 or better is ideal, especially when shooting from a distance in low light conditions.
Increase ISO and Use Faster Shutter Speeds
Increasing the ISO setting makes your camera more sensitive to light, allowing for faster shutter speeds. Faster shutter speeds, typically over 1/250 of a second, will freeze the motion and produce sharp images of fast-moving objects. For emotional moments in sports, for instance, use shutter speeds of at least 1/500th of a second.
Consider Panning
Instead of keeping your lens steady, try panning it to follow the moving subject. This technique requires practice but can result in stunning images, especially with slow-moving subjects like running dogs or toddlers taking their first steps.
Remember that practice makes perfect. With time and patience, you'll master the art of capturing moving objects with your store camera.
GH5 Camera Battery Life: How Long Does It Last?
You may want to see also


