Focusing a camera is a complex art, and there are many different methods to achieve the desired effect. One popular method is to use the hyperfocal distance, which is the focus distance that gives the maximum depth of field. This means that objects beyond this distance will be in an acceptable focus. The hyperfocal distance is dependent on what level of sharpness the photographer desires. There are several formulas to calculate the hyperfocal distance, which is dependent on the focal length of the lens, the f-number, and the circle of confusion limit. This can be a complex calculation, but there are also some simple rules of thumb that can be used to estimate the hyperfocal distance. One such rule is to double the distance from the closest object and focus at that point. Another technique is to focus on the closest object, then the farthest object, and then adjust the focus ring to the midpoint between these two distances. This technique can be used in any situation and does not require a depth of field chart or app.
| Characteristics | Values |
|---|---|
| Hyperfocal distance | The distance from a lens beyond which all objects can be brought into an "acceptable" focus |
| Hyperfocal distance calculation | H = (f^2)/(Nc) + f, where H is the hyperfocal distance, f is the focal length of the lens, N is the f-number (f/D for aperture diameter D), and c is the circle of confusion limit |
| Consecutive depths of field | A lens focused at an object at the hyperfocal distance H will have a depth of field from H/2 to infinity; if focused at H/2, the depth of field will be from H/3 to H, and so on |
| Manual focus | A feature on good cameras that allows the user to manually set the focus distance |
| Focus and recompose | A technique where the user locks the focus distance by half-pressing the shutter button, then re-composes the shot before fully pressing the shutter button to take the photo |
| Focus and restage | A variant of focus-and-recompose where the background is focused on and the photo is composed without the foreground subject, then the foreground subject is introduced into the frame before taking the photo |
| Change the focusing point | A feature on most modern autofocus cameras that allows the user to choose a specific focusing point within the image area |
What You'll Learn

Use manual focus
Manual focus is a method of adjusting the focus of a camera lens by hand, as opposed to using autofocus, which relies on the camera's built-in mechanism. It is particularly useful when the autofocus might struggle, such as in low-light conditions, complex compositions, or when there are obstructions between you and the subject.
To use manual focus, first set the camera or lens to the manual focus option. This is usually accessed through a physical switch on lenses intended for use with DSLRs and mirrorless cameras, while on compact cameras, it is typically selected through the camera's controls. Look out for the symbol 'MF' to identify this setting.
Once manual focus is enabled, you can adjust the focus using the focusing ring on the lens. Observe the subject through the viewfinder or on the LCD display and turn the focusing ring until the desired point of focus is achieved. If your lens has a focus distance window, this will show you where the lens is focusing in meters and feet, aiding in precise manual focusing.
Manual focus can be especially beneficial in situations where you want complete control over the focal point, such as in macro photography or landscape photography, where precise focusing is crucial. It also comes in handy when dealing with complex compositions that include multiple objects at different distances from the camera.
Additionally, manual focus can be advantageous when shooting video, as it allows for smooth transitions between focus points without the noises of autofocus motors. It is also useful when shooting through obstructions like glass or fences, where autofocus might struggle to lock onto the desired subject.
By mastering manual focus, you can gain greater creative control over your images and overcome the limitations of autofocus in certain scenarios.
Best Camera Battery Chargers: De-A45 Edition
You may want to see also

Focus and recompose
The focus and recompose technique is a method used by photographers to capture images that are both sharply focused and well-composed. This technique is especially useful when photographing in low-light situations or when the subject is positioned at the corner of the frame, making it difficult for the camera to focus automatically.
Here's how it works:
- Select a single focus point in your camera's viewfinder, usually the centre point as it is the most sensitive and accurate.
- Half-press the shutter button to lock the focus on your subject.
- Recompose your shot by moving the camera left, right, up, or down while keeping the shutter button half-pressed. This allows you to place your subject off-centre for a more interesting composition.
- Fully press the shutter button to capture the image.
It is important to note that this technique works best with stationary subjects or subjects with limited movement, such as portraits or landscapes. If you are photographing a rapidly moving subject, the focus may shift by the time you recompose, resulting in an out-of-focus image. Additionally, focus and recompose may not be ideal when shooting with a very shallow depth of field, as even slight movements can cause the subject to move out of the plane of focus.
There are alternative techniques to focus and recompose, such as manually selecting the focus point or using your camera's autofocus mode to track and focus on the subject. Another technique is back-button focusing, where a button on the back of the camera is used to lock focus, allowing you to recompose and capture the image without worrying about shifting the focus.
The Evolution of Movie Cameras: Where Were They Made?
You may want to see also

Focus and restage
One way to focus on a specific distance with your camera is to use the "focus and restage" technique. This method involves focusing on the desired background while it is free of any foreground objects, locking the focus, and then introducing the foreground object or subject into the frame before taking the shot. Here's a step-by-step guide:
- Compose the background: Set up your camera and frame the background or scene that you want to capture, ensuring that it is free of any objects in the foreground.
- Focus on the background: Look through your viewfinder or screen and focus on the background. If your camera has autofocus, it will automatically focus on the area you select. If you are using manual focus, adjust the focus ring until the background is sharp and clear.
- Lock the focus: Most cameras have a way to lock the focus before taking a photo. This can be done by pressing the shutter button halfway down or using an "AF lock" button, depending on your camera model. By locking the focus, you ensure that it remains on the background when you introduce the foreground object.
- Introduce the foreground object: Once the focus is locked, ask your subject or foreground object to step into the frame or carefully place it in the desired position within the scene. Ensure they are positioned at the desired distance from the camera.
- Capture the shot: With the focus locked on the background and the foreground object in place, press the shutter button fully to take the photo. The camera will now capture the image with the background in focus while the foreground object appears blurry, achieving the desired effect.
The "focus and restage" technique is particularly useful when you want to include a person or movable object in the foreground. It gives you control over the focus distance while allowing you to compose the shot exactly as you want it. Remember to practice and experiment with this technique to improve your photography skills and achieve the best results.
The Standalone Camera Raw: Is It Possible?
You may want to see also

Change the focusing point
Changing the focusing point is a great way to improve your photography and get creative with your focal point.
Most modern autofocus cameras have multiple focusing points that you can choose from, allowing you to select what is in focus. You can also usually choose between several ways to balance between multiple points. For example, you can set your camera to point focus, which means it will only focus on a single point. This is great if you want to focus on a specific area of your photo, such as a person's eye.
If you want to focus on a long-distance object and blur the foreground, you can use the focus-and-recompose technique. First, point your camera at the background, then half-press the shutter button to lock the focus. Then, still holding the shutter button halfway down, point the camera back at your subject and press the shutter button all the way down to take the shot.
Another method is to use manual focus. This is especially useful if you are trying to capture wildlife photos with grass or tree branches in the foreground. Simply focus on the object you want to be sharp, and the rest of the photo will be blurry.
If you are shooting with a DSLR camera, you will see a red dot or red square in your viewfinder. This is your focal point, and you can move it around to your desired subject.
You can also get creative with your focal point by moving it around the frame. For example, you can focus on a person's eyelashes instead of their eye to create a unique photo.
Play around with the different focusing points and techniques to find what works best for you and your photography style!
Powering Qarlo Cameras: How Many Batteries Do They Need?
You may want to see also

Hyperfocal distance
The hyperfocal distance is defined as the focus distance that places the furthest edge of a depth of field at infinity. In other words, it is the closest distance at which a lens can be focused while keeping objects at infinity acceptably sharp. If you focus any closer than this, even by the slightest amount, then a distant background will appear unacceptably soft.
The hyperfocal distance is entirely dependent on what level of sharpness is considered to be acceptable. This criterion is specified through the circle of confusion (CoC) diameter limit, which is the largest acceptable spot size diameter that an infinitesimal point is allowed to spread out to on the imaging medium (film, digital sensor, etc.).
The hyperfocal distance has a property called "consecutive depths of field". For example, a lens focused at an object whose distance from the lens is at the hyperfocal distance H will hold a depth of field from H/2 to infinity. If the lens is focused at H/2, the depth of field will be from H/3 to H, and so on.
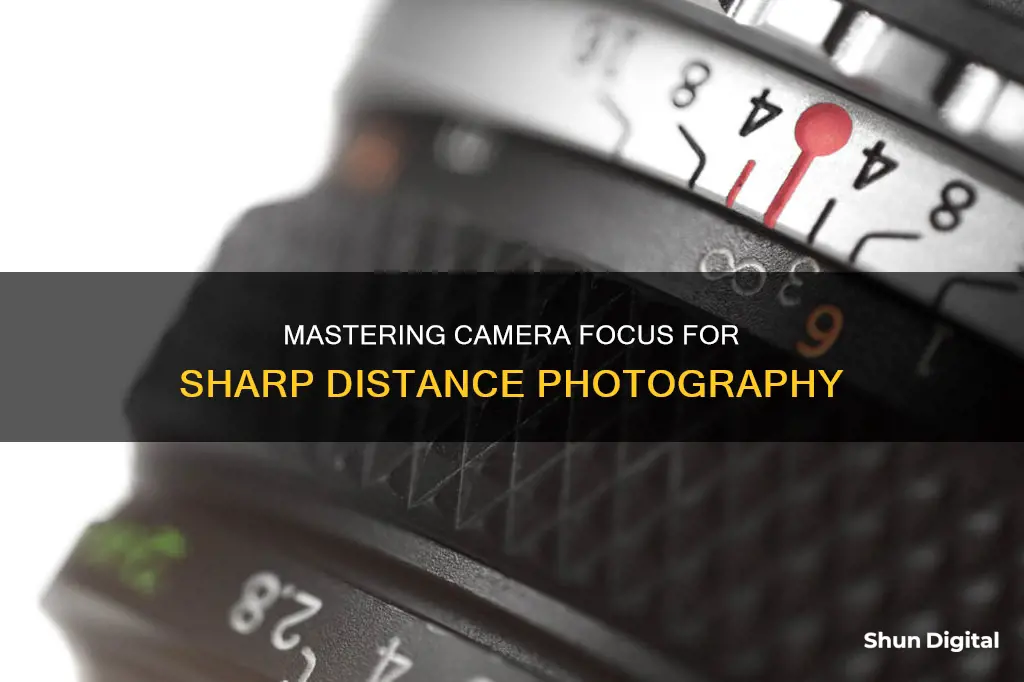
There are two methods for defining and measuring hyperfocal distance, which lead to values that differ only slightly. Some cameras have their hyperfocal distance marked on the focus dial. For example, the Minox LX focusing dial has a red dot between 2m and infinity. When the lens is set at the red dot, the depth of field stretches from 2m to infinity.
You can calculate hyperfocal distances using a different definition for "acceptably sharp" by taking into account the eyesight, viewing distance, and print size parameters. However, this will require a much higher f-stop or focusing farther away than otherwise.
There are several methods for finding the hyperfocal distance of your lens, including using a hyperfocal distance chart, a focusing scale, the double the distance method, the live view infinity focus method, the blur focus method, and split-screen focusing.
Sony Camera Production: Where Are They Made?
You may want to see also
Frequently asked questions
Hyperfocal distance is the closest distance at which a lens can be focused while keeping objects at infinity acceptably sharp. When the lens is focused at this distance, all objects at distances from half of the hyperfocal distance out to infinity will be acceptably sharp.
The hyperfocal distance is approximately double the distance from the closest object to the lens. So, if the closest object to the lens is three feet away, then the hyperfocal distance is six feet.
There are several methods to achieve this effect:
- Use manual focus
- Focus and recompose
- Focus and restage
- Change the focusing point
The Equally Fuzzy Principle is a quick-and-dirty method to check if your image is in focus. Check that the foreground and background look equally out of focus. If the foreground looks sharper than the background, you’ve focused too close. If the background looks sharper than the foreground, you’ve focused too far.


