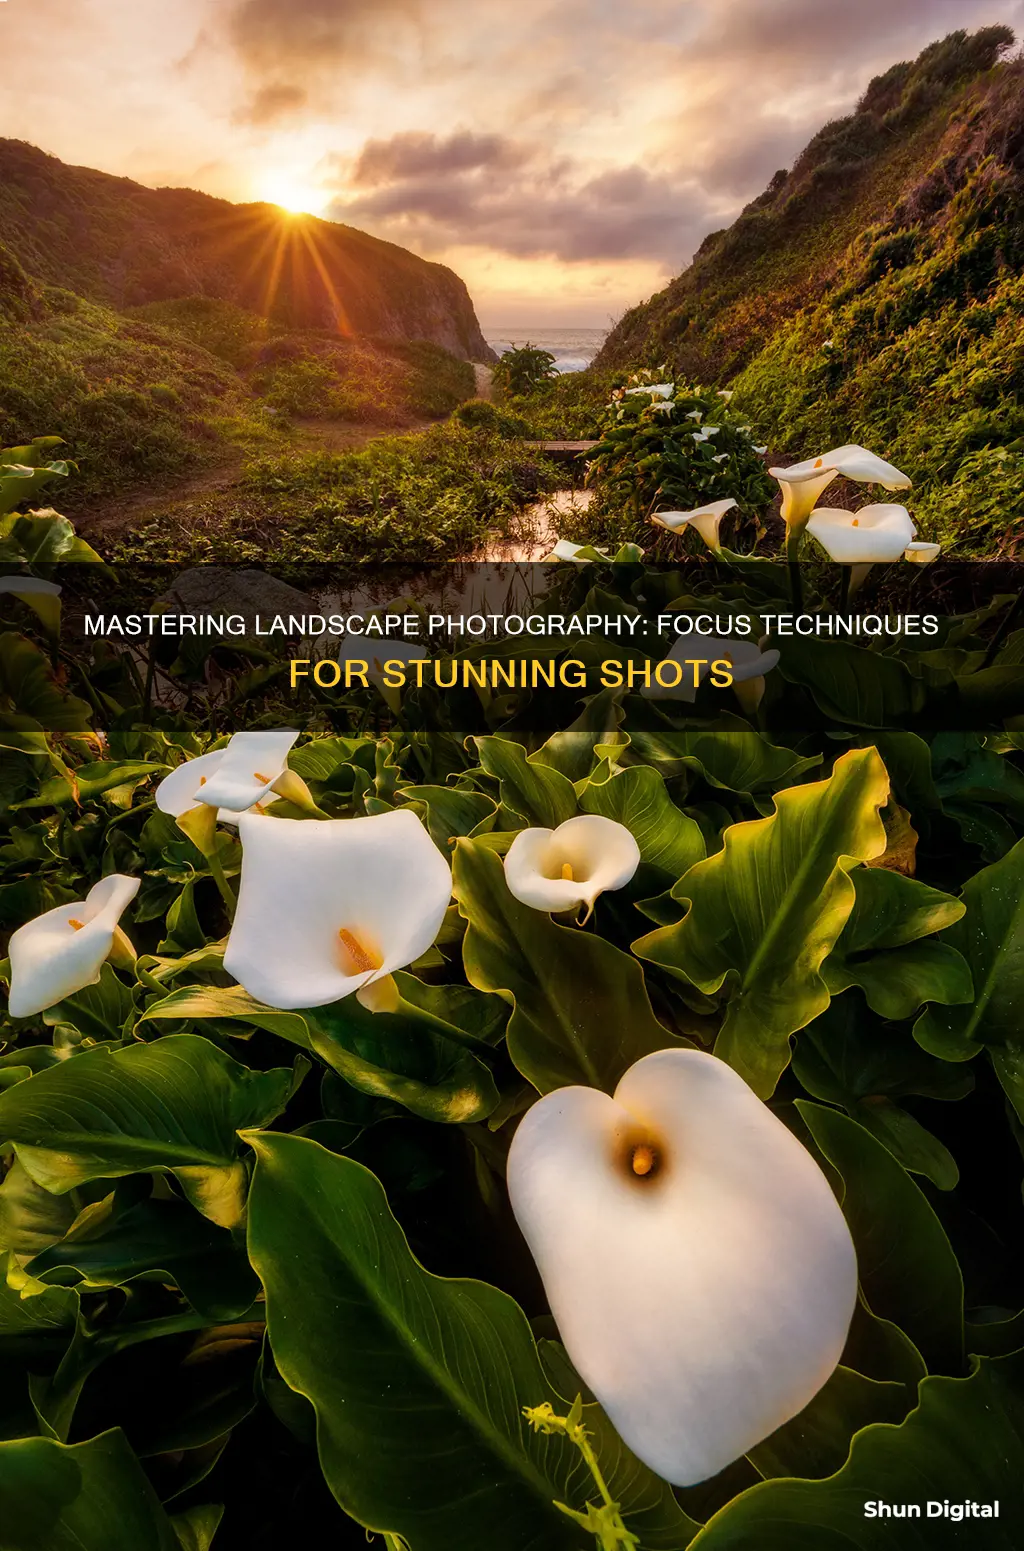
Focusing is a crucial aspect of landscape photography, as it determines the sharpness and overall quality of the image. The goal is to achieve crystal-clear sharpness from the foreground to the background of the scene, capturing all the intricate details that make a landscape photo captivating. While some photographers might assume that setting a large aperture number and focusing a third into the scene is the standard approach, there are various techniques and settings to consider for optimal results.
This includes understanding the role of aperture in depth of field, utilising autofocus or manual focus effectively, employing the hyperfocal distance technique, and experimenting with focus bracketing and focus stacking for more complex scenes. Ultimately, by mastering the art of focusing, photographers can elevate their landscape images from good to truly exceptional.
| Characteristics | Values |
|---|---|
| Focal point | Something of interest in the foreground, e.g. cracks in the ground, flowers, patterns in the sand |
| Focal point position | About a third of the way from the bottom of the picture |
| Camera settings | Adjust depth of field, use Live View, use manual focus, use autofocus, use hyperfocal distance |
| Depth of field | Maximise depth of field, use a small aperture (but be aware of diffraction softening image sharpness) |
| Focus stacking | Take several shots with different focal points, then blend them together in post-processing software |
| Focus point | Focus on the subject, but be aware of the whole scene |
| Aperture | Use a high aperture f-number for sharp shots, but don't narrow the aperture too much to avoid softness |
| Focus bracketing | Take several shots, adjusting the focus slightly each time |
| Hyperfocal distance | The closest focus distance at which objects at infinity are still in focus; can be calculated using an app |
| Manual focus | Use the LCD screen to magnify the area you're focusing on |
What You'll Learn

Use autofocus when it's working well
Autofocus is a great tool for landscape photography, especially when you're in a hurry or when lighting conditions are good. It's also more accurate than manual focus, as it minimises human error.
However, autofocus isn't always reliable. For example, it can struggle in low-light conditions or when there is very little contrast in the scene. In these situations, it's best to switch to manual focus.
- Avoid autofocus area modes where the camera tries to guess what your subject is. Instead, use single-point and single-servo autofocus.
- Use a high-contrast point for focusing, like blades of grass or the edge of a rock, rather than something like a cloud.
- If you're shooting on a tripod and adjusting your composition between shots, use back-button focus so that focusing is decoupled from the shutter button. That way, you can lock the focus and take multiple shots without having to refocus each time.
- If you're shooting handheld, continuous-servo autofocus is a good option as it will constantly adjust the focus as you hold down the button.
Traffic Tickets: Portland's Camera Enforcement Strategy
You may want to see also

If autofocus isn't working, use manual focus in Live View at 100% magnification
If autofocus isn't working, it's time to switch to manual focus. This is a common issue for landscape photographers, especially at night or when there is very little contrast in the scene.
To use manual focus, you'll need to:
Set up your equipment:
- Mount your camera on a sturdy tripod to provide stability and allow for more precise focusing.
- Switch off any in-camera or lens image stabilisation (IS) to avoid softening your shots and wasting battery life.
- Set your camera to Live View mode. This will allow you to see the scene on your LCD screen rather than through the viewfinder, giving you a larger and more detailed view.
- Use the buttons on the back of your camera to increase the magnification to 100% over your chosen focal point.
Focus the shot:
- Slowly rotate the manual focus ring on your lens until your focal point appears as sharp as possible.
- Take your shot!
Using manual focus in Live View at 100% magnification is a precise and effective way to ensure your landscape photos are sharp and focused, even when autofocus isn't an option.
Kodak Camera Charging: How to Know It's Charging?
You may want to see also

Use Live View for autofocus, except for fast-moving subjects
When it comes to autofocus, Live View is a powerful tool for photographers. It allows you to view the sensor's feed on the rear LCD screen of your camera, essentially letting you see how your images will turn out before you capture them. Live View is especially useful for landscape photography, as it offers a different perspective that can help you evaluate your compositions more effectively. It is also beneficial when you need to capture images from tricky angles, such as low-angle landscapes.
However, there is one important exception to using Live View for autofocus in landscape photography: fast-moving subjects. In such cases, it is better to use the viewfinder for autofocus. Live View has a slight lag, which can make framing shots of moving objects more challenging. Additionally, the viewfinder allows you to block out distractions and provides a more up-close and immersive view of the scene.
For landscape photography, the viewfinder is particularly useful when capturing fast-moving elements like ocean waves. In these situations, Live View may not be quick enough to keep up with the dynamic nature of the scene. Therefore, it is recommended to use the viewfinder for autofocus when dealing with fast-moving subjects in your landscape shots.
By understanding the strengths and limitations of Live View and the viewfinder, you can make informed decisions about when to use each feature for autofocus in your landscape photography.
Charging the XP Waterproof Camera: A Step-by-Step Guide
You may want to see also

Autofocus with the AF-ON button
By assigning the autofocus function to a different button, you can lock the focus for multiple shots without needing to switch in and out of manual focus. This is especially useful in landscape photography, where you may want to keep the focus locked on a specific point while you adjust your framing or take multiple shots.
The AF-ON button is usually located at the back of your camera, within easy reach of your thumb. On some cameras, it may be labelled as the AE-L/AF-L button, while others may allow you to assign the autofocus function to a custom button.
Using the AF-ON button for autofocus can take some time to get used to, but many photographers find it to be a faster and more efficient way to focus their camera, not just for landscape photography but for other genres as well.
It is worth noting that autofocus works best when there is enough light and contrast for the camera to latch onto. In low-light or low-contrast situations, such as during the night or in thick fog, manual focus may be a better option. Additionally, when photographing subjects with minimal detail, such as clouds, autofocus may struggle, and manual focus may be preferred.
Samsung Galaxy S10: Night Mode Camera Feature Explained
You may want to see also

Use single-servo autofocus for stationary subjects
Single-servo autofocus, also known as AF-S, is the best option for stationary subjects in landscape photography. This mode is designed for subjects that are not in motion, and it allows you to lock your focus on a specific point and then recompose your shot without losing focus.
Here's how it works: when you half-press the shutter button, the autofocus is activated and the camera sets the focus. Once the focus is achieved, it remains locked in place even if you continue to hold down the shutter button or decide to recompose your shot. This means that you can focus on your subject, and then freely adjust your camera position or framing without losing focus on the subject. This is particularly useful in landscape photography, where you often have a stationary subject and want to capture a specific focal point within the scene.
Single-servo autofocus is commonly used in other types of photography as well, including architectural photography, cityscape photography, and still life photography. It is also useful for certain types of portrait photography where the subject is still and not moving around.
However, it's important to note that single-servo autofocus may not be the best choice if your landscape scene includes moving elements. In such cases, continuous-servo autofocus (AF-C) might be a better option as it continuously tracks the movement and adjusts the focus accordingly.
Charging Your Camera: Can You Still Capture Shots?
You may want to see also
Frequently asked questions
The best way to focus your camera for landscape photography is to use the double-distance method. This means focusing on a point that is twice as far away as the closest object in your photo. This will give you a foreground and background that are equally sharp.
The hyperfocal distance is a formula that helps photographers maximise the zone of focus for any given focal length and aperture combination. When a lens is correctly focused on this point, the depth of field will extend from half this distance to infinity.
Focus bracketing is a technique where you take several photos of the same scene, adjusting the focus slightly for each shot. This increases the likelihood of getting a sharp, detailed image.
Focus stacking is a technique where you take multiple shots of the same scene, each with a different focal point. You then blend them together in post-processing software to create a single image that is sharp from the foreground to the background.


