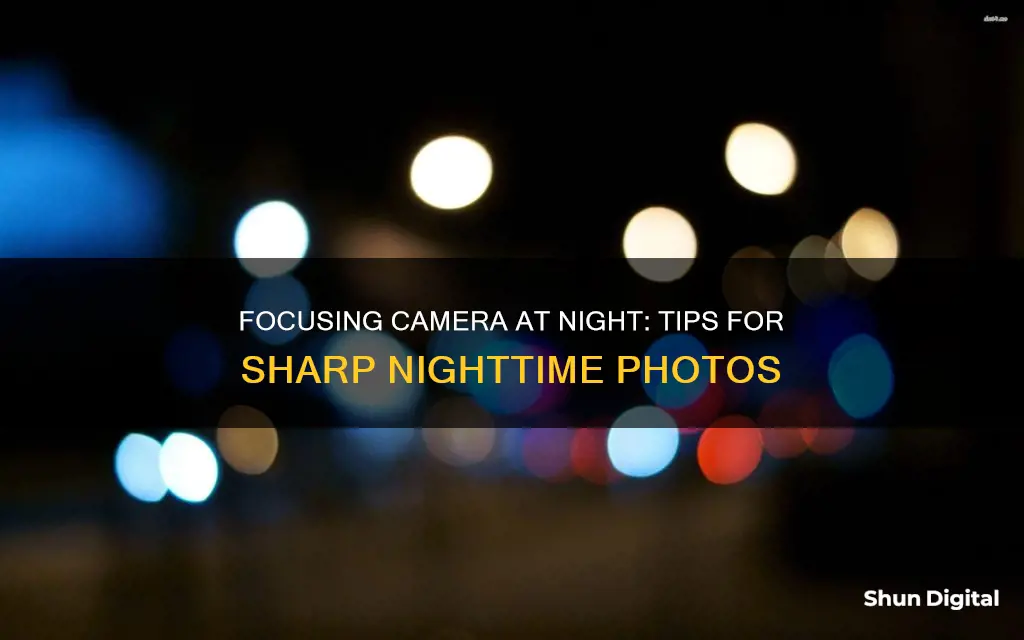
Focusing a camera at night can be challenging, especially when there is a lack of light sources or bright objects in the sky. However, with the right techniques and tools, it is possible to capture sharp images of the night sky, including the Milky Way. Here are some tips to help you focus your camera at night:
- Use a manual-focus prime lens and turn the focus ring to infinity. This is a simple and quick method, especially when focusing on distant objects.
- Autofocus your lens during the day, then switch to manual focus and use gaffer tape to secure the focus ring in place once it becomes dark.
- If there are distant light sources available, such as streetlights or the moon, you can autofocus on them. Just remember to recompose your shot after focusing.
- Use a flashlight to illuminate your subject and help the autofocus lock on. Alternatively, place the flashlight in the scene near your subject to create a bright spot for autofocus.
- Utilise the Live View feature on your DSLR to zoom in and manually focus on a bright star or light source.
- If your camera doesn't have Live View, you can still use manual focus by pre-focusing on infinity before heading out and marking the spot with tape or a pen.
- Use hyperfocal distance to maximise the depth of field and get everything from your subject to the horizon in focus.
- If you're shooting with a wide aperture and a wide-angle lens, manually focus just shy of infinity to increase your chances of having the entire scene in focus.
- Remember that digital photography allows for do-overs, so take test shots, review the focus, and adjust as needed.
| Characteristics | Values |
|---|---|
| Use autofocus or manual focus | Autofocus may not work in low light conditions. Manual focus is more reliable at night. |
| Use a manual-focus prime lens | Quick and simple to mount a manual-focus prime lens and turn the focus ring to infinity. |
| Autofocus in daylight | Autofocus your lens in daylight, then immobilise the focus ring with gaffer tape. |
| Autofocus on a distant light | Autofocus on a bright light source, such as a street light or the moon. |
| Use a flashlight | Shine a flashlight on your subject to create enough light for autofocus to work. |
| Use Live View | Use Live View to zoom in on your subject and manually focus with precision. |
| Use the hyperfocal method | Hyperfocal distance allows you to focus on everything from your subject to the horizon without needing AF or flashlights. |
What You'll Learn
![]()
Use a manual-focus prime lens
Focusing a camera at night can be challenging, especially when you can't see anything. Using a manual-focus prime lens is the simplest way to focus in low-light conditions. Here are some tips to help you master this technique:
Understand the Benefits of Manual-Focus Prime Lenses
Manual-focus prime lenses offer several advantages over autofocus lenses when shooting at night. Firstly, they provide more precise control over your shots, allowing you to make intentional adjustments to achieve the desired focus. This level of control is particularly useful when shooting in low-light conditions, as autofocus systems may struggle to find the correct focus point. Additionally, manual-focus prime lenses are often more pleasurable to use due to their tactile feel and smooth focus ring movement, further aiding in achieving accurate focus.
Switch to Manual Focus Mode
To use a manual-focus prime lens, start by switching your camera to manual focus mode. This will give you the ability to make fine-tuned adjustments to your focus. Locate the "AF-MF" switch on the side of your lens and set it to "MF" to enable manual focus mode. From here, you'll need to use the focus ring on your lens to adjust the focus, rather than relying on the camera's autofocus system.
Focus on Infinity
If you're shooting night scenes in natural spaces, you'll often be focusing on infinity. To do this, simply turn the focus ring on your manual-focus prime lens to the infinity mark, which is usually indicated with the infinity symbol (∞). This will ensure that everything beyond a certain distance is in focus, capturing the vastness of the night sky or a distant landscape.
Pre-Focus During the Day
A useful trick to speed up your night photography workflow is to pre-focus your lens during the day. Use autofocus to focus on a distant object, then switch your camera to manual focus mode and secure the focus ring with a piece of gaffer tape to prevent accidental adjustments. This technique ensures that your camera is ready to capture sharp images as soon as the sun sets, without the need for last-minute focusing adjustments.
Use Hyperfocal Focusing
Hyperfocal focusing is a technique that allows you to achieve a large depth of field, ensuring that objects at various distances are all in focus. To utilize this method, set your lens to a specific aperture, such as f/8 or f/11, and adjust the focus ring so that the infinity mark aligns with the corresponding aperture setting on the lens. This will give you a broad range of distances, from a few meters to infinity, that will be in sharp focus. Hyperfocal focusing is especially useful when shooting in bright lighting conditions, as it eliminates the need for focusing altogether.
Fine-Tune Your Focus with Live View
When shooting with a DSLR camera, take advantage of the Live View mode. This feature allows you to use the LCD screen as your viewfinder, providing a magnified view of the scene. By zooming in on your subject, you can make precise manual focus adjustments until it appears crystal clear. This technique is particularly useful in low-light conditions, as it helps you achieve critical focus even when the view through the optical viewfinder may be too dark.
The Evolution of Contax Cameras: A Global Journey
You may want to see also
![]()
Auto-focus in daylight
- When wrapping up your daytime shoot, autofocus your lens to infinity or on your desired subject. Then, turn off the autofocus and use gaffer tape to immobilize the focus ring. This way, when night falls, you'll be all set to capture sharp images without worrying about focusing again.
- Modern autofocus technology has made it easier than ever to achieve accurate focus during the day. Take advantage of this technology to ensure your lens is properly calibrated and focused before the sun sets.
- If you're planning to photograph a specific subject at night, such as a windmill or a tree, try to autofocus on that subject during the day. This will ensure your camera is optimized for that particular scene, and you won't have to worry about focusing in the dark.
- If you're using a DSLR camera, make sure to enable Live View mode. This will allow you to use the back LCD monitor to frame your shots, as the eye-level viewfinder may be too dark to see through at night.
- Remember that autofocus may not work reliably in very dark conditions, so it's always a good idea to have a backup plan, such as manual focusing techniques or using a flashlight to illuminate your subject.
Vivotek Cameras: Where Are They Manufactured?
You may want to see also
![]()
Auto-focus on a distant light
Focusing a camera at night can be challenging, especially when you can't see anything. One technique you can use is to auto-focus on a distant light source. Here are some tips on how to do this effectively:
- Look for a bright light source: Search for a distant light source such as a street light, a city skyline, or a car headlight. The more contrast between the light and the surrounding darkness, the better.
- Use autofocus: Point your camera at the light source and use the autofocus feature. This will allow your camera to lock focus on the light, even in low-light conditions.
- Adjust your settings: Depending on your camera model, you may need to adjust your focus mode to AF-S (Single Servo/Single Area AF) or enable Live View to use the back LCD monitor for framing your shots.
- Lock the focus: Once your camera has focused on the light source, lock the focus by taping the focus ring with gaffer tape or using the autofocus lock button. This will prevent the camera from refocusing when you recompose your shot.
- Recompose your frame: After focusing on the light, you can now point your camera at the scene you want to capture. As long as the light source is far enough away, your camera should be able to achieve "true infinity" focus, keeping everything in the frame sharp.
- Take a test shot: Before capturing your final image, take a test shot and review it to ensure that the focus is accurate. Make any necessary adjustments to your focus or settings before taking your final photo.
Remember that not all autofocus systems are created equal. Some modern cameras, like the Sony a7S or a7SII, can autofocus in extremely low light conditions, while others may struggle. Additionally, the accuracy of autofocus also depends on the aperture of your lens, with faster lenses (e.g. f/1.8) sometimes resulting in lower depth of field and longer focus times.
Fighting Parma: Contesting Camera Tickets
You may want to see also
![]()
Use live view and a loupe
Using live view and a loupe is a great way to focus your camera at night. Here's a step-by-step guide on how to do it:
First, make sure you have the right equipment. You'll need a camera with a live view mode, preferably one that offers focus assist features like focus peaking and focus magnification. You'll also need a loupe, which is a small magnifying device that can be placed over your camera's LCD screen.
Start by switching your camera to manual focus mode. This will allow you to have more control over the focusing process. If your camera has an autofocus mode, it may struggle to focus in low-light conditions.
Next, find a bright star or planet in the sky and centre it in your frame. If you're having trouble spotting one, try using a laser pointer or a distant light source such as a building or a street light.
Now, enable live view on your camera. This will allow you to see what your camera sensor sees in real time. Depending on your camera model, you may need to refer to the user manual to find out how to enable live view.
Once live view is enabled, zoom in on the bright star or planet using the digital magnification function. This will help you fine-tune the focus. If your camera has focus peaking enabled, you should see regions of high contrast highlighted in a bright colour, making it easier to focus.
Finally, place the loupe over your camera's LCD screen to further magnify the image. Adjust the manual focus ring on your lens until the star or planet appears sharp and pinpoint-like. Remember that perfect focus is achieved when the star looks as small as possible.
Using live view and a loupe is a precise way to focus your camera at night. It may take some practice, but it will help you capture sharp and focused astrophotography images. Remember to keep an eye on your camera's battery life, as live view can drain the battery faster.
Fighting Camera Tickets: Your Legal Strategy in Court
You may want to see also
![]()
Use the hyperfocal method
Hyperfocal distance is defined as the distance, when the lens is focused at infinity, where objects from half of this distance to infinity will be in focus for a particular lens. Hyperfocal distance is important because everything from half of the hyperfocal distance out to infinity will be acceptably sharp.
Hyperfocal distance and depth of field (how much of a given scene is in sharp focus) are interrelated. Hyperfocal distance in landscape photography and similar genres is important because it allows photographers to maximise the depth of field in their images.
Hyperfocal distance is calculated by using hyperfocal distance charts or online/app-based hyperfocal distance calculators. The precise hyperfocal distance value depends on your lens focal length and your camera sensor size. Most hyperfocal distance charts include both values in the table for a simple understanding.
To focus on the hyperfocal distance, you can use either manual or automatic focus. It is recommended to use manual focus to hit the precise hyperfocal distance point in the frame. If your camera has focus peaking, enable it to gauge where the plane of focus is while making adjustments. Magnification via Live View also helps bring hazy details into clear focus.
If you are not entirely certain whether you’ve found the hyperfocal distance, it’s always better to go slightly further out rather than closer to the camera. The closer the chosen point is to the camera, the more out of focus the background will be.
- Hyperfocal focusing comes into play when you want to maximise the depth of field in your image. If you have a foreground subject that’s of interest but you also want an acceptably sharp background, you need to be aware of your lens’ hyperfocal distance. However, if there is nothing in the foreground of interest, focusing on infinity is much faster and ensures your important background elements have the greatest sharpness.
- The aperture value (how much light is taken in through the lens) significantly impacts the hyperfocal distance and depth of field. When using small apertures like f/11 or f/16, you can photograph relatively near subjects while still having an acceptably sharp background. If you’re using a wide aperture like f/1.4 or f/2, the hyper-focus distance will be further away and you’ll have to focus on a more distant subject for the rest of the background to look crisp. This will make it difficult to have both foreground and background in focus at the same time.
- Hyperfocal distance is best implemented when the subject matter extends far into the distance, and if no particular region requires more sharpness than others. Even so, it's often helpful to use a more rigorous requirement for "acceptably sharp," or to focus slightly farther and improve background sharpness.
Launching Adobe Camera Raw: A Quick Guide
You may want to see also
Frequently asked questions
You can use a flashlight to focus on something 40-50 feet away. Alternatively, you can use autofocus to focus on a bright spot, such as a streetlight or the moon, and then recompose your shot.
The best way to focus a camera at night is to use manual focus. You can do this by eye, or by using the Live View function on your camera to zoom in on your subject and manually adjust the focus until it is sharp.
To focus on the stars, you should first switch your camera to manual focus and set the lens to infinity. Then, find the brightest star you can and put it in the centre of your frame. Use the magnification feature on your camera to zoom in on the star and adjust the focus until it is as small and pinpoint-like as possible.