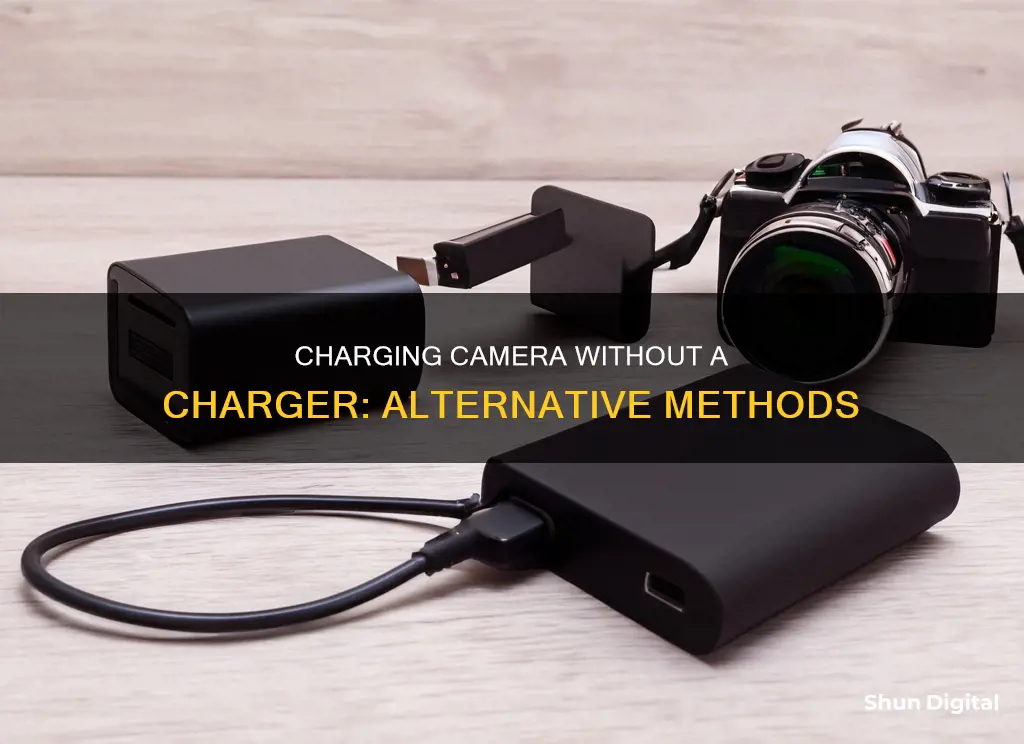
If you're a photographer, you know the panic of a dying camera battery. While most digital cameras come with a charging cable, it's not always practical to carry one or remember to pack it. But don't worry – there are several ways to charge your camera battery without a charger. Here are some options to get you back to shooting in no time:
- USB charging: Many modern digital cameras support direct charging via a USB cable. Simply connect your camera to a power adapter, computer, or mobile power source using the USB cable that came with your camera or a compatible USB cable. Confirm that the camera's charging indicator has turned on, and you're good to go.
- Third-party charger or mobile power source: If you don't have your original charger, you can use a third-party charger or mobile power supply. Just make sure to confirm its voltage and current specifications match those of your camera battery to avoid any damage.
- Charging via a computer or laptop: Most computers and laptops have a USB port that can be used for charging. Simply connect your camera to the USB port and ensure that the charging indicator is on. This method may be slower, so it's recommended for non-emergency situations.
- Power bank: Power banks are compact battery packs that can charge various gadgets, including your camera. Find a power bank with the same voltage as your camera battery, and connect it using a compatible USB cable.
- DC adapter: A DC adapter is like a charger replacement. Attach the adapter to the battery port of your camera, and plug it into a wall power outlet.
- Solar panel: With the growing popularity of renewable energy, charging your camera battery with a solar panel is an eco-friendly option. Place the solar panel in direct sunlight, and connect it to your camera battery using a compatible power delivery cable.
Remember to always consult your camera's handbook or specifications to ensure that the charging method is appropriate for your camera model and battery type. Now you're ready to capture those perfect shots without worrying about a dead battery!
| Characteristics | Values |
|---|---|
| Charging methods | USB, DC adapter, power bank, solar panel, AC adapter, AA batteries, mobile charger, computer/laptop, car battery, DC source and resistor |
| Charging time | Longer than with a specialised charger |
| Compatibility | Check the handbook or specifications to confirm the charging technique is appropriate for the battery type and camera model |
| Charging process | Attach USB cable to camera and power source (power adapter, computer, mobile power source), confirm charging indicator is on, disconnect when charging is complete |
| Power bank | Compact battery packs that can be used to charge camera batteries, ensure power bank is fully charged before attaching to camera |
| Solar panel | Convert sunlight into energy, place panel in a sunny area, connect solar panel to camera battery with USB cord |
What You'll Learn
![]()
Charging your camera with a USB cable
If you don't have your camera charger to hand, you can use a USB cable to charge your camera battery.
First, make sure your camera is turned off. Then, locate the USB port on your camera and plug one end of the USB cable into it. Plug the other end into a power adapter, computer, or mobile power source.
If you are using a power adapter, simply plug the larger plug of the interface cable into the power adapter and then plug the adapter into a power outlet.
If you are using a computer, you may need to refer to the camera's manual to ensure it can be charged this way. You may also need to install a memory card, as some cameras will not charge without one. Once connected, a pop-up may appear on your screen with instructions to follow.
You can also use a power bank to charge your camera battery. Simply connect one end of the USB cord to the camera's input port and the other end to the power bank's output slot.
When charging is complete, the charging indicator light will turn off.
Charging Enel3e Camera Battery: Alternative Methods to Try
You may want to see also
![]()
Charging your camera with a power bank
Step 1: Choose the Right Power Bank
Before opting to charge your camera with a power bank, ensure that your power bank meets the following criteria:
- Sufficient Power Capacity: Determine how much electricity your camera battery needs to be fully charged by checking the specifications of your battery, which will indicate the number of milliamperes (mAh) it uses. This will help you choose a power bank with the ideal size and capacity to charge your camera.
- Compatible Interface: Most digital camera batteries can be charged via D-tap or USB-C connections. Ensure that your power bank has a compatible output port, and don't forget to use a suitable charging cable for a secure connection.
- Appropriate Voltage: Different power banks offer varying voltage ranges and maximum current outputs. Choose a power bank that can deliver the appropriate voltage and current for your camera to avoid any potential damage to your equipment.
Step 2: Prepare the Camera and Power Bank
- Turn Off the Camera: It is crucial to switch off your camera before attempting to charge it. Charging will not be possible if the camera is turned on.
- Insert the Battery: Place the rechargeable lithium battery into the camera slot. If you have a v-mount or gold-mount camera, you can leave the battery on the mounting plate.
Step 3: Connect the Camera and Power Bank
- Attach the USB Cable: Connect one end of the USB charging cord to the input port of your camera, and then connect the other end to the output slot of the power bank. Ensure that your camera is turned off during this process.
- Check the Charging Indicators: Once the connections are secure, refer to the indicated LEDs or the screen display on your camera to confirm that the battery is charging.
Step 4: Monitor the Charging Process
Keep an eye on the charging indicators (LEDs or screen display) to know when your camera battery is fully charged. The charging time will vary depending on your camera and power bank specifications. Once the battery is fully charged, safely disconnect the USB cable from both the camera and the power bank.
Additional Tips:
- Always refer to your camera's user manual to understand its specific charging requirements and compatibility with power banks.
- Be cautious when using third-party chargers or power banks. Ensure that their voltage and current specifications match your camera battery's requirements to prevent any damage.
- Avoid exposing your camera and battery to high temperatures or humidity during the charging process. If you notice any abnormalities or overheating, stop charging immediately.
- It is recommended to use the original charger provided by the camera manufacturer whenever possible to prolong your battery life and maintain optimal performance.
Charging the Polaroid IE826: A Quick Guide
You may want to see also
![]()
Charging your camera with a DC adapter
First, ensure you have the correct equipment. You will need a DC adapter that is compatible with your camera. Check your camera's specifications or user manual to determine the correct voltage and current requirements, as well as the type of connector used. The DC adapter should have the appropriate voltage and current output, and the correct connector type to match your camera.
Once you have the compatible DC adapter, follow these steps:
- Turn off your camera. Most cameras cannot be charged while they are powered on, so it is important to turn it off before connecting the charger.
- Connect the DC adapter to your camera. Locate the DC input port on your camera, which is usually covered by a rubber flap or located in the battery compartment. Plug the connector on the DC adapter into this port.
- Plug the DC adapter into a power source. The other end of the DC adapter cable will have a connector that plugs into a power outlet or another power source, such as a power bank.
- Allow the camera to charge. The charging process may take a few hours, depending on the battery capacity and the power output of the DC adapter.
- Check the charging status. Refer to your camera's user manual to understand how it indicates the charging status. Some cameras may have a charging indicator light, while others may display the charging status on the screen.
- Disconnect the charger when the battery is fully charged. Once the battery is fully charged, unplug the DC adapter from the camera and the power source.
It is important to note that not all cameras can be charged via a DC adapter. Some cameras may require a specific charger or have built-in batteries that are not removable or accessible for external charging. Always refer to your camera's user manual or the manufacturer's instructions to ensure safe and proper charging practices.
Additionally, when using a DC adapter, ensure that the voltage and current specifications match the requirements of your camera to avoid damaging the equipment.
Charging Polaroid Snap Cameras: A Quick Guide
You may want to see also
![]()
Charging your camera with a solar panel
Solar panels are an eco-friendly and cost-effective way to charge your camera without a traditional charger. Here are some tips and instructions on how to charge your camera using solar power:
Choose the Right Solar Panel
Firstly, select a solar panel that is compatible with your camera. Some solar panels are designed specifically for certain camera models, such as the Wasserstein Solar Panel for the Google Nest Cam. Alternatively, you can opt for a universal solar charger like those offered by Voltaic, which can power a range of digital cameras with the right cradle.
Ensure Proper Setup
Position your solar panel in a location with direct sunlight. The Wasserstein Solar Panel, for example, has a 360-degree wall mount that allows you to adjust it for maximum sunlight exposure. Keep in mind that charging times may vary depending on the intensity of sunlight and the specifications of your solar panel and camera.
Connect the Solar Panel to Your Camera
Follow the instructions provided by the manufacturer of your solar panel to connect it to your camera. This may involve using a USB cable or a compatible camera cradle. For instance, Voltaic recommends identifying your camera battery type and purchasing the appropriate camera cradle model to ensure effective charging.
Monitor the Charging Process
Keep an eye on the charging indicator lights or the screen of your camera to track the charging progress. Some solar panels, like the ones with USB-C ports, will have LED lights that indicate when charging is in progress (red) and when the battery is fully charged (green).
Consider Charging Times
The time it takes to charge your camera battery with a solar panel will depend on various factors, including the voltage and capacity of your battery, as well as the intensity of sunlight. For example, a 7.4 V, 1200 mAh battery might take around 5.5 hours to charge with a 4-Watt solar panel in direct sunlight.
Maintain and Care for Your Equipment
To ensure the longevity of your camera and solar panel, follow the manufacturer's guidelines for care and maintenance. Keep your equipment clean and dry, and protect it from extreme temperatures and magnetic fields. Additionally, refer to the user manual for any specific instructions or precautions related to charging and storing your devices.
Charging Camera Batteries: International Travel Guide
You may want to see also
![]()
Charging your camera with a computer
Step 1: Check Compatibility
Before you begin, it's important to consult your camera's handbook or manual to ensure that your camera can be charged via a computer. Certain camera models may have specific requirements or limitations for charging.
Step 2: Prepare the Camera
Insert the battery into your camera and ensure that it has a memory card installed. Some camera models require a memory card to be present in order to initiate charging. Additionally, turn off your camera. Charging will only work when the camera is powered off; otherwise, the USB connection mode will be activated instead.
Step 3: Connect to the Computer
Using the USB cable that came with your camera, or a compatible USB cable, connect one end of the cable to the camera's USB port and the other end to one of the USB ports on your computer. Make sure the cable is securely attached at both ends.
Step 4: Monitor the Charging Process
Once the camera is connected to the computer, verify that the charging process has started. Look for a charging indicator light on the camera, or check the screen to see if it displays that the camera is charging. On some computers, a pop-up message may appear, providing instructions to enable charging through the USB port.
Step 5: Allow Time for Charging
Keep your computer turned on and allow sufficient time for the battery to charge fully. The charging time will depend on the capacity of your battery and the power output of the computer's USB port. A compact lithium camera battery, for example, may take around two to three hours to fully charge.
Step 6: Disconnect Once Charged
When the camera's charging indicator light turns off, or the screen shows that charging is complete, it means your battery is fully charged. At this point, you can safely disconnect the USB cable from both the camera and the computer.
It's important to note that charging a camera battery through a computer may be slower compared to using a dedicated charger. This method is recommended for non-emergency situations when you don't have immediate access to a charger. Additionally, always refer to your camera's manual or handbook for specific instructions and precautions related to charging your particular camera model.
Camera Charger Problems: De-A11 Edition
You may want to see also
Frequently asked questions
You can charge your camera using a USB cable, a power bank, a computer, or a DC adapter.
First, make sure your camera is switched off. Then, use the USB cable to connect your camera to a computer or USB wall adapter. Your camera will start charging automatically.
First, make sure you have a power bank that is compatible with your camera. Then, attach one end of the USB cable to the power bank and the other end to the USB port on your camera. Once the battery is fully charged, detach the power bank.
Connect your camera to a USB port on your computer or laptop using a USB cable. Keep the computer or laptop turned on and wait for the battery to be fully charged.