If you want to charge your Lumix DC Vario camera, you'll need to remove the battery and use a compatible charger. You can buy these online from retailers such as Amazon and eBay, or directly from Panasonic. Make sure to use an official charger and battery to ensure the safety of your device. A fully drained battery will take around 8 hours to charge. You'll know it's fully charged when the green light on the charger goes out.
What You'll Learn
![]()
How to charge the Lumix DC Vario via USB
To charge your Lumix DC Vario camera via USB, first make sure that your camera is turned off. Then, take the USB connection cable that was supplied with your camera and plug it into the USB/CHARGE socket on your camera. This socket is located at the bottom of your camera when it is in an upright position. Next, plug the bigger end of the cable into the USB port on your computer.
Once connected, turn your camera on. Your Lumix will then read the connection to your computer and ask how you would like to proceed. Select the PC/Computer option, using the arrow and 'OK' buttons on the right of the camera. Your computer will then start to read the camera as a new device and it will appear as a drive on your PC.
If you are having trouble finding the USB/CHARGE socket on your camera, it is generally located on the left-hand side, beneath either a plastic cap or a rubber flap.
Please note that it is recommended to charge your camera in a location where the ambient temperature is between 10 °C and 30 °C (50 °F to 86 °F).
Charging Cameras: A Solo Participant's Guide
You may want to see also
![]()
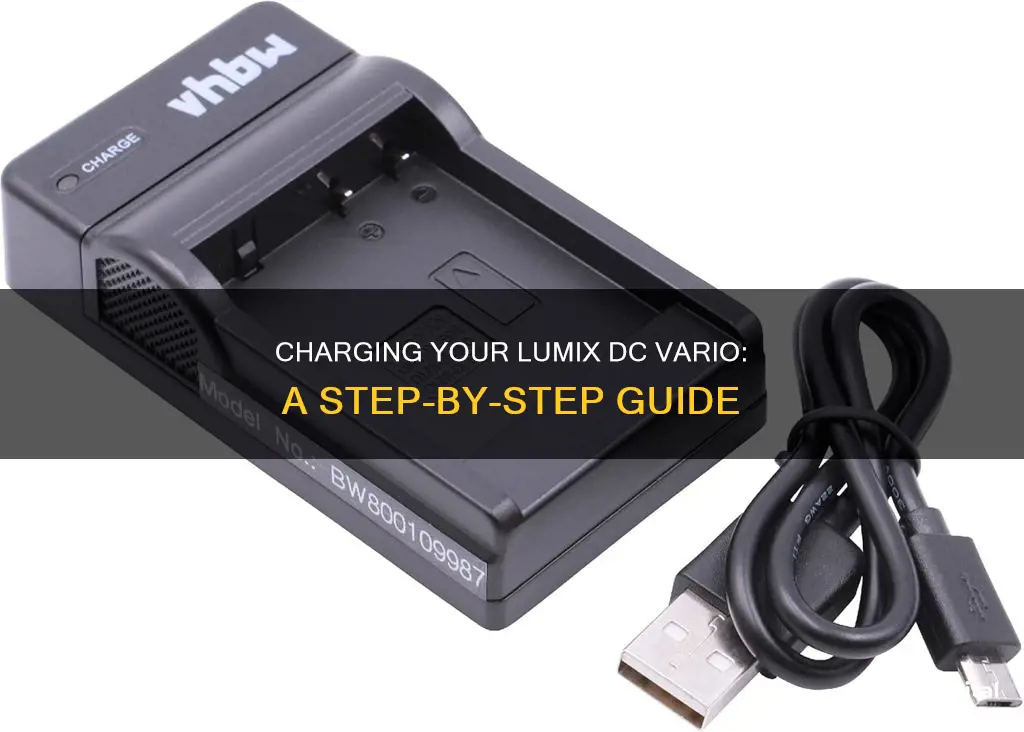
How to charge the Lumix DC Vario via a wall plug
To charge your Lumix DC Vario camera via a wall plug, you will need a compatible battery charger and a power outlet. Here is a step-by-step guide on how to do it:
Purchase a compatible battery charger:
Ensure that the charger is specifically designed for the Lumix DC Vario model or compatible with it. You can find these chargers online or at electronics stores.
Prepare the camera battery:
- Locate the battery compartment, usually at the bottom of the camera.
- Slide the lock button to the right to open the compartment.
- Remove the battery carefully by pushing the release button, if applicable.
Charge the battery using the wall charger:
- Align the battery with the charger, ensuring that the charging points (metallic lines) on the battery and charger match.
- Slide the battery into the charger until you hear a click or see an indicator light.
- A green light typically indicates that the battery is charging.
Wait for the battery to be fully charged:
- A completely drained battery may take up to 8 hours to fully charge.
- Refer to your charger's instructions to determine any specific charging times or indicators.
Reinsert the charged battery into the camera:
- Align the metallic contacts on the battery with the corresponding contacts in the camera's battery compartment.
- Push the battery gently into the compartment until you hear a click, ensuring it is locked in place.
- Close the battery compartment by sliding the lock button back to its original position.
Now your Lumix DC Vario camera is fully charged and ready to use! Remember to use only official or compatible chargers and batteries to ensure the safety and optimal performance of your camera.
Avoid Congestion Charges: Know Your Camera Blindspots
You may want to see also
![]()
How to charge the Lumix DC Vario without the official charger
There are several ways to charge your Lumix DC Vario camera without the official charger. Here are some alternative methods:
Charging with a USB Cable:
- Purchase or borrow a USB cable, preferably a higher version such as 3.1 or higher.
- Check the USB type required for your camera model. C-Type cables are usually for fast charging, while B-Type cables are suitable for older Lumix models.
- Ensure that your Lumix model supports USB charging. Some newer models like the Panasonic LUMIX DC-S5 1 and Panasonic LUMIX G100 support USB charging.
- Connect your camera to a power source using the USB cable. This can be a generator, a power outlet, or any other available power source.
Charging with a Computer:
- This method is suitable if your camera supports USB charging.
- Plug one end of the USB cable into your computer or laptop and the other end into your camera.
- Ensure your computer is turned on and allow the "power only" mode. Do not select the "Data Transfer" option.
- It is recommended to power off your camera before charging and to select "Safely Remove Hardware" from your computer after charging is complete.
Charging with a Phone Charger:
- You can use an iOS or Android phone charger with specific wattage requirements. For iOS, a 30-watt charger is ideal, but a 20-watt charger will also work. For Android, a 40-watt charger is recommended for fast charging, while a 15-watt charger will provide slower charging.
- Ensure that the charger provides 5 volts.
- Monitor the charger for excessive heat during the charging process.
Charging with a Power Bank:
- A power bank with a capacity of at least 10000mAh can be used to charge your Lumix camera.
- Keep in mind that charging your camera with a power bank may take longer than charging with other methods.
- Note that the Panasonic Lumix DMC-FT30 model is not compatible with power bank charging.
While these alternative methods can be useful in emergencies, it is generally recommended to use the official charger or a genuine Panasonic battery charger to ensure the safety and longevity of your Lumix DC Vario camera.
Motorola Focus 66: How Long Does the Charge Last?
You may want to see also
![]()
How to know when the Lumix DC Vario is fully charged
To know when your Lumix DC Vario is fully charged, you can look for a charging indicator on the charging device. Some chargers feature an LED light that indicates when the battery is charging and is fully charged. When the green light goes out, the battery is fully charged and ready to be inserted back into the camera.
If your charger does not have an LED light, you should charge your battery for at least 3 hours to ensure it is fully charged.
Charging the Crosstour Action Camera: A Quick Guide
You may want to see also
![]()
How to open the Lumix DC Vario to get the battery out
To open your Lumix DC Vario camera to get the battery out, follow these steps:
- Hold the camera with the shutter button facing downwards.
- Locate the battery and SD card door. It will be labelled with the lettering 'SD Card/Battery'.
- Push the grey tab on the lens side of the door to open it.
- Locate the battery inside the compartment.
- Push the grey tab on the corner of the battery towards the edge of the camera to release it.
- Remove the battery from the camera.
To put the battery back in, simply follow these steps in reverse.
It is important to note that there are different models of the Lumix DC Vario camera, and the steps to open the battery compartment may vary slightly depending on your specific model. Additionally, some models may have a different method of charging the battery, such as through a USB connection to a computer.
Spy Cameras: How Long Does the Charge Last?
You may want to see also
Frequently asked questions
You can charge your Lumix DC Vario camera by connecting it to a power source using a compatible charger and cable. Make sure to use an official charger and battery for the best results. Slide the battery into the charger, ensuring the charging points are aligned, until you hear a click and see the green light come on. A fully drained battery may take up to 8 hours to charge fully.
Yes, you can charge your Lumix DC Vario camera by connecting it to a computer or laptop using a USB cable. However, it's important to note that USB ports typically provide a slow trickle charge. Additionally, there may be no charge indicator, making it difficult to determine the charging status.
When the camera is fully charged, the green light on the charger will turn off. At this point, you can remove the battery from the charger and reinsert it into the camera. Ensure the battery is properly aligned and locked in place before closing the hatch.