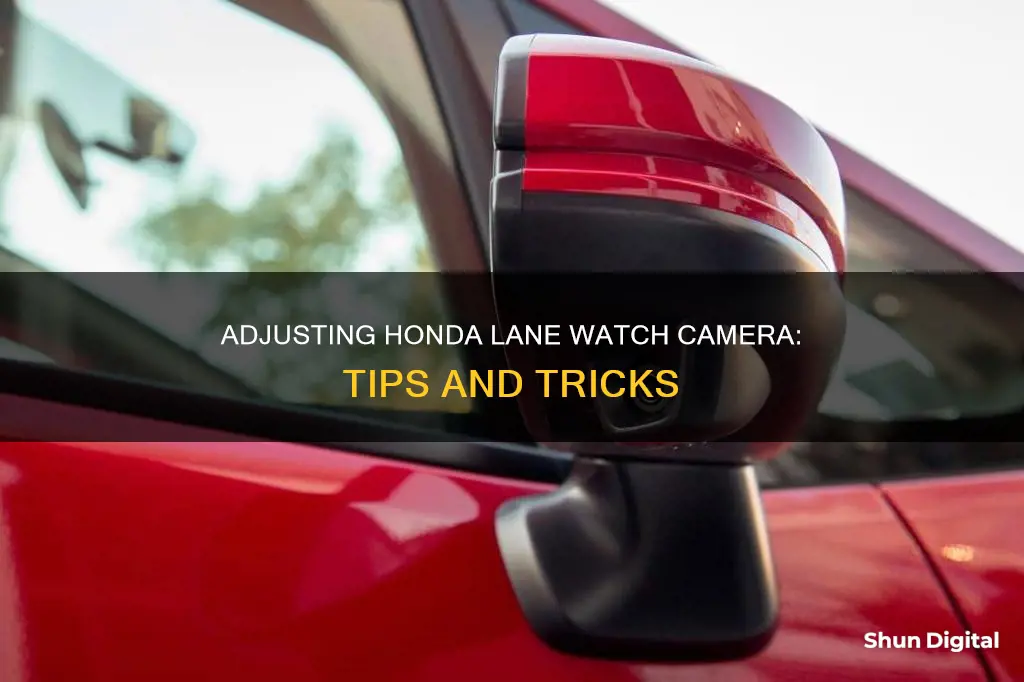
Honda LaneWatch™ is an advanced driver-assistance feature that provides drivers with a clear view of their vehicle's passenger side, making it easier to change lanes. It is not a replacement for the passenger-side mirror but rather an enhancement. LaneWatch™ activates when the right turn signal is turned on or by pressing the button at the end of the turn signal control. The camera is located below the right passenger-side mirror and sends images to the central display screen.
To aim the Honda LaneWatch™ camera, you will need to access the hidden diagnostic menu by simultaneously pressing a combination of the power, brightness, menu, audio, back, and/or nav buttons, depending on your vehicle model. Once in the diagnostic menu, you will need to select specific options such as Unit Check, Lane Watch, and Start. Additionally, you will require a special target object, which can be printed or displayed on a mobile phone, and positioned at a specific distance from the vehicle. The exact placement of the target object may require some trial and error, but it should be placed in a well-lit area, ensuring that the dots on the target are visible to the camera.
What You'll Learn

Accessing the hidden diagnostic menu
To access the hidden diagnostic menu on a Honda vehicle, you will need to press and hold a combination of buttons. The exact combination depends on the model and year of your Honda. Here are the steps for different models:
Honda Pilot (2015-2016)
- Access the hidden diagnostic menu by holding down the power button, brightness, and menu button simultaneously.
- Go to "Detail information & Setting".
- Navigate to "Other functions" and then select the "LaneWatch" button.
Honda Accord (2018)
- Press and hold the Volume, Source, and Home buttons for 2-3 seconds.
- This works for the 8" touch display. For the 7" display, press and hold Preset 1, Preset 6, and Volume/Power.
Honda Insight (2019)
- Hold the Power, Previous Track, and Home keys for about 5 seconds.
- Release all three buttons when you hear a beep.
Honda HR-V (2016)
Hold the Menu, Brightness, and Power buttons in that order for about 5 seconds.
Once you have accessed the diagnostic menu, you can adjust various settings, including the lane watch camera. Make sure to follow the correct procedure for your specific Honda model to avoid any issues.
Is My Camera Watching Me?
You may want to see also

Finding the target card's correct placement
To find the correct placement of the target card, you will need to access the hidden diagnostic menu. This can be done by holding down the power button, brightness, and menu button simultaneously. Then, go to 'Detail Information & Settings' and select 'Other Functions' to bring up the LaneWatch button.
The correct placement of the target card is the most challenging part of the process. The target card should be placed so that the camera goes from detecting:
- Yellow to Red = Your target card is way off
- Yellow to Blue to Red = Your target placement is almost there
- Yellow to Blue to camera image = Congratulations, you did it
It is recommended to perform this process outdoors in broad daylight, on a flat surface, and with the sun hitting the front of the card so it is not backlit.
Are NSA Agents Watching Us Through Our Cameras?
You may want to see also

Adjusting lighting for the six-point poster
Adjusting the lighting for the six-point poster is a crucial step in aiming your Honda LaneWatch camera. Here are some detailed instructions to help you through the process:
Firstly, ensure your camera sensor lens is clean. This is important as any dirt or debris can affect the calibration process. Next, position your vehicle in a well-lit area, free from bright objects like windows or reflectors, which can interfere with the calibration. The ideal location is a flat surface, free from obstructions.
Now, adjust the lighting conditions so that all six dots on the six-point poster are clearly visible to the camera. You may need to experiment with different lighting setups to achieve optimal visibility for each dot. Ensure your vehicle's tire pressure and treads are even, the steering wheel is straight, and the transmission is in Park or Neutral with the parking brake applied.
Once you have the lighting and vehicle conditions just right, you can proceed with the calibration process. This typically involves accessing the hidden diagnostic menu on your Honda infotainment system. The exact steps to access this menu may vary depending on your Honda model and year, but it often involves holding down specific buttons simultaneously for a few seconds. Refer to your Honda owner's manual or seek online resources for specific instructions for your model.
After accessing the diagnostic menu, follow the prompts related to LaneWatch calibration. This may include selecting "Unit Check", "Lane Watch", and then "Start". During this process, you will need to have the special target object or poster properly positioned. This target typically needs to be placed just outside the vehicle, near the seam between the passenger front door and the sliding door. Again, the exact positioning may vary, so refer to Honda resources or seek online forums for specific placement instructions for your model.
With the target in place and the lighting adjusted for optimal visibility of the six dots, you can complete the calibration process by following the on-screen prompts. This will ensure your Honda LaneWatch camera is accurately aimed and ready for use.
Home Security: Watching Your Home from Another State
You may want to see also

Aiming the camera on a flat surface
To aim the Honda Lane Watch camera on a flat surface, you will need to access the hidden diagnostic menu.
Accessing the Diagnostic Menu
Hold down the Audio/Menu/Back buttons for around 5 seconds. This will allow you to access the diagnostic menu. Once you are in the diagnostic menu, follow these steps:
- Select "Unit Check"
- Select "Lane Watch"
- Choose "Start"
- Press the LaneWatch button on the turn signal stick
Aiming the Camera
To aim the camera, you will need a target object. You can find printable targets online. Once you have your target, prop it up on a small stepladder or similar object. The target should be positioned just about at the seam between the passenger front door and the passenger sliding door. You may need to adjust the target's position through trial and error until the camera is aimed correctly.
Tips for Optimal Camera Programming
- Ensure your camera sensor lens is clean
- Aim the camera in a well-lit area, avoiding bright objects like windows or reflectors positioned behind the mirror aiming target
- Adjust lighting as necessary to ensure the target is visible to the camera
- Ensure your tire pressure and treads are even
- Ensure your steering wheel is straight
- Ensure the transmission is in Park or Neutral, and that the parking brake is applied
- Remove excess cargo from your vehicle
- Do not modify your vehicle's suspension
Gabb Watch Camera Speculation: What Parents Need to Know
You may want to see also

Changing LaneWatch settings
- Select "Settings" on the HOME screen.
- Choose "LaneWatch" from the menu.
- Make your preferred changes.
You can also access a hidden diagnostic menu to calibrate your camera. This is useful if you have replaced your mirror or made adjustments to your camera. To access the hidden diagnostic menu, follow these steps:
- Hold down the power button, brightness button, and menu button simultaneously.
- Navigate to "Detail Information & Settings".
- Select "Other Functions", then choose "LaneWatch".
Once you are in the LaneWatch settings, you will need to position a target correctly and run the aiming process. The target can be printed out or displayed on a mobile phone. You will need to position the target so that the camera can view it clearly. The target should be placed just behind the passenger-side door handle, with the bottom row of dots on the target lined up with the bottom of the handle. The ideal placement will result in the screen showing a transition from yellow to blue to the camera image.
After you have successfully calibrated your camera, you can adjust your LaneWatch settings to suit your preferences.
Apple Watch Series 3: GPS and Camera Features Explored
You may want to see also
Frequently asked questions
To access the hidden diagnostic menu, you need to hold down a combination of buttons simultaneously for about 5 seconds. The exact combination depends on your Honda model. For example, for the 2014 Odyssey EXL, you need to hold down the Audio/Menu/Back Buttons, while for the 2016 Honda Pilot, you need to hold down the power button, brightness button, and menu button.
Once you are in the diagnostic menu, follow these steps: Select "Unit Check", then "Lane Watch", then "Start", and finally press the LaneWatch Button on your turn signal stick.
You will need a target object, such as a printed target card or poster, and a way to prop it up, such as a small step ladder or a tripod. The target object needs to be placed at a specific distance and position relative to your vehicle, which may require some trial and error.
Yes, make sure your camera sensor lens is clean, aim your mirror camera in a well-lit area, adjust lighting as necessary to ensure the target is visible to the camera, and aim your mirror on a flat surface.


