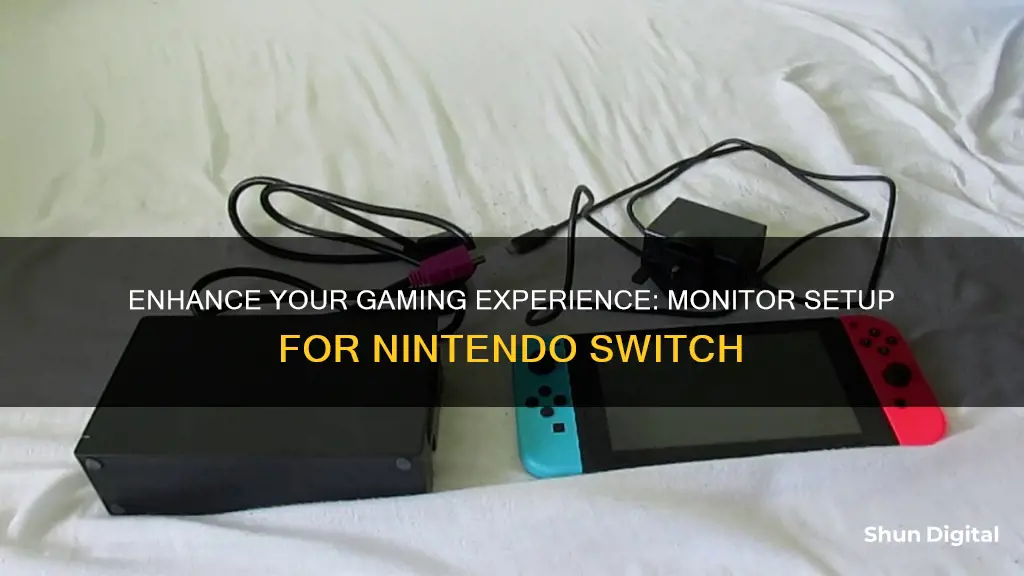
Playing Nintendo Switch on a monitor is a great way to enjoy your favourite games on a larger screen. You can connect your Nintendo Switch to a monitor in a few simple steps. Firstly, you will need to ensure you have the correct equipment, including a Nintendo Switch TV Dock with a power supply, a gaming monitor with an HDMI 1.4 connector, and an HDMI 1.4 cable. You will then need to connect the Switch Dock, followed by connecting the Switch Dock to your monitor. After this, you can connect the Switch to the Switch Dock and select the right source via the OSD of your monitor.
| Characteristics | Values |
|---|---|
| Number of ways to connect Switch to an external monitor | 2 |
| First way | Using the HDMI port on the NS dock |
| Second way | Using the NS console with a USB Type-C video cable |
| Major IO port of Switch console | USB Type-C port |
| Use of TV Mode | To display Switch on PC |
| Use of HDMI cable | To transfer video signal between PC and Switch |
| Use of video capture card | To send an HDMI signal from Switch to PC |
| Use of video capture program | To play the video from the capture card |
| Use of USB-to-USB-C cable | To connect Nintendo Switch to PC |
What You'll Learn

Connect the Nintendo Switch Dock to your monitor
To connect your Nintendo Switch Dock to your monitor, you will need the following:
- A Nintendo Switch TV Dock with power supply
- A gaming monitor with an HDMI 1.4 connector
- An HDMI 1.4 cable (included in the Nintendo Switch box)
Step 1: Connect the Switch Dock
Open the back of the Nintendo Switch Dock and connect the HDMI cable and USB-C end of the power cable. The USB-C port for the power supply is labelled 'AC Adapter' and is located at the top of the dock, while the HDMI port is at the bottom.
Step 2: Connect the Switch Dock to your monitor
Plug the other end of the HDMI cable into the HDMI port of your monitor. Ensure that the HDMI cable is not too tight or trapped behind the monitor, as this could damage the cable and cause a bad signal or image loss. Check whether you are using HDMI 1 or HDMI 2, so you know which source to select on your monitor.
Step 3: Connect the Switch to the Dock
Now that the dock and monitor are connected, place the Switch into the dock. Turn on the Switch and hold the console so that the + and - buttons are at the top. Carefully lower the Switch into the dock until you feel it click. If you have followed the steps correctly, the display of your Switch will now move to the monitor.
Step 4: Select the right source
If the Nintendo Switch does not work after connecting and turning on your console, you have probably selected the wrong source. To select the right source, use the OSD of your monitor, which you can open via the buttons on your monitor. Choose the tab that allows you to select an input source, often indicated by a square with an arrow inside. Select the HDMI port that you plugged the cable into.
Please note that the Nintendo Switch Lite does not support TV mode and will not work on a monitor.
Monitoring Vomit Output: Vital Health Indicator?
You may want to see also

Connect the Switch to the Dock
To connect your Nintendo Switch to a monitor, you'll need to use a dock. Here's a step-by-step guide on how to do this:
Step 1: Connect the Switch Dock
First, you'll need to connect the Switch dock to the power supply and the monitor. Open the back panel of the dock and connect the power cable and HDMI cable. The power cable should be plugged into the port labelled 'AC Adapter', and the HDMI cable should be plugged into the HDMI port. Make sure you take note of which HDMI port you use (HDMI 1 or HDMI 2) as you'll need this information later.
Step 2: Connect the Dock to the Monitor
Now, plug the other end of the HDMI cable into the HDMI port on your monitor. Ensure that the cable isn't too tight or trapped behind the monitor, as this could damage the cable and cause a bad signal or image loss. Also, make sure that the Switch has enough room, as the fan is located on top of the console, so it's best to place it in a freestanding position to allow for proper ventilation.
Step 3: Connect the Switch to the Dock
With the dock and monitor connected, you can now place the Switch into the dock. Turn on the Switch and hold it so that the + and - buttons are at the top. Carefully lower the Switch into the dock until you feel it click into place. If you've done this correctly, the display of your Switch will appear on the monitor.
Step 4: Select the Correct Source
If the image doesn't appear on your monitor, you may have selected the wrong source. You can change this by using the buttons on your monitor to open the OSD (on-screen display) and selecting the correct input source (usually indicated by a square with an arrow inside). Choose the HDMI port that matches the one you noted in Step 1.
And that's it! You should now be able to play your Nintendo Switch on your monitor.
Understanding Website Performance Monitoring: Strategies for Success
You may want to see also

Select the right source
Now that you've connected your Nintendo Switch to your monitor, it's time to select the right source to start playing. Here's a step-by-step guide to help you through the process:
- Check Your Connections: Ensure that your Nintendo Switch, dock, and monitor are all properly connected using the HDMI or USB-C cables.
- Power On Your Devices: Turn on your Nintendo Switch and your monitor.
- Select the Correct Input on Your Monitor: Use the buttons on your monitor to access the On-Screen Display (OSD). Navigate to the input selection menu, usually indicated by a square with an arrow. Choose the HDMI port or USB-C port you used to connect your Nintendo Switch.
- Adjust Settings: If needed, adjust the display settings on your monitor to ensure the best picture quality. This may include adjusting the resolution, brightness, contrast, and colour settings.
- Test the Audio: If your monitor has built-in speakers or an audio output, test the audio by playing a game or accessing the Switch's audio settings. You may need to connect external speakers or headphones if your monitor doesn't have audio capabilities.
- Troubleshoot: If you don't see the Switch's interface on your monitor, double-check all connections and ensure you've selected the correct input source. Refer to your monitor's manual for specific instructions if needed.
- Enjoy Your Game: Once you've selected the right source and adjusted the settings, you're ready to play! Launch your favourite Nintendo Switch game and enjoy the experience on your monitor.
Remember, if you're using a Nintendo Switch Lite, it won't work with a monitor as it lacks the hardware to display on a larger screen. The Nintendo Switch OLED requires a compatible gaming monitor to achieve the same light effects.
Alcohol Ankle Monitors: How Do They Work?
You may want to see also

Use a video capture card
If you want to play your Nintendo Switch on a monitor, one option is to use a video capture card. This is because the Nintendo Switch does not have a video output port and cannot be connected directly to a monitor. Instead, it must be connected to the Nintendo Switch Dock, which has an HDMI output port.
A video capture card will allow you to record and stream your gameplay, which is not possible with the Nintendo Switch alone. The best capture cards for the Nintendo Switch offer recording in 1080p at 60fps, as that is the maximum output of the console. Some capture cards also offer 4K passthrough, which can be useful if you plan to use the card with other devices.
- Purchase a video capture card that is compatible with the Nintendo Switch. Some recommended options include the AVerMedia GC513 Live Gamer Portable 2, Elgato HD60 X, Newhope Video Capture Card, Razer Ripsaw HD, and Asus TUF CU4K30 Capture Card.
- Connect the Nintendo Switch Dock to your monitor using an HDMI cable. Plug one end of the HDMI cable into the HDMI OUT port on the dock, and the other end into an HDMI IN port on your monitor.
- Connect the video capture card to the Nintendo Switch Dock. Plug one end of an HDMI cable into the HDMI IN port on the capture card, and the other end into the HDMI OUT port on the dock.
- Connect the video capture card to your monitor. Plug one end of an HDMI cable into the HDMI OUT port on the capture card, and the other end into an HDMI IN port on your monitor.
- Connect the video capture card to your computer via USB. This will allow you to use streaming software like OBS Studio or X-Split to record and stream your gameplay.
- Insert the Nintendo Switch into the Nintendo Switch Dock.
- Turn on your monitor and select the correct HDMI input.
- Open the streaming software on your computer and start playing your game.
Using a video capture card is a great way to record and stream your Nintendo Switch gameplay on a monitor. With the right setup, you'll be able to easily share your gaming experiences with others.
Monitoring Logstash Performance: Key Strategies for Success
You may want to see also

Connect via USB Type-C
The Nintendo Switch's major IO port is a USB Type-C port. This port supports PD fast charging and DisplayPort (Alt mode) video output. When connecting your Switch to an external monitor via USB Type-C, the monitor's USB-C port must support DP Alt mode and supply enough power to the console.
To connect your Switch to a monitor via USB Type-C, follow these steps:
- Connect the AC PD adapter to the monitor.
- Connect the monitor and Switch console with the USB-C cable.
- Remove the Joy-Con and start playing!
It is important to note that not all USB-C ports on monitors support video output. Before purchasing a monitor, ensure that it has a USB-C port with DisplayPort Alt mode. Additionally, the monitor must be able to supply enough power to the Switch console.
Using a USB-C connection for gaming offers several advantages. It provides smooth connectivity, high data speeds, and power delivery of up to 100W. It also supports multi-channel audio, allowing you to enjoy immersive sound through a good 2.1 speaker arrangement on your monitor.
Furthermore, USB-C works seamlessly with graphics cards. You can use a DisplayPort to USB-C cable or adapter without sacrificing performance. This makes it a versatile option for gamers.
Monitor Size Standards: What's the Average?
You may want to see also
Frequently asked questions
You can connect your Nintendo Switch to your monitor in two ways. The first is by using the HDMI port on the NS dock. The second is by using the NS console with a USB Type-C video cable.
No, you do not need a dock to connect your Nintendo Switch to an external monitor. If you do not want to use a dock, you can connect your Nintendo Switch to a large screen by using a USB Type-C video cable.
To connect your Nintendo Switch to your PC monitor, you will need a Nintendo Switch TV Dock with a power supply, a gaming monitor with an HDMI 1.4 connector, and an HDMI 1.4 cable (included in the Nintendo Switch box).
Yes, you can play Nintendo Switch on your PC. To do so, you will need to use the console's TV Mode. You will also need some additional software and equipment, such as a video capture card and capture software.


