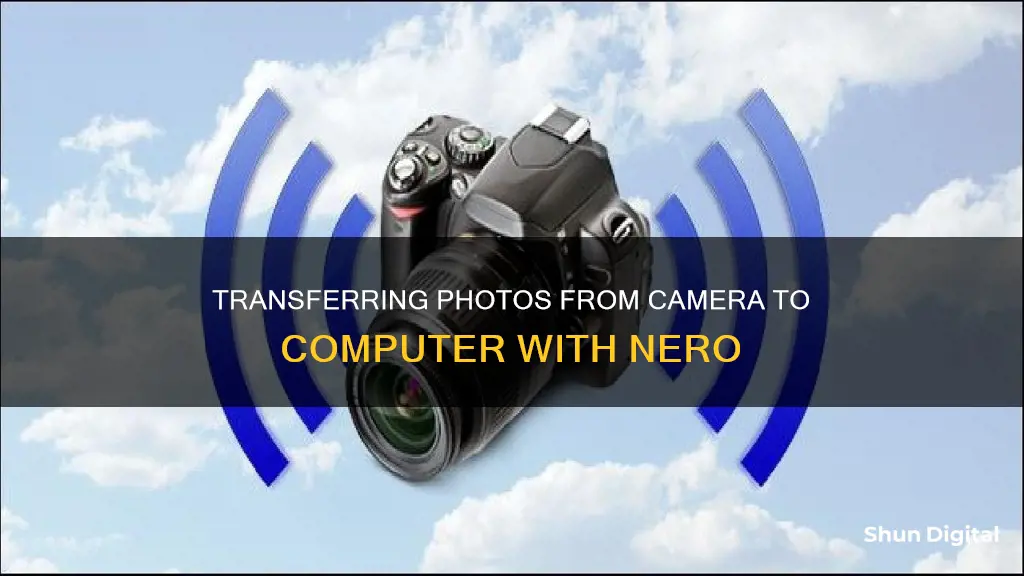
Nero Video is a software that enables users to transfer videos from a camera to a computer for storage and editing. Before starting the transfer, ensure that the camera is connected to the computer and that Nero Video is open. Then, select Import from AVCHD and click on Camera. Choose the titles you want to import and press OK. The files will then be updated on the Nero Video dashboard.
| Characteristics | Values |
|---|---|
| Connection type | USB cable, SD card, wireless |
| Camera type | Digital camera, Canon, Sony, Nikon, etc. |
| Computer type | Windows, macOS, Linux |
| Software | Nero Video, Photos app, File Explorer, Finder |
| File format | JPEG, RAW, etc. |
What You'll Learn
![]()
Connect camera to computer using a USB cable
To connect your camera to your computer using a USB cable, first ensure that your computer is turned on. Then, turn on your camera. You can do this by locating the power dial, which is usually found near the top of the camera.
Next, plug the small end of the camera's cable into the camera itself. The port for this cable may be hidden under a plastic flap, which often has “Video Out” written on it. Then, plug the other end of the USB cable into your computer. The USB end is rectangular and should fit into a port on the side of your computer.
Once the cable is connected, wait for your camera's drivers to install. This may take a few minutes if it is your first time connecting the camera. A pop-up window should then appear, asking what you would like to do with the device. Double-click "My Computer", then double-click your camera's name under the "Devices and Drives" section. Finally, double-click your camera's storage folder, which is often called "DCIM". From here, you can view, copy, or delete your photos.
Charging the Blackmagic Camera: A Step-by-Step Guide
You may want to see also
![]()
Turn on the camera
To transfer media from your camera to your computer using Nero, you must first turn on your camera. This will be the first step in the process of transferring media from your camera to your computer.
To begin, turn on your camera and connect it to your computer using the USB cable that came with your camera. If you do not have this cable, you will need to purchase a replacement that fits your camera model. Once you have the correct cable, connect your camera to an open USB port on your computer. If you cannot locate the port on your camera, check for any panels that can be flipped open to reveal the port.
After connecting your camera, you may need to switch it to Review mode or Mass Storage, MTP, or Auto mode, depending on your camera model. This will allow your camera to fully connect to your computer.
With your camera turned on and connected, you can now proceed with importing your videos or photos using Nero Video.
Cleaning Camera Focus Screens: A Step-by-Step Guide
You may want to see also
![]()
Open Nero Video
To transfer videos from your camera to your computer using Nero Video, you must first connect your camera to your computer. You can do this using a USB cable or by inserting an SD card into your computer. Once your camera is connected, open Nero Video from Nero Start. From here, you can select "Import from AVCHD" and then click on "Camera". Choose the titles you want to import and press OK. The files will then appear on the Nero Video dashboard, and you can begin editing.
Nero Video is a great tool for editing and enhancing your videos. It allows you to add special effects, transitions, and music to your footage, helping you create professional-looking videos. With Nero Video, you can also easily share your videos on social media, burn them to DVDs or Blu-rays, or send them to your friends and family.
If you are using a Windows computer, you can also transfer photos and videos by following these steps:
- Turn on your computer and camera.
- Connect your camera to your computer using a USB cable.
- Open the AutoPlay window and select "Open folder to view files".
- Locate the DCIM folder, which usually contains your photos and videos.
- Select the files you want to transfer and drag them to a new location on your computer.
- Eject your camera safely before disconnecting it from your computer.
For Mac users, the process is similar:
- Turn on your computer and camera.
- Connect your camera to your computer using a USB cable.
- Open the Photos app.
- Turn on your camera and ensure it is in Review mode.
- Select the photos or videos you want to transfer.
- Click "Import Selected" or "Import All New Photos".
- Eject your camera and safely disconnect it from your computer.
Additionally, you can transfer photos and videos by removing the SD card from your camera and inserting it directly into your computer's card reader, if it has one. You can then use the File Explorer (for Windows) or Finder (for Mac) to locate and transfer your files.
The Obscura Camera's Ancient Origins: A Historical Overview
You may want to see also
![]()
Import video from camera
Importing videos from a camera to a computer using Nero Video is a straightforward process. It allows you to transfer videos from your camera to your computer for storage, editing, and sharing. Here is a step-by-step guide on how to achieve this:
Firstly, ensure that your camera is connected to your computer. You can use a USB cable or, if your computer has a card reader and your videos are stored on a memory card, insert the memory card directly into the computer. Once your camera is connected, open Nero Video from Nero Start.
In the Nero Video application, select "Import from AVCHD" and then click on "Camera." This will allow you to access the videos stored on your camera.
Next, select the titles or videos you wish to import. You can choose individual videos or select multiple files by holding down the CTRL key while clicking. Once you have made your selection, press "OK." The selected files will then be imported and updated on the Nero Video dashboard.
After importing, you can use Nero Video to edit, enhance, and personalize your videos. Nero Video offers extensive editing tools, including the ability to add special effects, transitions, and music. You can also export or burn the imported videos to create personalized projects.
Finally, you can share your edited videos with others. Nero Video enables you to share your creations on social media, burn them to DVDs or Blu-rays, or send them via email or messaging apps.
By following these steps, you can easily import videos from your camera to your computer using Nero Video. It provides a convenient way to transfer, edit, and share your videos with others.
Pinhole Camera Focus: Sharp Images Explained
You may want to see also
![]()
Edit, export or burn the imported file
Once you have uploaded your photos or videos from your camera to your computer, you can use Nero's various tools to edit, export, or burn your files.
Editing
Nero Video has extensive editing tools that allow you to enhance your videos, add special effects, transitions, and music, and produce professional-looking videos. You can also edit photos with Nero AI Photo Tagger, which uses artificial intelligence to help you organize, tag, rate, and search images.
Exporting
Nero Video enables you to quickly share videos you've imported from your camera and customized with Nero Video. You can share them on social media, burn them to DVDs or Blu-rays, or send them to friends and family via email or messaging apps.
Burning
Nero Video allows you to burn your video to an optical disc. Nero Burning ROM can also be used to burn ISO images to a disc.
Charging Up: Camera vs. Car
You may want to see also
Frequently asked questions
First, ensure that you have connected the camera to your computer and that Nero Video is open. Then, select "Import from AVCHD" and click on "Camera." Choose the titles you want to import and press OK. The files will then appear on the Nero Video dashboard.
Nero Video includes extensive editing tools that allow you to enhance your videos by adding special effects, transitions, and music. You can also edit, export, or burn the imported files to create personalized videos. Additionally, Nero Video enables you to quickly share your videos on social media, burn them to DVDs or Blu-rays, or send them via email or messaging apps.
Yes, there are alternative methods to transfer videos or photos from your camera to your computer without relying on Nero software. You can use a USB cable to connect your camera directly to your computer and then drag and drop the desired files. Alternatively, you can insert the camera's SD card into your computer and transfer the files directly.