Macro mode is a setting on some cameras that allows you to take close-up photographs of small subjects, such as insects or flowers. It is a form of extreme close-up photography, often referred to as macro photography, and usually involves magnifying the subject to life size or greater.
Macro mode is not to be confused with manual mode, which allows the photographer to adjust both shutter speed and aperture. While some cameras have a dedicated macro mode, others may have a macro or close-up scene mode. However, these are typically not flexible enough to deal with tricky macro scenes, especially when using a flash.
If your camera does not have a macro mode, you can still take macro photographs by using a macro lens or a close-up lens attachment.
| Characteristics | Values |
|---|---|
| Definition | Extreme close-up photography, usually of very small subjects, in which the size of the subject in the photograph is greater than life size. |
| Magnification | The ratio of the subject size on the film plane (or sensor plane) to the actual subject size is known as the reproduction ratio. |
| Working Distance | The distance between the front of the lens and the nearest subject. |
| Camera Modes | Aperture Priority, Manual Mode, Macro/Close-up Scene Modes, Shutter Priority Mode |
| Aperture | For the smallest subjects (one inch or smaller), it’s best to use a higher aperture setting between f/8 and f/11. For subjects larger than one inch, you can use a lower f-stop between f/2.8 and f/10. |
| Shutter Speed | With a tripod, aim for around 1/200. Without a tripod, stay above 1/320. |
| ISO | Set your ISO to auto. Without a flash, you’re dealing with a fast shutter speed to eliminate motion blur, and a dark aperture to capture enough depth of field. |
| Lighting | Use a flash with a diffuser to soften the light. |
What You'll Learn
![]()
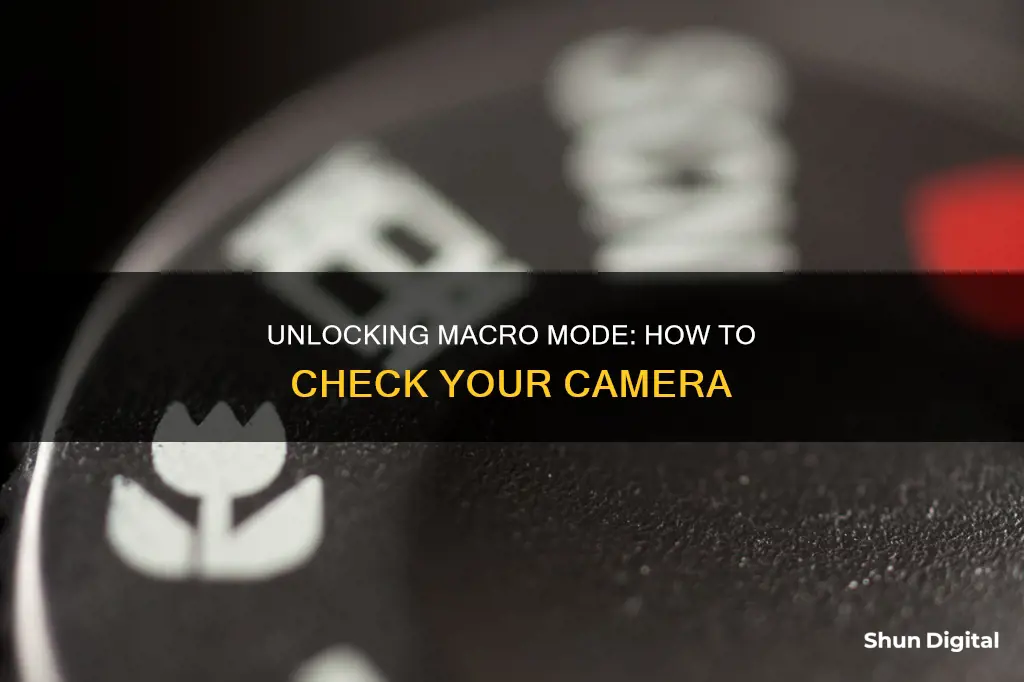
Check your camera's manual
The camera manual is the best place to start when you want to know if your camera has a macro mode and how to use it. The manual will provide model-specific information, and you can also refer to it to learn about the various settings you can use to get the best results from your camera's macro mode.
In general, macro mode is a setting on your camera that you can use to take close-up pictures of small objects, such as insects or flowers. It allows you to focus on objects that are very close to the lens, and it may automatically adjust certain settings, such as the aperture, to optimise the image.
If you have a Sony Cybershot camera, for example, you can find out how to enable Macro mode by checking the manual or the support page for your specific model. The process may vary depending on whether your camera has a touchscreen or a dial wheel.
For other camera models, you can usually find the Macro mode in the settings or mode selection menu. It may be identified by a flower symbol, as this is a classic subject for macro photography.
Once you have located the Macro mode in your camera's manual, you can follow the instructions to enable it and start experimenting with close-up photography. Keep in mind that the manual will also provide valuable information on other settings to consider when using Macro mode, such as aperture, shutter speed, ISO, and lighting.
Samsung Cameras: Can You Capture Images in RAW?
You may want to see also
![]()
Use a macro lens
Using a macro lens is a great way to get into macro photography and take detailed shots of small objects. Here are some tips for using a macro lens:
- Stabilise your shot: Camera shake is more noticeable when you're shooting at such a close range, so it's important to stabilise your shot. You can do this by increasing your shutter speed, using a tripod, or using image stabilisation/vibration reduction if your lens or camera body has this feature.
- Choose the right light: Macro photography requires a lot of light, so natural light can be very effective. Backlighting can also look beautiful in macro photos, such as sunlight filtering through tree leaves.
- Use a ring light: If you don't have enough natural light, you can use a ring light attached to the end of your lens. This provides a continuous light source without the powerful lighting of a flash.
- Use the right aperture: When you're very close to a subject, the depth of field in your image is limited. To get more of your subject in focus, use a narrow aperture (a larger f-stop number).
- Try focus stacking: Many cameras have a focus stacking option, which allows you to combine multiple images with different focus distances. This results in an ultra-sharp, focused image.
- Choose your subject wisely: If you're photographing insects or other small animals, they may move away before you can take the shot. To avoid this, try photographing them later in the day when they start to slow down, or choose a non-moving subject.
- Be aware of your minimum focus distance: When using autofocus, make sure you select the right focus distance for your subject, otherwise, your autofocus won't lock on. Practice with your lens beforehand so you know how close you can get to your subject.
- Use a tripod and remote triggers: Keeping your camera steady is crucial when taking macro photos. Use a tripod with timer release or remote triggers to activate your shutter without touching the camera directly.
- Use manual focus: Autofocus can be tricky when you're trying to get pixel-perfect focusing. Using manual focus and a tripod allows you to take your time to adjust your focus carefully.
- Use live view: If you're using manual focus and a tripod, put your camera into live view mode so you can zoom in on your focal point and get a sharp image.
Macro lenses are a great addition to your kit, allowing you to capture the smallest details in sharp focus.
How Adobe Camera Raw Fixes Distortion Issues
You may want to see also
![]()
Focus on the most important part of your subject
Focusing on the most important part of your subject is a crucial aspect of macro photography. Here are some tips to help you achieve sharp focus on the key elements of your composition:
- Manual Focus for Small Subjects: When photographing tiny subjects, such as insects or small flowers, manual focus is often the best option. Set your lens to its closest focusing distance (usually 1:1 magnification) and then slowly move your camera forward and backward until your subject appears sharp in the viewfinder. This technique requires patience and practice, but it can yield excellent results.
- Continuous Autofocus for Larger Subjects: For relatively larger subjects, such as dragonflies or flowers, you can use continuous-servo autofocus (AF-C) with an autofocus area mode that tracks your subject across the frame. Even if your subject is still, using continuous autofocus is recommended because any slight movement by the photographer will be visible at close distances.
- Focus Stacking: If you want to achieve focus on both the head and body of an insect, for example, you may need to use focus stacking. This technique involves taking multiple shots with slightly different focus points and then blending them together in post-processing to create a final image with a greater depth of field.
- Aperture Settings: The aperture setting affects the depth of field in your macro photos. For small subjects (one inch or smaller), use a higher aperture (f/8 to f/11) to increase depth of field. For larger subjects, you can use a lower f-stop (f/2.8 to f/10) to achieve a shallower depth of field. Experiment with different apertures to find the best setting for your specific subject and camera setup.
- Swaying Technique: When using manual focus, try the swaying technique. Set your lens to a particular focusing distance and then gently sway forward and backward until your subject appears sharp in the viewfinder. Take the photo quickly, as this sharp focus may only last for a fraction of a second.
- Tripod and Focusing Rails: For stationary subjects, consider using a tripod with focusing rails. This setup allows you to make precise adjustments to your camera position, helping you achieve the perfect focus. It also reduces vibrations and imprecision from handheld shooting.
- Camera Modes: When shooting macro photography, it is recommended to use Aperture Priority mode when your primary light source is ambient light, and Manual Mode when using a flash or shooting from a tripod. Avoid the "Macro" or "Close-up" scene modes, as they may not provide enough flexibility for challenging macro scenes.
Clip Studio's Camera Raw Mode: Pros and Cons
You may want to see also
![]()
Understand depth of field
Understanding depth of field is essential for expanding your photographic horizons. It is one of the most important concepts in photography and applies to every aspect of it, from macro close-ups to sweeping panoramas.
Depth of field (DoF) is the zone within a photo that appears acceptably sharp and in focus. In every picture, there is a point of focus – the spot where you actually focus your lens. There is also an area both in front of and behind your point of focus that also appears sharp, and that area corresponds to the depth of field. The size of this zone of sharpness will vary from photo to photo depending on different factors, such as your lens’s aperture setting and distance to the subject.
Deep vs Shallow Depth of Field
Images that have a very large zone of acceptable sharpness are said to have a deep depth of field. Deep DoF photos tend to be sharp from front to back and are a popular look in landscape photography, where you often want to show every little detail in the scene.
On the other hand, some images have very small zones of focus, which is known as shallow depth of field. A shallow DoF photo is generally immediately recognizable because the subject will look sharp while the background is rendered as a smooth, creamy blur. This effect is especially popular in portraiture; photographers use it to draw attention to their subject while preventing background distractions. But you’ll also see shallow DoF in macro photography, street photography, photojournalism, and more.
Factors Affecting Depth of Field
There are three main factors that determine the depth of field in a photo:
- Aperture (f-stop)
- The distance between your lens and your subject
- The focal length of the lens
Aperture
Aperture refers to a hole in your lens through which light enters the camera. The larger the hole, the shallower the depth of field. You may be familiar with f-stop values, which look like this: f/2, f/2.8, f/4, f/5.6, f/8, f/11, f/16, etc. The smallest f-numbers correspond to the widest apertures and therefore the shallowest DoFs. And the larger f-numbers correspond to the narrowest apertures and therefore the deepest DoFs.
Distance to Your Subject
The closer your subject is to the camera, the shallower your depth of field becomes. So if you get up close and personal when photographing a flower, the depth of field will shrink. And if you take ten steps backward while still focusing your lens on that flower, the depth of field will increase.
Focal Length of the Lens
Wide-angle lenses (short focal lengths) have a deeper depth of field than telephoto lenses (long focal lengths). However, it isn’t quite as cut and dry as that. If you take an image and do not change the camera-subject distance, this is true. But if you adjust the camera-subject distance so that the magnification of your subject is the same, then focal length does not actually influence DoF.
Polaroid Camera Battery: Where is it Located?
You may want to see also
![]()
Use a flash
Using a flash in macro photography is essential to achieving a well-exposed and sharp image. Here are some tips on how to use a flash to enhance your macro shots:
Lighting Techniques
- Ring Light: Using a ring light is an excellent way to achieve even lighting in your macro shots. Ring lights wrap around your lens, allowing you to get close to your subject without casting harsh shadows.
- Flash Bracket: If you want to experiment with more creative lighting setups, consider investing in a flash bracket. This will enable you to mount your flash close to your subject but off-camera, creating more interesting lighting effects and avoiding the aggressive on-camera flash look.
- Modifiers: When using a speedlight, add a diffuser cap to soften the harsh light. If you're working with off-camera strobes, incorporate softboxes and umbrellas to soften shadows and enhance colours.
Flash Settings
- Sync Speed: Understand your flash's sync speed, especially when photographing fast-moving subjects like insects. Ensure your shutter speed matches the sync speed to capture images without motion blur.
- Recycle Speed: A fast recycle speed is crucial for minimising downtime between flashes, allowing you to capture multiple shots of fast-moving subjects.
Manual Mode
When using a flash for macro photography, it is recommended to shoot in Manual Mode. This gives you full control over your camera settings and ensures that your aperture remains constant, which is crucial for maintaining the desired depth of field.
Aperture and ISO
- Aperture: The aperture setting depends on the size of your subject. For tiny subjects (one inch or smaller), use a higher aperture (f/8 to f/11) to ensure sufficient depth of field. For larger subjects, you can use a lower f-stop (f/2.8 to f/10).
- ISO: When using a flash, set your ISO to auto to maintain optimal aperture and shutter speed settings. If shooting without a flash, you may need to increase your ISO to compensate for the faster shutter speed and darker aperture.
Lighting Considerations
- Diffuser: Use a flash diffuser to soften the light and avoid harsh specular highlights on your subject. You can purchase one or make your own using tape, cardboard, and a paper towel.
- Background Lighting: When using a flash in macro photography, the background of your image may turn dark or even black due to the close proximity of the subject to the flash.
Post-Processing
Even with the best flash techniques, you may still need to edit your macro images to bring out the finest details. Consider using photo editing software to adjust elements like sharpness, colour, and shadows, making your macro subjects appear larger than life.
London Congestion Charge Cameras: Locations and How They Work
You may want to see also
Frequently asked questions
Macro mode is a camera setting that allows you to take close-up photographs of small subjects, capturing details that are typically not visible to the naked eye.
Check your camera's manual or specifications to see if it has a macro mode or a dedicated macro lens. Some cameras may also have a flower symbol next to the lens or in the settings menu, indicating a macro mode.
Macro mode allows you to focus on objects at a closer distance, typically within a few centimetres. It can also produce a shallow depth of field, keeping the main subject in sharp focus while blurring the background.
Yes, you can still take macro-style photos without a dedicated macro mode. Try using an ultra-wide lens, which often has a shorter minimum focus distance, or experiment with different lenses and manual focus settings.
Pay attention to lighting, as small objects can be challenging to capture. Use natural light or a flash with a diffuser to illuminate your subject. Also, consider your composition, focusing on the most important part of your subject, and be mindful of wind or movement that may affect the sharpness of your image.