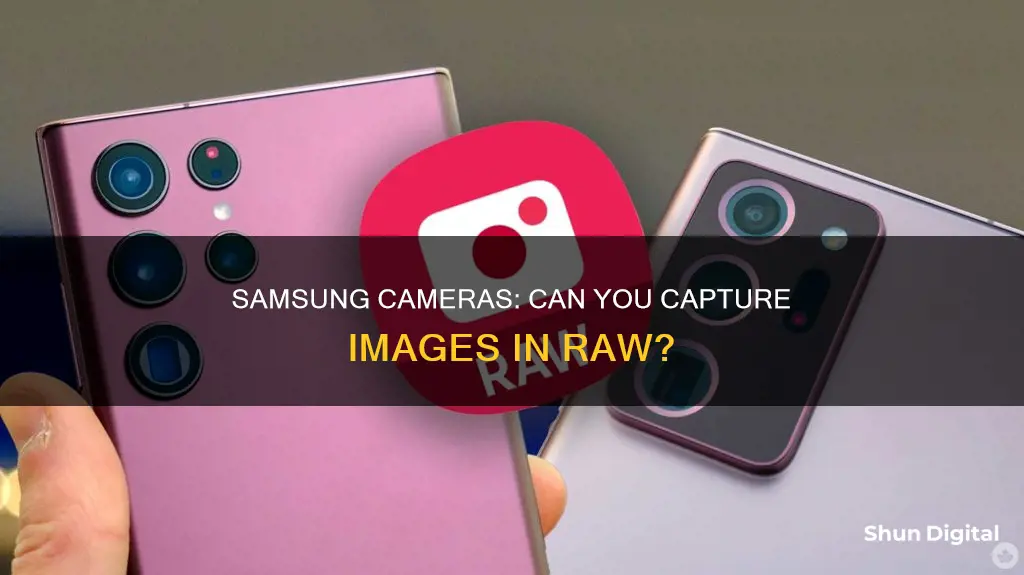
Samsung's latest camera phones can shoot images in RAW format, which is an uncompressed image format that gives more flexibility in editing. RAW images are high-quality, uncompressed images that are pulled directly from the camera's sensor and need to be processed to turn into finished photos. Samsung's Expert RAW app, available on the Galaxy Store, provides RAW files that can be edited later. The app is available for the Galaxy S20 and later models. To shoot RAW images on a Samsung Galaxy phone, open the Camera app, tap the Settings gear in the upper-left corner, go to Format and advanced options, and turn on the RAW copies toggle.
| Characteristics | Values |
|---|---|
| File format | RAW (Linear DNG 16-bit) |
| File size | 10MB-30MB |
| Editing software | Lightroom, Photoshop, Snapseed, etc. |
| Samsung app | Expert RAW |
| Availability | Galaxy S20 or later models |
| File location | Internal storage or external memory card |
| File name | .dng |
What You'll Learn
![]()
Samsung's Expert RAW app for Galaxy smartphones
Samsung's Expert RAW is an innovative camera app for its Galaxy smartphones. It is an optional download aimed at hobbyist or advanced users, bringing a range of new photography features and controls to its latest flagship smartphones. The app is built around shooting in the RAW image format, which offers a wider dynamic range and more detail in bright and dark areas of a photo, as well as maximum editing potential. These 16-bit RAW image files are larger in size, typically ranging from 10MB to 30MB each, and are intended for editing rather than distribution. As such, users will need to be familiar with RAW editing software such as Lightroom or Photoshop to get the most out of these images.
Expert RAW introduces manual camera controls that allow users to put a personal stamp on their images. It offers manual adjustments for ISO, shutter speed, EV, metering, and white balance, enabling photographers to dial in the perfect exposure for their desired scenes. In addition, the app provides direct control over camera settings such as focus and exposure, enhancing the overall shooting experience.
The Expert RAW app can be downloaded from the Galaxy Store for free, but it is only compatible with select Samsung Galaxy handsets. All Samsung flagships released from 2022 onwards, including the Galaxy S24 series and Galaxy Z Fold 6, are supported. The app is also available on older models such as the Galaxy S21 Ultra, Z Fold 3, and Galaxy S20 Ultra, but these devices may experience slower processing times due to their age.
One notable feature of Expert RAW is its support for Astrophotography and multiple exposure modes on the S23 and S22 series devices. This allows photographers to capture stunning images of the night sky and create unique composite images by combining multiple exposures. The app also includes a histogram tool, which is not available in the standard camera app, even in Pro mode.
To use Expert RAW effectively, users should familiarise themselves with the various toggles and controls. For instance, a fast shutter speed is ideal for capturing action shots, while a low ISO reduces noise and enhances detail. The app also offers auto-focus tracking, focus peaking, and the ability to manually set the focus point for greater control over image sharpness.
Eufy Camera Battery Life: How Long Do They Last?
You may want to see also
![]()
How to shoot RAW images on Samsung Galaxy phones
Shooting RAW images on your Samsung Galaxy phone can be done through the Expert RAW app or the built-in camera app.
Using the Expert RAW App
The Expert RAW app is an innovative camera app for Samsung Galaxy that provides RAW files that can be edited later. It is available on the Galaxy Store for the Galaxy S20 and later models.
To shoot RAW images using the Expert RAW app, follow these steps:
- Open the Expert RAW app.
- Tap the settings icon.
- Turn on "Special photo options" if you want to capture astrophotography or multiple exposures.
- Choose the shooting mode you want, such as astrophotography or multiple exposure.
- Adjust the relevant settings, such as focus, white balance, exposure time, or shutter speed.
- Tap to shoot your photo.
Using the Built-in Camera App
To shoot RAW images using the built-in camera app on your Samsung Galaxy phone:
- Open the camera app.
- Tap the Settings icon in the upper-right corner (or lower-left corner if in landscape mode).
- Go to Pictures, then Format and advanced options.
- Turn on the RAW copies toggle.
- Return to the camera app and slide across the modes until you reach MORE.
- Tap on the PRO icon to enter Pro mode.
- Capture your photo.
Finding and Editing Your RAW Images
To find your RAW images, go to your Gallery app and look for the Camera album. You will see two copies of each image taken in Pro mode: the processed JPEG and the unprocessed RAW version, which will have a RAW badge in the upper-right corner. RAW images will also have a .dng file type.
To edit your RAW images, open the desired image in the Gallery app and tap the Share icon to choose an editing app, or use Samsung's Photo Editor app.
Charging Camera Battery Packs: A Step-by-Step Guide
You may want to see also
![]()
RAW images vs JPEG images
RAW images and JPEG images are two different file formats that serve different purposes. RAW files are uncompressed, unprocessed, and lossless, meaning they retain all the original image data from the camera sensor. This results in high-quality images with a wide dynamic range, more shades of colour, and greater recovery potential for overexposed or underexposed images. However, RAW images require more storage space and need to be post-processed before they can be viewed or printed.
On the other hand, JPEG files are compressed, processed, and utilise lossy compression, which reduces file size but also discards some image data. JPEG images are fully processed in-camera, with settings like white balance, colour saturation, tone curve, sharpening, and colour space already applied. This makes them ready to use right after shooting, and they are compatible with most modern devices and software. However, the compression and processing result in a loss of image detail and dynamic range.
When deciding whether to shoot in RAW or JPEG, consider the purpose of your images and your workflow. RAW is ideal for situations where you need maximum image quality, flexibility in post-processing, and the ability to recover exposure or white balance issues. It is commonly used in landscape photography, nature photography, and journalistic shooting. JPEG, on the other hand, is suitable for situations where immediate display or sharing is required, such as event photography or images intended for web use. It is also useful when storage space is limited.
Samsung smartphones, such as the Galaxy S series, offer the ability to shoot in both RAW and JPEG formats. The Expert RAW app provides advanced photography features and manual controls, allowing for greater customisation of images. However, shooting in RAW will require additional processing using software like Lightroom or Photoshop to extract the full potential of the images.
New Camera Battery Died? Here's Why
You may want to see also
![]()
Editing RAW images
RAW image files are uncompressed image files that are pulled directly from a camera's sensor. They are larger than standard JPEG files because they contain more information and are not compressed or altered in-camera. RAW files allow photographers greater flexibility in the editing process as they can be processed to pull out details in photos that may otherwise be lost.
To edit RAW images, you will need a RAW photo editor such as Luminar Neo, Lightroom, or Photoshop. These programs allow you to adjust various elements of your images, including exposure, sharpness, colour, noise, and more.
- Choose a RAW photo editor: Select a suitable RAW image editor such as Luminar Neo, Lightroom, or Photoshop, which offer powerful editing tools and are popular among photographers.
- Open your RAW image file: Import your RAW image into the chosen photo editor.
- Familiarise yourself with the editing tools: Each photo editor will have its own set of tools and sliders for adjusting different aspects of your image. Familiarise yourself with these tools and experiment with different settings to understand their impact on your image.
- Adjust basic settings: Start by adjusting basic settings such as temperature, tint, exposure, contrast, highlights, shadows, whites, and blacks. Play around with the sliders to fine-tune these settings to your liking.
- Modify advanced settings: Explore the advanced editing options offered by your chosen software. This may include adjustments to clarity, vibrance, saturation, sharpening, luminance (noise reduction), and more. Make changes as needed to enhance your image.
- Utilise histogram and adjustment brushes: Use the histogram to check for any overexposed or underexposed areas in your image. The adjustment brush tool allows you to make local changes to specific areas of the image without affecting the entire photo.
- Finalise your edits: Once you are happy with your adjustments, save your work. You can now export your edited RAW image as a JPEG or other standard image format for sharing or printing.
Remember that practice is key when it comes to editing RAW images. The more you experiment with the various tools and settings, the better you will become at editing and enhancing your photos. Additionally, always back up your original RAW files before making any edits, so you can easily revert to the unedited version if needed.
The Evolution of Rechargeable Camera Batteries
You may want to see also
![]()
When to shoot RAW with your phone
Shooting in RAW with your smartphone is a simple tweak that can significantly enhance your photography. RAW images are uncompressed and unprocessed, preserving the highest possible image quality and editing latitude. This gives you more flexibility when editing and allows for extensive adjustments in exposure, white balance, and colour without degrading the image.
However, RAW images are much larger than JPEGs, requiring more storage space. They also need to be edited, which takes time and adds steps to your photography workflow. So, when is it better to shoot RAW?
When You Plan to Edit Your Photos
Straight out of the camera, JPEG files tend to look better than RAW files because they've been processed. However, you have much more leeway when editing RAW images. You can fix problems with colour and exposure in RAW files, whereas in a JPEG, you probably can't.
When You Want Total Control Over the Colours
Our brains take cues from our environment to determine how we see colours. Cameras, on the other hand, just capture what's in front of them. When you shoot in JPEG, the camera makes its best guess about what white looks like and then saves the image. This is fine if its guess is accurate, but if it's wrong, every other colour in your photo will be off, and there won't be a lot you can do to fix it. When you shoot in RAW, however, the white balance isn't permanent, so you can change it at any time in a RAW processing app.
When You're Shooting in Difficult Circumstances
If you're shooting in tricky lighting situations—like directly into the sun, before sunrise, or when there's a lot of contrast—shooting in RAW can make it easier to make adjustments. RAW files have more data than JPEGs, so if your image ends up underexposed or overexposed, there's more room to correct things.
When You Have the Time
Any time you're able to stop and really think about what you're trying to capture is a good time to go for RAW images. It also gives you the opportunity to manually control your camera settings so you can really nail the shot. If you're just trying to take a quick snapshot, switching to a RAW camera app or tweaking the settings to RAW will only slow you down.
When Not to Shoot RAW
The best thing about your smartphone camera is its convenience. In moments, you can have your phone out, swipe, and shoot away, allowing you to capture moments you'd otherwise miss. Smartphone cameras are also getting better by using computational photography. By default, iPhones that support iOS 12 now shoot high-dynamic-range (HDR) photos, and Google is spending a lot of time using machine learning to improve the Pixel's camera. Even if you know what you're doing, the advantage of shooting RAW all the time is slipping. In almost all situations, you can get a comparatively good photo for a fraction of the effort by letting your smartphone camera make the decisions.
Extending Black Magic Camera Battery Life: Top Tips
You may want to see also
Frequently asked questions
Yes, you can. If you have a Samsung Galaxy smartphone, you can download the Expert RAW app from the Galaxy Store. This app is available for the Galaxy S20 or later models. If you don't have a Samsung Galaxy, you can use a third-party app like Lightroom or ProCam X to shoot RAW images.
First, you need to make sure that you have activated RAW copies in your camera app settings. To do this, tap the Settings icon in the upper-right corner of the camera app, then go to Pictures, Format and advanced options, and toggle on RAW copies. After this, you can shoot RAW images by sliding to the MORE option at the bottom of the camera app and selecting the PRO icon.
RAW images are high-quality, uncompressed images that give you more flexibility when editing. They contain more data than JPEG images, which means you can fix problems with colour and exposure, and make adjustments if your image is underexposed or overexposed.
RAW images are much larger in file size than JPEGs, and they require editing before they are ready to print or post online. They can also be more time-consuming to shoot, as you may need to manually adjust your camera settings.