GoPro cameras have two WiFi modes: WiFi remote control and Phone and tablet mode. When in WiFi remote control mode, the remote control is the WiFi host, and the camera connects to it. In Phone and Tablet mode, the GoPro is the WiFi host and creates a WiFi network. However, the WiFi on the GoPro cameras is in AP (Access Point) mode and not in Client Mode, like a computer or mobile.
| Characteristics | Values |
|---|---|
| WiFi Modes | Wifi remote control, Phone and tablet mode |
| Wifi Host in Phone and Tablet Mode | GoPro camera |
| IP Address | 10.5.5.9 |
| Ports Open | 80, 8080 |
| DHCP Server | Wifi bacpac |
What You'll Learn
![]()
GoPro cameras are in AP mode, not client mode
GoPro cameras are in AP (Access Point) mode and not in Client Mode. This means that the camera operates as an access point, allowing wireless clients to connect and communicate using the Open GoPro HTTP API.
In order to connect to a GoPro camera in AP mode, you must first connect via BLE (Bluetooth Low Energy). This can be done by following these steps:
- Find the target WiFi network's SSID and password.
- Enable the WiFi AP via BLE.
- Connect to the WiFi AP.
It is important to note that BLE is required to discover the WiFi information and configure the AP.
While in AP mode, the GoPro can be controlled via BLE. However, there is some functionality that is not available over BLE, such as accessing the media list and downloading files.
Additionally, only one device can connect to the GoPro camera at a time via WiFi. However, the camera stores BLE security keys and other connection information, allowing multiple devices to connect sequentially.
Jump-Starting Your DJI Camera Battery: A Quick Guide
You may want to see also
![]()
Pairing a GoPro with a smart remote
Unfortunately, I don't have enough information to create a response.
The Raw Camera Filter: Where Did It Go?
You may want to see also
![]()
Setting up a GoPro with a WiFi router
To set up a GoPro with a WiFi router, you will need:
- A WiFi router with DD-WRT firmware
- A WiFi router or WiFi access point with DD-WRT firmware
- Your GoPro camera
- A laptop or desktop with an ethernet port
- A Cat5 or Cat6 ethernet cable
Firstly, you will need to connect the DD-WRT router to the main router. The default IP address for the GoPro is 10.5.5.9. The rest of the IP addresses will be different, so make a note of them.
Next, create a static route on the main router to allow traffic from the GoPro camera to the WiFi network. For clarity, name the WiFi home router as the "Home Router" and the other router as the "Bridge Router".
Now, follow these steps:
- Configure the Bridge Router to run in Client Mode so it will act as a Bridge.
- Configure the Home Router with a static route to allow traffic from the GoPro camera to the Home Router.
- Connect the Bridge Router to the back of the Home Router.
- Test GoPro connectivity and use Camera Suite for Live Preview.
To set up the Bridge Router:
- Turn off the WiFi on your laptop.
- Connect the Bridge Router to your laptop via an ethernet cable.
- Test the connection by pinging the Bridge Router IP address.
- Log in to the router and ensure the GoPro is turned on.
- Go to "Status", then "Wireless", and click on "Site Survey".
- The Site Survey will detect all neighbouring wireless networks, allowing you to see the WiFi network of the GoPro.
- Once you see your GoPro's WiFi in the list, click "Join".
- Click "Save" on the Basic Settings tab, leaving the GoPro WiFi name unchanged.
- Select WPA2 Personal as the Security Mode and choose AES as the WPA algorithm.
- Enter your GoPro WiFi password phrase and click "Save".
- Once the access point has rebooted, go to the Status tab and wait for the GoPro to connect.
- You should now see the GoPro listed under Wireless Nodes, indicating a successful connection.
- Go back to Setup and change the Connection type to Static IP.
- Set up the router name and host name under Optional Settings.
- Under Network Setup, change the router IP settings to an IP that is not already used on your WiFi network.
- Disable the DHCP server as it is not needed.
- Save and Apply Settings, allowing the Access Point to reboot automatically.
- Once the Access Point has rebooted, unplug it from your PC and connect it to the back of your main WiFi router.
- Reconnect your PC to the WiFi and test the internet connection.
Now, to set up the Home Router:
- Open your browser and type in the address of your main router, then log in.
- Go to Setup, Advanced Routing, and create a static route. This will direct the traffic from the WiFi router using the Access Point (DD-WRT) to the GoPro camera.
- Enter a Route name, such as "GoPro".
- In Destination LAN, enter the GoPro camera IP address.
- Set the Gateway to 255.255.255.255 to isolate the route to the GoPro address.
- Set the gateway to the address of the Access Point (DD-WRT).
You should now be all set up! You will be able to stay connected to the internet via WiFi while simultaneously connecting to your GoPro.
Charging the Disney Camera: Hannah Montana's Guide
You may want to see also
![]()
Using a wireless bridge to connect a GoPro to a home network
GoPro cameras have two Wi-Fi modes: "Wi-Fi remote control" and "Phone and tablet" mode. When in "Phone and Tablet" mode, the GoPro acts as a Wi-Fi host, creating its own Wi-Fi network. However, the Wi-Fi on GoPro cameras is in AP (Access Point) mode and not in Client Mode, which is what your home network is likely set up for.
To connect your GoPro to your home network, you will need to set up a wireless bridge. This can be done using a router with DD-WRT firmware. Here is a step-by-step guide:
What you will need:
- A Wi-Fi router with DD-WRT firmware to act as a bridge to your GoPro camera.
- Your GoPro camera.
- A laptop or desktop with an ethernet port. (You can use a USB-to-ethernet adapter if your laptop doesn't have an ethernet port.)
- A Cat5 or Cat6 ethernet cable.
Setting up the Bridge Router:
- Turn off the Wi-Fi on your laptop and connect the Bridge Router to your laptop using an ethernet cable.
- Log in to the router and ensure your GoPro is turned on.
- Go to "Status", then "Wireless", and click on "Site Survey". This will show you all the neighbouring wireless networks, including your GoPro's Wi-Fi network.
- Click "Join" on your GoPro's Wi-Fi network and save the settings without changing the GoPro Wi-Fi name.
- Choose WPA2 Personal as the Security Mode and AES as the WPA algorithm. Enter your GoPro Wi-Fi password and save the settings.
- Once the access point has rebooted, go to the Status tab and wait for the GoPro to connect.
- Go back to Setup and change the Connection type to Static IP.
- Set up the router name and host name (e.g. GoPro_AP).
- Under Network Setup, change the router IP settings to an IP that is not already used on your home network.
- Disable the DHCP server.
Setting up the Home Router:
- Connect your Bridge Router to the back of your Home Router.
- Reconnect your PC to the Wi-Fi and test your internet connection.
- Open your browser and log in to your Home Router.
- Go to Setup, Advanced Routing, and create a static route to direct traffic from the Wi-Fi router using the Access Point (DD-WRT) to the GoPro camera.
- Enter a Route name (e.g. GoPro) and the GoPro camera IP address as the Destination LAN.
- Set the Gateway to 255.255.255.255 to isolate the route to the GoPro address.
- Set the Gateway to the address of the Access Point (DD-WRT).
Now you should be all set up! You can test your GoPro's connectivity and use Camera Suite for a Live Preview.
Charging Camera Batteries: Alone Show Secrets Revealed
You may want to see also
![]()
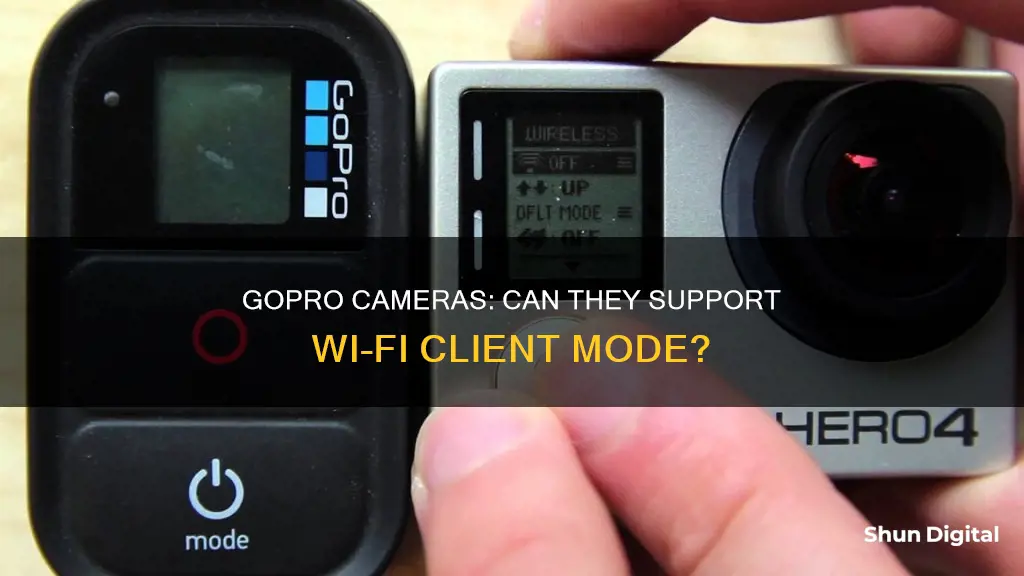
The two WiFi modes: WiFi remote control and phone and tablet mode
The GoPro camera has two WiFi modes: WiFi remote control and phone and tablet mode.
In WiFi remote control mode, the remote control is the WiFi host, and the camera (or multiple cameras) connects to it. The remote has an LCD screen that mirrors the GoPro's LCD screen. The two buttons on the remote also mirror the power and shutter buttons on the camera. This mode is ideal for controlling the GoPro without having to use a phone or tablet.
In Phone and Tablet mode, the GoPro camera becomes the WiFi host and creates its own WiFi network. When setting up this mode, you specify the network name and WPA2 key by plugging the camera into a computer via USB and launching CineForm Studio. This mode is useful when you want to connect your phone or tablet directly to your GoPro without using the remote control.
Batch Processing Power: Copying Adjustments in Camera Raw
You may want to see also
Frequently asked questions
Your GoPro camera has two WiFi modes: "WiFi remote control" and "Phone and tablet" mode.
To connect your GoPro to WiFi remote control, you must first power on the remote. When the remote displays a radiating WiFi symbol, press and hold the Settings/Tag button (wrench icon). When the remote shows two arrows moving towards each other, you can let go. The remote is now in pairing mode and should pair with the camera in under a minute.
To connect your GoPro to your phone or tablet, you must first connect the GoPro to your computer via USB. You will then specify the name and WPA2 key. The GoPro is now the WiFi host and will create its own WiFi network.