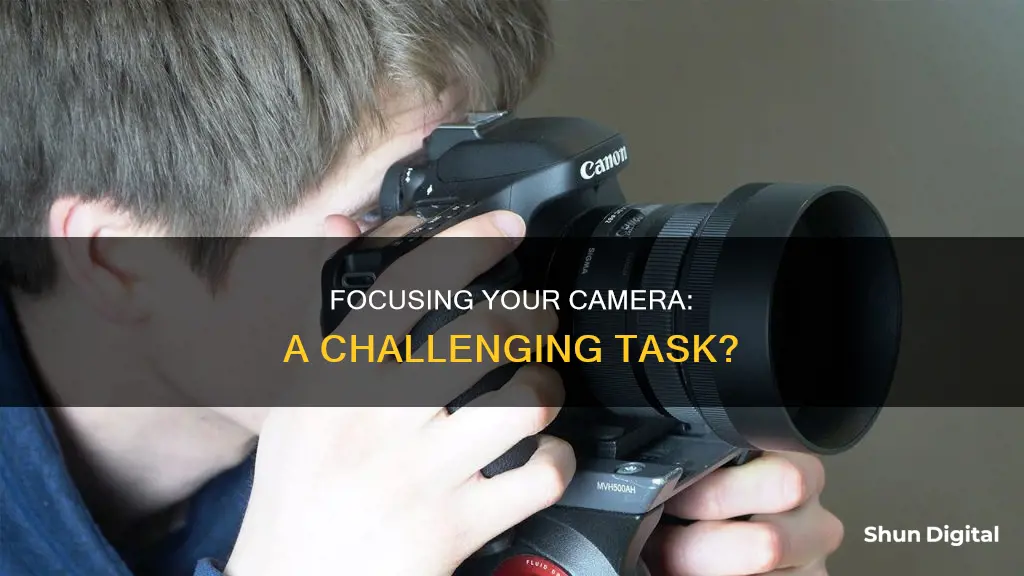
Focusing a camera can be a tricky business, and there are many reasons why you might be having a hard time. It could be that you're too close to your subject, or that there's not enough contrast in the scene for your camera to focus. Perhaps you're in a low-light environment, or your lens isn't attached properly. It could even be that your camera lens is dirty or damaged. Let's take a look at some common issues and how to fix them.
| Characteristics | Values |
|---|---|
| Camera lens not using contrast areas of the photo | Aim the focus point at an area with more contrast at a similar distance from the camera |
| Poor electrical connection between the lens and the camera | Detach and reattach the lens |
| Dirty contact points on the lens or camera | Clean the contact points with a cotton swab and a drop of isopropyl alcohol |
| Camera is too close to the subject | Back up a little and try again |
| Camera is in a dark place | Use a flashlight or a lens with a larger maximum aperture |
| Camera is in manual focus mode | Switch to autofocus mode |
| Lens is not mounted properly | Remove and remount the lens |
What You'll Learn
![]()
Autofocus vs Manual Focus
Autofocus (AF) is a function of a camera that automatically focuses on a subject. Most general digital cameras have this function. There are different types of AF methods, such as AF-S (Single-shot AF) and AF-C (Continuous AF). AF-S locks the focus on motionless subjects, while AF-C continuously adjusts the focus on moving subjects. Autofocus is generally faster than manual focus and is useful for capturing moving subjects.
Manual focus (MF), on the other hand, allows the user to set the focal point manually, providing more creative control over the image. It is ideal for situations where autofocus may struggle, such as low-light conditions, shooting through glass or fences, or when there are many objects in the scene. Manual focus is also more precise, allowing you to carefully pick your point of focus from a chaotic scene. However, it is generally slower than autofocus, making it less suitable for capturing moving objects.
When deciding between autofocus and manual focus, consider the shooting conditions and your creative needs. Autofocus is generally recommended as the default option, with manual focus being used in specific scenarios where autofocus struggles, such as macro photography, deep landscape photography, or when there are many distracting foreground elements.
Understanding Camera Modes: What Does S Mode Do?
You may want to see also
![]()
Minimum Focusing Distance
The minimum focusing distance of a lens is the shortest distance from the camera's sensor to the subject at which the subject can still be in focus. This distance varies from lens to lens and is an important factor to consider when investing in a new lens. If you are conducting close-up photography, using extension tubes, or long telephoto lenses for nature and bird photography, the minimum focusing distance becomes a critical factor.
Different lenses have different minimum focusing distances. For example, the Nikon 60mm macro lens has a minimum focusing distance of 18.5 cm, while the Nikon 105mm macro lens has a minimum focusing distance of 31.4 cm. It is important to note that the minimum focusing distance is not the distance from the front of the lens to the subject but rather the distance from the camera's sensor to the subject.
Understanding the minimum focusing distance of your lens is crucial to avoid inadvertently moving too close to your subject and missing your shot. If you are using a long telephoto zoom lens and are unable to move away from the subject, you may need to zoom out to a wider angle to capture the image, resulting in the subject appearing smaller in the frame than desired.
Additionally, when using extension tubes with your lens, it is important to conduct tests beforehand as the minimum focusing distance may change. Modern lenses with 'floating elements' can sometimes cause image quality issues when used with extension tubes at their minimum focusing distance.
In summary, the minimum focusing distance is an important lens attribute that photographers should consider when purchasing new equipment and planning their shots. It can impact the practicality of certain lenses for specific types of photography and the ability to capture the desired image without needing to adjust the composition.
XZ Premium Camera: Default Mode Explained
You may want to see also
![]()
Viewfinder Diopter
The viewfinder diopter is a dial, wheel, or switch located on or near the viewfinder of most cameras. It allows you to adjust the viewfinder's focus to match your eyesight, ensuring that what you see through the viewfinder is sharp and clear, without affecting the sharpness of the recorded image. This is especially useful if you wear corrective glasses, as it can be awkward to look through the viewfinder while wearing glasses, and any oils that collect on the eyepiece can smudge your lenses.
To adjust the viewfinder diopter, first locate the diopter control, which is typically a small circular dial or linear switch near the viewfinder. Then, turn on your camera and remove the lens cap if there is one. With a finger on the diopter control, look through the viewfinder and point the camera towards a bright, featureless subject, such as a light wall, the sky, or a ceiling. Relax your eyes and half-press the shutter button to activate the data display within the viewfinder. Adjust the diopter control back and forth until the data displayed in the viewfinder, such as numbers, focus markers, or gridlines, come into sharp focus.
It is important to note that diopter adjustments correct for minor nearsightedness and farsightedness but do not compensate for astigmatism. Additionally, adjusting the viewfinder to match your eyesight does not affect how your camera lens focuses on the scene. However, by bringing the viewfinder into sharp focus, you can more easily identify autofocus errors before taking a picture.
Beat Virginia Traffic Camera Tickets: Know Your Rights
You may want to see also
![]()
Focus Assist Light
Many factors can contribute to difficulties in focusing a camera, such as insufficient lighting, proximity to the subject, and lens attachment. One feature that can aid in achieving focus in low-light conditions is the Focus Assist Light.
The Focus Assist Light, also known as the AF Assist Lamp, is a small light typically built into the camera body above the lens mount. When you press the shutter button halfway down, the light illuminates the subject area, assisting the camera in focusing accurately. This feature is particularly useful when shooting in low-light environments, as it provides additional illumination to help the camera gauge the correct focus.
Not all cameras have a Focus Assist Light; some higher-end camera models omit this feature. For cameras that do have it, such as most Nikon digital SLR cameras, you can usually turn it on or off through the custom settings in the camera's menu. This customisability allows users to control the lighting conditions and avoid any unwanted distractions or attention when taking photographs.
The Focus Assist Light is designed to work at very short distances due to its low power output. It should only be lit while the camera is focusing to prevent causing overexposure by making the scene appear brighter than it actually is. By using the Focus Assist Light in conjunction with focusing techniques, such as aiming at areas with high contrast, photographers can improve their camera's ability to achieve accurate focus in challenging lighting conditions.
In summary, the Focus Assist Light is a valuable tool for photographers who frequently shoot in low-light environments. By understanding how to use this feature effectively and in combination with other focusing techniques, photographers can improve their camera's focusing capabilities and capture sharper images, even in difficult lighting conditions.
Toy Camera Mode: Creative Photography with a Vintage Twist
You may want to see also
![]()
High Contrast Areas
High-contrast scenes are caused by hard light and heavy shadows. Both elements are generally present in high-contrast photography. Hard light on its own will create a bright subject, while heavy shadows will only bring darkness. However, when combined, they will produce a high-contrast effect.
Cameras have the ability to track focus for higher-contrast areas in an image. When shooting in any lighting condition, looking for areas with high contrast will help you gain accurate focus.
- Use post-production to decrease contrast: Open the file in a program such as Lightroom and reduce the contrast. Try pushing the Contrast slider in the negative direction, dropping the Highlights slider, and boosting the Shadows slider.
- Convert to black and white: High-contrast colour photos don't always look good, but a black-and-white conversion can salvage a contrasty shot.
- Use fill flash: If you're looking to do detailed portrait or product photography in a high-contrast scene, fill flash can be a lifesaver. Use your on-camera flash or a nearby off-camera flash to fill in any shadows produced by the light.
- Use a graduated neutral density filter: This type of filter darkens skies so they can be better handled by your camera.
- Blend your exposures: When faced with a high-contrast scene, you can reduce the contrast by capturing multiple images with different exposures and then blending them in Lightroom or Photoshop.
- Embrace the high-contrast effect: Sometimes, it's best to embrace the contrast and capture unique images. For example, you can deliberately shoot into the sun to get a bright background and a shadowy foreground, creating silhouettes.
Best Buy's Camera Battery Charger Options Explored
You may want to see also