There are several ways to transfer photos from a camera to a computer. One way is to use a USB cable to connect the camera directly to the computer. Another way is to remove the SD card from the camera and insert it into the computer's card reader, if it has one. If the computer does not have a card reader, an external SD card reader can be purchased. Once the connection has been established, the photos can be transferred by dragging and dropping them into a desired folder on the computer.
| Characteristics | Values |
|---|---|
| Connection type | USB cable, SD card |
| Cable connection | Plug the small end of the camera's cable into the camera, and the USB end into the computer |
| SD card connection | Insert the SD card into the computer's card reader |
| Computer recognition | The computer should recognise the camera immediately |
| File transfer | Drag and drop the images to a folder of your choice |
What You'll Learn
![]()
Using a USB cable
If you're looking to transfer photos from your camera to your computer, one of the easiest ways to do this is by using a USB cable. This method works for both Windows and Mac computers and is relatively straightforward. Here's a step-by-step guide on how to do it:
- Turn on your computer.
- Use the USB cable that came with your camera to connect it to an open USB port on your computer. If you don't have the original cable, make sure to purchase a replacement that fits your camera model.
- Turn on your camera. Your computer should recognize it immediately. If not, try switching your camera to "Review" mode to establish the connection.
- An AutoPlay window should pop up. Click on this, then select "Open folder to view files." This will open the File Explorer.
- Click on "DCIM" to access your photos. This folder typically contains your camera images.
- Select the photos you want to transfer. You can choose individual photos or press CTRL + A to select all the photos in the folder.
- Drag and drop the selected photos to your desired location on your computer, such as the "Pictures" folder or a new folder.
- Once the transfer is complete, eject your camera by clicking the arrow in the bottom-right corner of the taskbar, then clicking the device icon and selecting "Eject."
- Turn on your computer.
- Connect your camera to your Mac using the USB cable that came with your camera. Ensure you're plugging it into an open USB-A port. If your Mac doesn't have a USB-A port, you'll need to purchase an adapter.
- Turn on your camera. Your Mac should recognize it right away. If not, try switching your camera to "Review" mode.
- Open the Photos app, which looks like a multi-colored flower.
- Select the photos you want to transfer by clicking on each photo. You can also drag your cursor to select multiple photos at once.
- Click on "Import Selected" to transfer the chosen photos. If you want to import all new photos, click on "Import All New Photos" in the top-right corner.
- Eject your camera before disconnecting it. Open the Finder, locate the camera in the left sidebar, then click the up-arrow icon to eject it safely.
Leica's Golden Cameras: A Limited Edition Run
You may want to see also
![]()
Using an SD card
Step 1: Remove the SD Card from Your Camera
Gently open the compartment that houses the SD card in your camera. Press the SD card to unlock it from your device, and carefully remove it. Be sure to handle the card by its edges to avoid leaving fingerprints or other marks on the sensitive surface.
Step 2: Insert the SD Card into Your Computer
If your computer has a built-in SD card reader, insert the card into the dedicated slot. The slot is usually located on the side or front of your computer. If you don't have a built-in reader, you can purchase an external SD card reader that connects to your computer via USB. These readers are widely available and relatively inexpensive.
Step 3: Access the SD Card on Your Computer
On a Windows computer, open the File Explorer by right-clicking the Start menu and selecting "File Explorer." From there, you should see your SD card listed in the left panel. If not, click the arrow on the left of "This PC" to expand the options.
For Mac users, open the "Finder" application, typically located in the dock. Your SD card should appear in the left panel of the Finder window.
Step 4: Select the Pictures You Want to Transfer
Once you've located your SD card, you'll see the photos stored on it. You can choose to transfer individual photos or select all of them. On Windows, press "CTRL + A" to select all, while on Mac, use "CMD + A." If you want to select multiple specific photos, hold the "CTRL" key (Windows) or "CMD" key (Mac) and click on each photo.
Step 5: Transfer the Selected Pictures
Now, simply drag and drop the selected pictures to your desired location on your computer. You can create a new folder or use the default "Pictures" folder. The transfer time will depend on the number of files and your computer's performance.
Step 6: Eject the SD Card
Once the transfer is complete, remember to safely eject the SD card before removing it. On Windows, click the arrow in the bottom-right corner of the taskbar, then click the flash drive icon, and select "Eject." On Mac, find the SD card in the left panel of the Finder window, and click the up-arrow symbol to eject it safely.
After ejecting the card, you can insert it back into your camera, ready for your next photo session.
Easy Guide to Mounting Your PoE Surveillance Camera
You may want to see also
![]()
Connecting a camera to a PC
Connecting your camera to your PC can be useful for transferring photos, editing videos, or using it as a webcam. However, different cameras and computers may have different requirements and methods for doing so. Here is a general step-by-step guide to help you connect your camera to your PC:
Check your camera and computer ports:
Before you connect your camera to your computer, check what kind of ports they have. Most digital cameras have a USB port that can be used for connection. Some cameras may also have an HDMI or mini-HDMI port that can transmit video and audio signals. Depending on your computer, you may need a USB-A or USB-C port to connect to your camera. If your computer doesn't have the matching ports, you may need to use an adapter or a cable that can convert the signals.
Connect your camera and computer with a cable:
Once you have the right ports and cables, you can connect your camera and computer. Ensure your camera is turned off and your computer is on. Plug one end of the cable into your camera and the other end into your computer. Then, turn on your camera and switch it to the appropriate mode, such as playback, PC, or webcam mode. Your computer should automatically detect your camera and install the necessary drivers.
Use software to access your camera:
Depending on what you want to do with your camera, you may need to use specific software. For example, if you want to transfer photos, you can use the built-in Windows Photos app or the Mac Photos app. If you want to edit videos, you can use video editing software like Windows Movie Maker or iMovie. If you want to use your camera as a webcam, you can use software like SparkoCam or Camera Live.
Troubleshooting:
If you encounter issues when connecting your camera, ensure that your cable is securely plugged in, the camera is on and in the right mode, and your computer has the latest drivers and updates. Additionally, check your camera's battery power, memory space, and resolution. Adjust the lighting, focus, and exposure of your camera, and close any unnecessary programs or apps that may slow down your computer.
Enjoy your camera and computer connection:
Connecting your camera to your computer opens up possibilities for creativity, communication, and entertainment. You can use your camera to capture memories, share stories, or stream live. You can also use your computer to edit, organise, and back up your photos and videos.
Charging Your Lumix Camera: USB Guide
You may want to see also
![]()
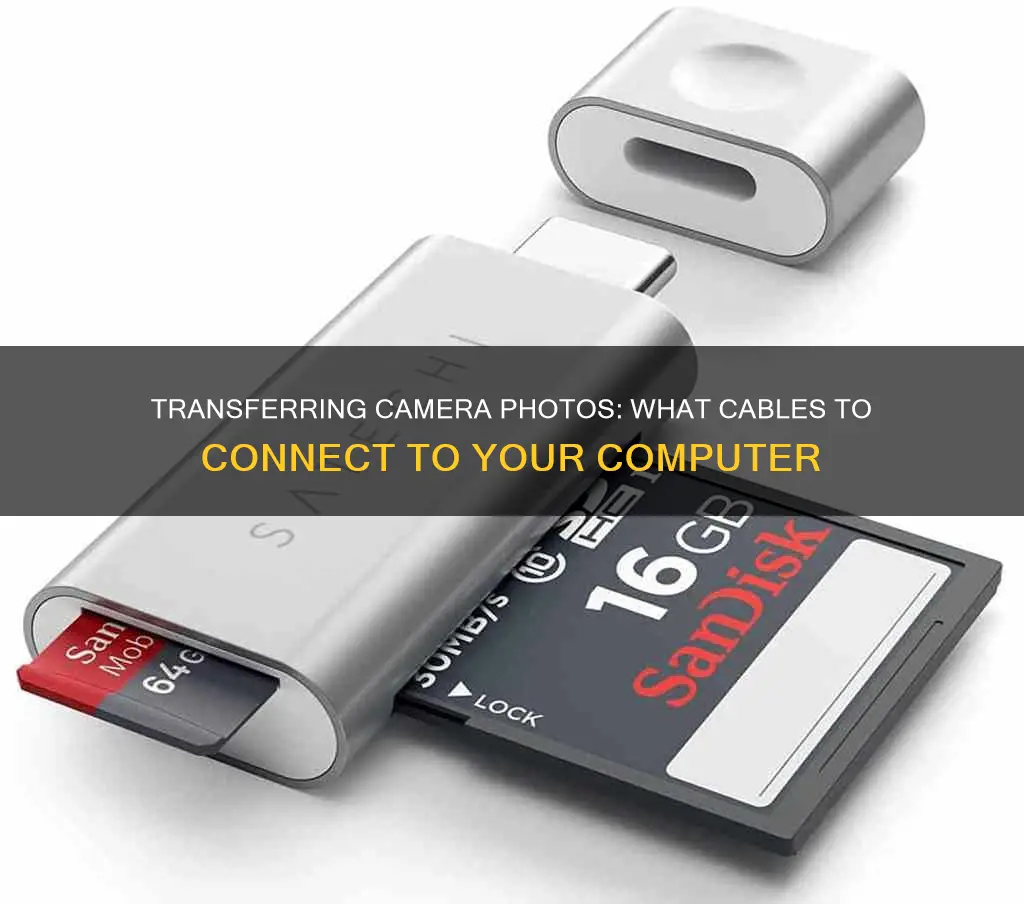
Using an external SD card reader
If your computer doesn't have a built-in SD card reader, you can always purchase an external one that connects via USB. These are excellent gadgets for viewing and transferring SD card data to another device.
Step 1:
Insert your SD card into an external reader and connect it to your computer through a USB port.
Step 2:
If your Windows AutoPlay is on, click "Open folder to view files." If AutoPlay is off, open File Explorer, go to "This PC," find your SD card under "Devices and Drives," and open it to view the stored photos.
For macOS:
If you have macOS Ventura 13.3 or newer, your Mac will ask you to approve the SD card. Click "Allow." Then, go to "Finder > Preferences" and tick all the checkboxes in the "General" tab to ensure you see the SD card on the desktop. Finally, launch "Finder" and open your SD card. You should find your photos in the DCIM folder.
Tips for using an external SD card reader:
- If your computer doesn't have a built-in card reader, an external SD card reader is a worthwhile investment. They are affordable and convenient, allowing you to easily view and transfer photos from your SD card.
- When purchasing an external SD card reader, look for one with a USB 3.0 or USB 3.1 connection for faster transfer speeds.
- Some external card readers come with a hard-wired USB cable, which can be convenient for transportation, but keep in mind that if the cable gets damaged, the reader may become useless.
- Always safely eject your SD card after use. This ensures that your data is not corrupted.
Understanding Shutter Priority Mode: Creative Control for Photographers
You may want to see also
![]()
Using a card reader
To transfer your photos, first, remove the SD card from your camera. You can do this by opening the panel that contains the internal storage and pressing the SD card to unlock it from your camera. Next, insert the SD card into your computer's card reader, which is usually located on the left side of the computer tower. If your computer doesn't have a built-in card reader, you can purchase an external SD card reader that connects to your computer via USB.
Once your SD card is inserted into the card reader, open the File Explorer on your computer. You can do this by right-clicking the Start menu and selecting "File Explorer." In the left panel of the File Explorer window, click on your SD card to access its contents. If you don't see your photos immediately, double-click on the "DCIM" folder, as this is typically where camera images are stored.
Now, select the pictures you want to transfer to your computer. You can select individual photos or press "Ctrl + A" to select all the photos in the folder. To select multiple photos, hold down the "Ctrl" key and click on each photo.
Finally, drag the selected pictures to a new location on your computer. You can drag them into the "Pictures" folder or create a new folder. The transfer time will depend on the number of files and your computer's specifications.
If you want to delete the photos from your camera's SD card after transferring them, wait for the files to finish transferring. Then, return to the SD card folder, select all the photos, right-click, and choose "Delete."
Is Your Camera Battery Charged? Check This Way
You may want to see also
Frequently asked questions
You can transfer photos from your camera to your computer by connecting your camera to your computer using a USB cable, or by removing the SD card from your camera and inserting it into your computer's SD card slot.
First, turn on your camera and plug the small end of the camera's USB cable into its output port. Then, plug the other end of the cable into your computer's USB port. Once your camera has been recognised by your computer, open the relevant software and select the photos you want to import.
First, turn off your camera and remove the SD card. Then, insert the SD card into your computer's SD card slot. Once your computer has recognised the SD card, open the relevant software and select the photos you want to import.