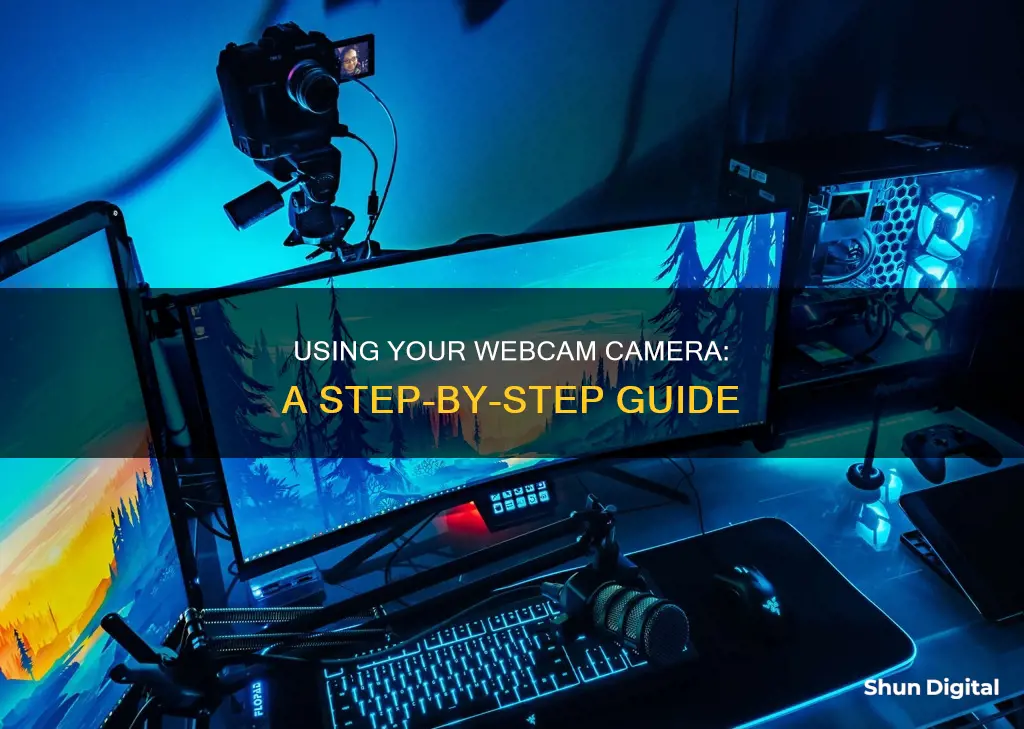
Webcams are a great way to connect with people, whether it's for a business meeting or a chat with a loved one. If you want to set up a webcam on your computer, the first step is to figure out what type of webcam you want. There are four main types: built-in, standalone, network, and Bluetooth. Once you've chosen your webcam, you can connect it to your computer using a USB cable or a WiFi connection. If your webcam came with software, install it, and then adjust and test out your webcam to make sure the video stream and audio are working correctly.
| Characteristics | Values |
|---|---|
| Webcam Connection | Most webcams connect via a USB cable. |
| Installation | Newer operating systems like Windows 8, 10 and 11 should automatically recognise and install drivers for the webcam. |
| Additional Software | Some webcams come with a CD containing additional software or drivers. |
| Webcam Placement | The webcam should be placed at eye level, pointed at your face. |
| Testing | Use the Camera app on Windows or Photobooth on macOS to test your webcam. |
| Videoconferencing | Popular videoconferencing software includes Microsoft Teams, Skype, Webex and Zoom. |
What You'll Learn

Mount the webcam to your monitor or tripod
To mount your webcam to a monitor, you should first choose the location where you want to place it. Typically, the centre of the top of your monitor is best, but you may need to adjust the placement if your monitor sits at an angle.
Next, unfold your webcam to expose the base of the device. Some models feature a flexible base that can be used as a stand or a clip to secure the device to your monitor. Slide the front of the clip over the top of your monitor, with the webcam facing the front. Press or release the back of the clip to secure the camera in place.
You can then adjust the height of the webcam until you achieve the correct lens height. This will typically be aimed towards your face, but this may vary depending on your intended use.
If you would like to mount your webcam to a tripod, you will first need to attach the tripod baseplate to the bottom of the webcam. To do this, remove the monitor mount by pulling it off, then unclip the baseplate from the tripod by opening the quick-release clamp on the top. Screw the baseplate onto the webcam, then return the baseplate and webcam and close the quick-release clamp.
There are also a variety of stands and mounts available to purchase that can help you to mount your webcam to a monitor or tripod.
Fixing Camera Focus Issues: Stay Sharp, Stay Focused
You may want to see also

Plug the webcam into a free USB port
To plug your webcam into your computer, you'll need to locate a USB port. USB ports are usually found on the front or back of your computer and look like tiny rectangles with a USB icon.
Once you've located a free USB port, simply plug the USB cable attached to your webcam directly into it. If you're having trouble getting the cable into the port, try turning the cable 180 degrees—USB cables can only be inserted into the port in one orientation.
If you're using a Mac, you may need to purchase a USB-to-USB-C adapter in order to connect your webcam.
Smartphone Camera: Focus by Tapping Screen
You may want to see also

Install the driver software if needed
If your computer doesn't automatically detect your webcam, you may need to install the driver software. If your webcam came with a CD, insert it into your disk drive and follow the instructions to complete the installation. If you don't have a CD, you can download the driver software from the webcam manufacturer's website.
To manually install the driver software on Windows, go to the Search box and search for Device Manager. In the Device Manager, go to Cameras or Imaging Devices, right-click on the webcam, and select Update Driver. Follow the wizard to see if Windows can find the drivers. If Windows can't find the drivers, consult the instruction manual or visit the manufacturer's website to locate the driver software.
On a Mac, if your webcam came with a CD, insert it into your disk drive and follow the instructions to complete the installation. If you don't have a CD, download the driver software from the manufacturer's website. Some webcams may not have drivers available for Mac, so make sure to purchase a compatible webcam.
Traffic Cameras: Ticket Threats or Empty Promises?
You may want to see also

Set your webcam as the default
Setting your webcam as the default camera on your computer is a straightforward process. Here is a detailed guide to help you achieve this:
Step 1: Connect Your Webcam
Use the appropriate cable to connect your external webcam to your computer. Most webcams use a USB connection, so simply plug the USB cable into an available USB port on your computer. If your webcam supports it, you may also be able to connect it via Bluetooth. Ensure that your computer detects the webcam.
Step 2: Access the Control Panel
On your Windows PC, press the Windows key + R to open the Run dialog box. Type "control" and hit Enter. This will open the Control Panel. From the top right corner of the Control Panel window, set the "View by" option to either Large or Small icons.
Step 3: Navigate to Devices and Printers
In the Control Panel, locate and select "Devices and Printers." This will display a list of devices connected to your computer, including printers, scanners, and cameras.
Step 4: Identify and Set Your Webcam as Default
Locate your external webcam in the list of devices. It may be listed under its brand name or model number. Right-click on the webcam, and from the menu, select "Set as Default Device." By doing this, you are instructing your computer to use this webcam as the primary camera device.
Additional Tips:
If you don't see the "Set as Default Device" option, you may need to disable any internal webcams or other external cameras connected to your computer. Here's how you can do that:
- Press the Windows key + R to open the Run dialog box again.
- Type "devmgmt.msc" and hit Enter to open the Device Manager.
- In the Device Manager, scroll down and expand the "Camera" or "Imaging Devices" section.
- Right-click on any internal webcams or other external cameras and select "Disable Device."
- Repeat this process for any other cameras you want to disable.
Once you've disabled the other cameras, return to the "Devices and Printers" section and try to set your preferred webcam as the default device.
By setting your webcam as the default, you can now use it for video conferencing, streaming, or any other activities that require a camera input on your computer.
Unveiling Galaxy S10's Live Focus Camera Feature
You may want to see also

Adjust camera settings
Adjusting your camera settings can be done through the Camera app or the Settings app.
Through the Camera App
- Open the Camera app.
- Swipe in from the right edge of the screen, then select Settings. If you're using a mouse, right-click within the app.
- Adjust the settings for each option. These might include:
- Change the photo aspect ratio or video quality.
- Turn location info on or off.
- Show or hide grid lines.
- Turn video stabilization on or off.
- Turn the microphone on or off.
- Turn the video lamp on or off.
- Change what happens when you tap the screen.
Through the Settings App
- Click on the Start Menu icon.
- In the menu that appears, click on the Settings gear icon in the lower-left corner of your screen.
- In the Windows 10 Settings menu, select Privacy.
- On the left-side menu, under App Permissions, select Camera.
- The Camera section of the Privacy menu contains a number of privacy settings you can adjust for your webcam, including letting apps have access to your camera, selecting which Microsoft Store apps can access your camera, and allowing other desktop apps to have access to your webcam.
Fight Speeding Camera Tickets: Your Legal Rights and Strategies
You may want to see also
Frequently asked questions
First, attach the webcam to the top of your monitor or a tripod. Then, connect the webcam to your computer using a USB cable. If your computer doesn't automatically detect the webcam, you may need to install the driver software.
If you're using a Windows computer, you can use the Camera app to test your webcam. Open the Start menu and search for "Camera." Open the Camera app and it will turn on your webcam, displaying a live video of yourself on the screen.
When you connect to a conference call, the videoconferencing service or software will have a button that looks like a video camera. Click this button to turn on your webcam and activate video sharing.
Yes, you can use your smartphone as a webcam by downloading the Reincubate Camo app for iOS or Android. You will also need to download the app's desktop version on your computer. Launch the app on both devices and follow the prompts.
If you have multiple cameras connected to your computer, you can usually switch between them by opening the Camera app and selecting "Change Camera" at the top right.


