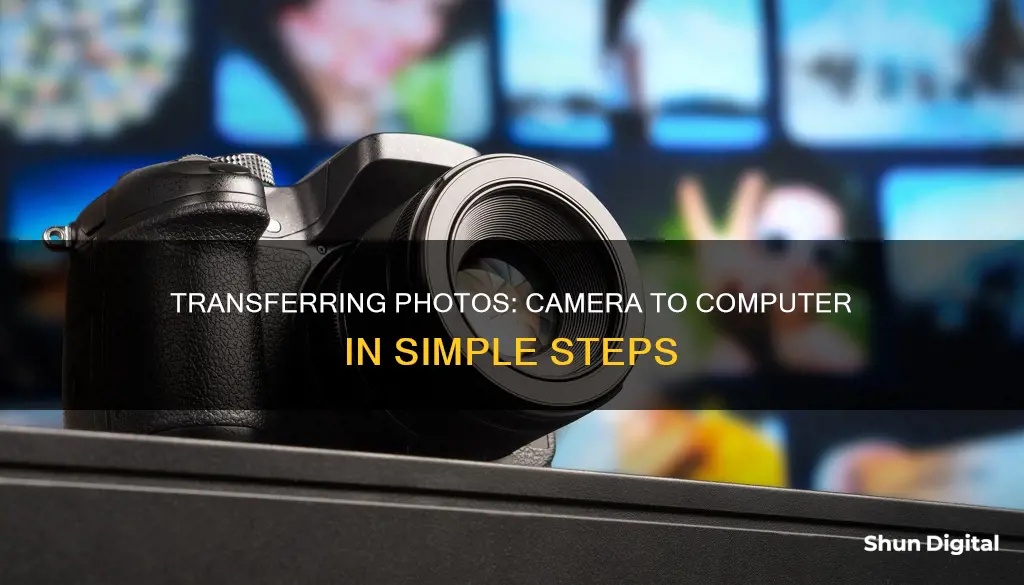
Transferring pictures from your camera to your computer is a simple process. You can either use a USB cable to connect your camera to your computer or insert the camera's SD card into your computer. If your computer does not have a built-in card reader, you can purchase an external SD card reader. Once your camera or its SD card is connected to your computer, you can use the File Explorer (Windows) or Finder (Mac) to locate the DCIM (Digital Camera Images) folder, select the photos you want to transfer, and then drag and drop them into a folder on your computer.
| Characteristics | Values |
|---|---|
| Connection type | USB cable, SD card |
| OS | Windows, macOS, Windows 11/10 |
| Camera type | Digital camera |
| Computer type | PC, Mac |
| Camera connection mode | Mass Storage, Media Transfer Protocol (MTP), Auto |
| File location | DCIM folder |
What You'll Learn

Connecting camera to computer via USB cable
To transfer pictures from your camera to your computer using a USB cable, follow these steps:
Step 1: Connect the camera to the computer
Use the USB cable that came with your camera to connect it to an open USB port on your computer. If you don't have this cable, you must purchase a compatible one. If you can't find the port on your camera, check for any panels that can be flipped open.
Step 2: Turn on the camera
Your computer should recognize the camera immediately. You may have to switch the camera into Review mode for it to fully connect to your computer. This process will differ depending on your specific camera model.
Step 3: Open the AutoPlay window
Click the "AutoPlay" box, usually found in the bottom-right corner of your screen.
Step 4: Select "Open folder to view files"
This will open the File Explorer. You may need to scroll down to find this option. Alternatively, you can open this folder manually. Right-click the Start menu and click File Explorer, then click your camera device listed on the left panel, and then click SD card.
Step 5: Click DCIM
You may see the photos immediately after clicking your device. Photos will typically be in a folder labelled DCIM (Digital Camera Images).
Step 6: Select the photos you want to transfer
You can transfer individual photos, or press Ctrl + A to select all the photos in the folder. To select multiple photos, hold Ctrl and click each photo.
Step 7: Drag the pictures to a new location
You can drag the photos into the Pictures folder, or you can create a new folder. The transfer time will depend on the number of files and your computer's specifications.
Step 8: Eject the camera
Click the arrow in the bottom-right corner of the taskbar. Click the device icon, and then click Eject. You can now safely unplug the camera from the computer.
Charging Camera Batteries: Do They Need a Full First Charge?
You may want to see also

Using an SD card reader
Transferring photos from your camera to your computer is a straightforward process if you have a built-in or external SD card reader. Here's a detailed guide on how to do it:
Step 1: Remove the SD Card from Your Camera:
Locate the SD card slot on your camera and carefully take out the memory card. This step may vary depending on your camera model, but it typically involves opening a small compartment and removing the card. Ensure your camera is turned off before removing the SD card.
Step 2: Insert the SD Card into Your Computer:
If your computer has a built-in SD card reader, insert the SD card into the appropriate slot. The slot is usually located on the side or front of the computer. If your computer lacks a built-in reader, you will need to purchase an external SD card reader that connects to a USB port.
Step 3: Access the SD Card on Your Computer:
Once the SD card is inserted, your computer should automatically detect it. On Windows, you may see an AutoPlay pop-up window. If AutoPlay is enabled, click on Import pictures and videos and follow the on-screen instructions. You can also manually import photos by opening the drive that represents your memory card and navigating to the folder containing your photos (usually the DCIM folder).
Step 4: Select and Transfer Your Photos:
Browse through the folders on your SD card and locate the photos you want to transfer. You can select multiple photos by holding down the "Ctrl" key (or "Command" key on Mac) while clicking on each photo. Once you've selected the desired photos, you can drag and drop them into a folder on your computer, such as the Pictures folder or your desktop. Alternatively, you can use the copy and paste shortcuts or the Import function within specific apps, like the Photos app on Windows 10/11.
Step 5: Safely Remove the SD Card:
Once you have transferred all your desired photos, remember to safely eject the SD card before removing it from your computer. This step ensures that no data is lost or corrupted during the removal process.
By following these steps, you can efficiently transfer photos from your camera's SD card to your computer, allowing you to free up space on your memory card and easily access and organize your photos on your computer.
Focusing Galaxy S8 Camera: Tips and Tricks
You may want to see also

Using the Photos app on a Mac
To transfer pictures from a camera to a Mac computer, you can use a USB cable or insert the camera's SD card into your computer.
- Turn on your computer.
- Connect the camera to your computer using the USB cable that came with your camera. If you don't have this cable, you must purchase a replacement that fits your camera model. If your computer or laptop doesn't have a USB-A port, you'll need to purchase an adapter.
- Open the Photos app.
- Turn on your camera. Your computer should recognize it immediately. You may have to switch the camera into Review mode in order for it to fully connect to your computer. This process will be different depending on your specific camera.
- Select the photos you want to transfer. Click each photo to select it. You can also drag your cursor to select multiple photos at a time.
- Click "Import Selected". You can also click "Import All New Photos" in the top-right corner. Imported photos will be saved to "All Photos". If you want to change the save location, click the drop-down menu next to "Import to" and select a new destination.
- Eject your camera. Open the Finder. Locate the camera in the left sidebar, then click the up-arrow icon to eject it. You can now safely disconnect the camera from your computer.
Street Camera Shopping: Tax Included?
You may want to see also

Using the File Explorer on Windows
- Turn on your computer and camera: Ensure your computer is turned on and boot up your camera.
- Connect your camera to the computer: Utilise the USB cable that came with your camera to connect it to an open USB port on your computer. If you are missing this cable, you will need to purchase a replacement that is compatible with your camera model.
- Switch your camera to Review Mode: Depending on your camera model, you may need to switch it to Review Mode for it to connect to your computer.
- Open the Autoplay window: Once your computer recognises your camera, a small Autoplay window will pop up in the bottom-right corner of your screen. Click on this Autoplay box.
- Select "Open folder to view files": Click on this option, which may require scrolling down the Autoplay window. This will open the File Explorer.
- Alternatively, open the File Explorer manually: If the Autoplay window does not appear, you can manually open the File Explorer. To do this, right-click on the Start menu and select File Explorer.
- Locate your camera device: In the left panel of the File Explorer, click on your camera device. Then, click on the SD card.
- Navigate to the DCIM folder: Your photos will likely be stored in a folder labelled DCIM (Digital Camera Images). Click on this folder.
- Select the photos you want to transfer: You can choose individual photos or press CTRL + A to select all the photos in the folder. To select multiple photos, hold CTRL and click on each desired photo.
- Drag the selected pictures to a new location on your computer: You can drag and drop the photos into the Pictures folder or any other folder of your choice. Additionally, you can create a new folder to store the images.
- Eject your camera: Once the transfer is complete, click on the arrow in the bottom-right corner of the taskbar. Click on the device icon and select Eject. Now, you can safely unplug your camera from the computer.
Finding Your Camera Charger: Quick Solutions
You may want to see also

Using a photo app to import and organise photos
There are many photo apps available to help you manage your images. These can be used to store, find, and edit your images. Some are free, while others require a one-off or subscription payment.
Google Photos
Google Photos is a free app with some great features. It offers unlimited cloud storage space, although this is no longer free past a certain limit. It also offers cross-device syncing for your photos, with minimal compression, and the option to store original-quality photos in your Drive. You can set it to automatically back up and sync your photos. It also has a smart assistant feature to help you set up albums, collages, and animated photos.
Flickr
Flickr is a photo management app that offers 1,000 photos stored online for free. It includes automatic uploading and smart search features. The default Camera Roll groups your photos by date, and it has social features that let you share and keep track of images shared by friends and other users.
Amazon Photos
Previously exclusive to Amazon Prime subscribers, Amazon Photos is now available to everyone. It automatically syncs so your photos can be accessed from any device with a connection. It includes organisational features and AI-assisted search. It also has enhanced family sharing features, allowing you to share your unlimited photo storage with up to five family members and includes a shared Family Vault.
Apple Photos
Apple Photos is free to use but only includes 5GB of iCloud storage. It has plenty of advanced photo-organising options, including the ability to order and browse by people and places, or by date, or to create custom albums. It also has a Media Types option, which groups content into images and videos and further splits them into Portrait Mode, screenshots, etc. It has AI capabilities, allowing you to search for complex phrases such as "dog sunshine beach".
Adobe Lightroom Classic
Lightroom Classic is a well-known photo organisation app. It's excellent for managing photos and editing them. When you plug in external devices or memory cards, you’ll be greeted with a suite of importing options. You can add and tweak keywords, create and place photos in Collections or Smart Collections, and apply Develop presents to files during the import process for a faster image-editing workflow.
Adobe Elements Organiser
Adobe Elements Organiser automatically organises your photos and videos by date and uses a variety of other ways to filter them, too. It scans all photos for faces and location tags for automatic categorisation and then further filters using intelligent topics such as sunrises, parties, animals, etc. Manual organisation is also possible, and the software is optimised for touchscreen devices as well as desktop computers.
Beat Arizona Traffic Camera Tickets: A Comprehensive Guide
You may want to see also
Frequently asked questions
First, connect your camera to your computer using the USB cable that came with your camera. Then, turn on your camera. Your computer should recognize it immediately. Open the File Explorer and click on your camera device. Click on the DCIM folder, select the photos you want to transfer, and drag them to a new location on your computer.
First, connect your camera to your Mac computer using the USB cable that came with your camera. Then, turn on your camera. Your computer should recognize it immediately. Open the Photos app and select the photos you want to transfer. Click "Import Selected" or "Import All New Photos" in the top-right corner.
If you don't have a USB cable for your camera, you can transfer pictures by using your camera's memory card. Simply remove the memory card from your camera and insert it into the card reader slot on your computer. If your computer doesn't have a built-in card reader, you can purchase an external card reader that connects via USB. Once your computer recognizes the memory card, you can open the relevant folder and transfer your pictures to your computer.


