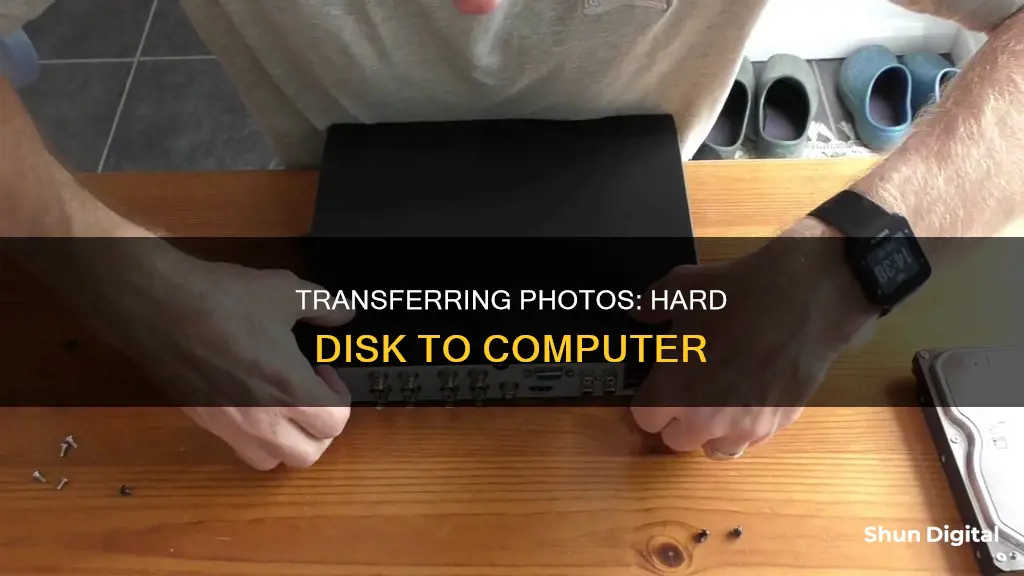
Transferring data from a hard disk camera to a computer can be done in several ways. One way is to use a USB cable to connect the camera directly to the computer. Another method is to remove the SD card from the camera and insert it into the computer's SD card slot, if it has one, or into an external card reader that can be plugged into the computer via USB. Once the connection has been established, the user can then drag and drop the desired files from the camera or SD card onto their computer.
| Characteristics | Values |
|---|---|
| Connection type | USB, FireWire, Thunderbolt, SD card |
| Transfer process | Drag and drop files, import via software |
| Required software | Windows: Windows Movie Maker, Import Video |
| Mac: iMovie | |
| Additional software | Sony: PlayMemories Home |
What You'll Learn

Transfer data via USB cable
To transfer data from your camera to your computer via a USB cable, you will first need to turn on your camera and connect it to your computer using the USB cable. If it is your first time connecting the camera to your computer, you may need to wait for the drivers to be installed.
Windows
If you are using a Windows computer, go to the Start menu and click on Computer. This will bring up a window showing your computer's available hard drives, with your camera appearing as a Removable Disk. Double-click on the Removable Disk icon and navigate through the folders in your camera to find your desired files. Once you have located your files, copy them from your camera to any folder on your computer. For example, you can drag and drop the files to your desktop. When you have finished copying your files, you can unplug your camera from your computer.
Mac
If you are using a Mac, you can use the iPhoto application to transfer your files. First, turn on your camera and connect it to your computer using a USB cable. The iPhoto application should open automatically, displaying your camera's images and videos in the Import window. Select the files you want to import and click Import Selected. After your files have finished importing, a popup will appear, asking whether you want to delete or keep the files on your camera. Click on your preferred option. In the LIBRARY section of the iPhoto sidebar, click on Photos to view the files you have just imported. You can then copy the files from here to any folder on your computer. Once you have finished copying the files, unplug your camera from your computer.
Alternatively, if you do not have iPhoto installed, you can use the Image Capture application to import your files. First, turn on your camera and connect it to your computer using a USB cable. If the Image Capture application does not open automatically, go to your Applications folder and double-click on Image Capture. Select the files you want to import, choose an Import To location from the drop-down menu, and then click Import. Once the files have finished importing, you can unplug your camera from your computer.
Do Traffic Cameras Affect Your Driving Record?
You may want to see also

Use an SD card
Transferring data from a hard disk camera to a computer using an SD card is a straightforward process. Here is a detailed, step-by-step guide:
Step 1: Insert the SD Card into the Camera
Locate the SD card slot on your camera, which is usually found on the side or bottom. Ensure the metal contacts on the card are facing downwards and push the card gently into the slot until it clicks into place.
Step 2: Capture and Save Data on the SD Card
Now, you can use your camera as usual to capture photos or videos. The data will be saved directly onto the SD card. You can also format the card in the camera to ensure it is ready for use and compatible with your device.
Step 3: Remove the SD Card from the Camera
Once you have finished capturing data, power off the camera. To remove the SD card, gently press it inwards, and it should pop out slightly. Then, pull it out carefully and place it somewhere safe.
Step 4: Insert the SD Card into the Computer
If your computer has a built-in SD card reader, insert the SD card into the slot, ensuring the metal contacts are facing downwards or away from you. If your computer does not have a built-in reader, you can use an external card reader that connects via USB.
Step 5: Access the SD Card Files
On your computer, open the relevant folder for the SD card. For example, on a Windows PC, click the Start button, then "Computer," and double-click the name of the SD card under "Devices with Removable Storage."
Step 6: Create a New Folder (Optional)
If you want to keep your files organised, right-click within the SD card window and select "New Folder." Name the folder according to its contents, such as "Photos" or "Videos."
Step 7: Locate the Data to Transfer
Find the data you wish to transfer on your hard drive. If you are unsure of the location, use the search function on your computer to find the specific file by name.
Step 8: Transfer the Data
To transfer data from the hard disk camera to your computer, simply drag and drop the files from the hard drive to the main SD card folder or the relevant sub-folder. Repeat this process for all the data you want to copy.
Step 9: Safely Remove the SD Card
Once you have finished transferring data, click on the "Safely Remove Hardware" icon in the system tray and select "Eject" next to the SD card's name. Now, you can remove the SD card from your computer.
By following these steps, you can efficiently transfer data from a hard disk camera to a computer using an SD card. This method is useful when your camera does not have a direct connection option with your computer, and it allows for easy file management and storage.
Kami Wire-Free Camera: How Long Does the Battery Last?
You may want to see also

Use a removable disk
To transfer data from a hard disk camera to a computer using a removable disk, you will need to ensure that you have the correct equipment. This includes a removable disk with a compatible file system, the necessary cables to connect your camera to the removable disk, and a way to connect the removable disk to your computer.
Firstly, check the file system of your removable disk. If it is FAT32, image files larger than 2 GB will be split into multiple files when imported. To avoid this, change the file system to NTFS.
Next, ensure that you have the correct cable to connect your camera to your removable disk. This could be a USB cable, or, if your camera uses SD cards, an SD card reader. If you are using an SD card reader, ensure that it is compatible with your computer; you may need to purchase an adapter if your computer does not have a USB-A port.
Now, connect your camera to your removable disk using the appropriate cable. If your camera uses SD cards, insert the SD card into the card reader.
Then, connect the removable disk to your computer. If your computer does not have a compatible port, you may need to purchase an adapter.
Once your camera is connected to your computer via the removable disk, you can transfer your files. On a Windows computer, use File Explorer to locate the files you wish to transfer. Select the files, then drag and drop them into the desired location on your computer. On a Mac, use the Finder to locate and select the files, then drag and drop them into the desired location.
After transferring your files, safely eject your removable disk and camera or SD card from your computer.
By following these steps, you can successfully transfer data from a hard disk camera to a computer using a removable disk.
Traffic Camera Tickets in Denver: Do You Have to Pay?
You may want to see also

Use a FireWire cable
FireWire, also known as IEEE 1394, i.LINK, or DV IN/OUT, is a high-speed serial bus that was first introduced by Apple in 1995. It is commonly used to transfer video from digital camcorders to computers.
To transfer data from your hard disk camera to your computer using a FireWire cable, follow these steps:
- Check your camera and computer for the correct ports. Most digital camcorders have a 4-pin FireWire port, while most computers have a 6-pin FireWire port.
- Obtain a FireWire cable that is compatible with your camera and computer. The cable should have a 4-pin connector for the camera and a 6-pin connector for the computer.
- Connect one end of the FireWire cable to your camera. Pinch the latched connector if your FireWire cable has one when unplugging.
- Connect the other end of the FireWire cable to the FireWire port on your computer.
- If your computer does not have a built-in FireWire port, you will need to purchase and install a FireWire expansion card or adapter.
- For desktop computers, you can add a FireWire PCIe or PCI expansion card. Make sure to get a card with FireWire 400 ports, as they are easier to install and work better for video capture.
- For laptops, look for a FireWire ExpressCard or PCMCIA card that fits into the expansion slot and provides a FireWire port.
- If you are using a Mac, you may need a Thunderbolt to FireWire adapter, as Mac computers have phased out FireWire ports in favor of Thunderbolt.
- Once the connection is established, your computer should automatically recognize the camera, and you can proceed with transferring your data.
Note: FireWire technology is considered old, and Windows computers with built-in FireWire ports have not been produced since around 2013. As a result, you may encounter challenges in finding compatible equipment and ensuring driver compatibility.
Best USA-Made WiFi Cameras: A Comprehensive Guide
You may want to see also

Use a Thunderbolt cable
If you are using a Mac, you will need to use a Thunderbolt cable to transfer data from your camera to your computer. This is because most Windows PCs have a USB-C type connector, whereas newer Mac computers use Thunderbolt 3.
To transfer your data, you will need to connect your camera to your computer using a Thunderbolt cable. You may need to purchase an adapter to do this, depending on the ports available on your camera and computer. For example, if your camera has a USB 2.0 port, you will need to purchase a USB-C to Thunderbolt adapter.
Once you have the correct cable and any necessary adapters, follow these steps:
- Connect your camera to your computer using the Thunderbolt cable and any adapters.
- Turn on your camera. Your computer should recognize it immediately. You may need to switch your camera to Review mode for it to connect fully.
- Open the Photos app on your computer.
- Select the photos you want to transfer by clicking on each photo. You can also drag your cursor to select multiple photos at once.
- Click "Import Selected" or "Import All New Photos" in the top-right corner.
- Eject your camera by opening the Finder, locating the camera in the left sidebar, and clicking the up-arrow icon to eject it.
- You can now safely disconnect the camera from your computer.
Surveillance Cameras: Effective Security or Privacy Invasion?
You may want to see also


