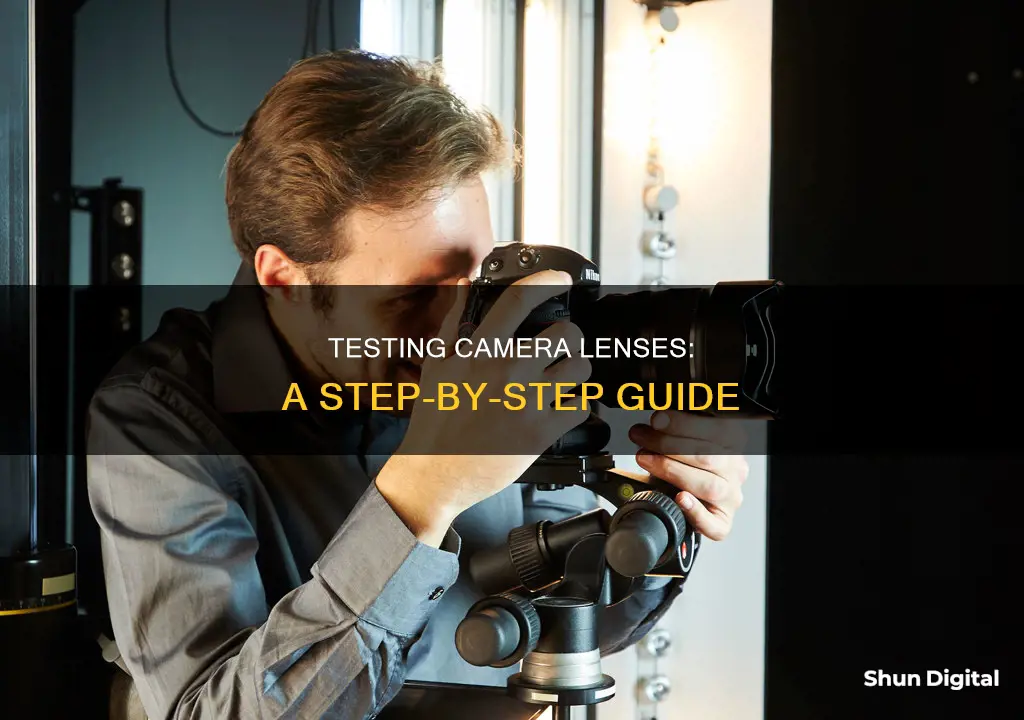
Testing a camera lens is a simple process that can be done by anyone, from amateur to professional photographers. The first step is to examine the physical condition of the lens, checking for any dirt, scratches, or defects on the lens mount, lens cap, and glass elements. It is also important to ensure that the lens barrel is secure and there are no loose parts. The next step is to test the lens' focus accuracy, which can be done using autofocus or manual focus. This can be done by mounting the lens on a camera and taking test shots at different apertures and focus points. It is recommended to use a tripod and a calibration chart for more accurate results. Another aspect to test is the lens' sharpness, which can be evaluated by reviewing the test shots and checking for any softness or blurriness in the images. In addition to focus and sharpness, other factors to consider when testing a lens include vignetting, distortion, chromatic aberration, and resolution. While some of these issues can be corrected in post-processing software, it is important to be aware of the lens' limitations. Overall, testing a camera lens is a valuable process that can help photographers understand the strengths and weaknesses of their equipment and make the most of their photography.
| Characteristics | Values |
|---|---|
| Focusing | Should be smooth with no catches or a gritty sensation |
| Zoom Mechanism | Should be smooth, with no sharp, sudden catches or areas of high resistance |
| Front Element | Should not extend or rotate |
| Filter Ring | Should not be loose |
| Mounting | Should be easy but firm |
| Dismounting | Locking pin should catch properly and release easily |
| Autofocus | Should be smooth |
| Autofocus Sound | Should sound similar to other lenses |
| Autofocus Speed | Should be quick for sports or street shooting |
| Image | Should be sharp, with no vignetting, scratches, dust, or distortion |
What You'll Learn

Check for scratches and dirt on the lens mount, rear lens cap and glass element
When testing a camera lens, it's important to check for scratches and dirt on the lens mount, rear lens cap, and glass element. These areas are susceptible to damage and can impact the quality of your photos. Here are some detailed steps to guide you through the process:
Firstly, carefully inspect the lens mount. This is the part of the lens that attaches to the camera body. Look for any scratches, nicks, or dents on the metal contacts and mounting ring. These can affect the connection between the lens and the camera, impacting autofocus and image stabilisation. Gently run your finger along the lens mount to feel for any irregularities.
Next, examine the rear lens cap. This is the cover that protects the rear element of the lens when it's not attached to the camera. Remove the cap and check for any scratches, smudges, or dirt on the glass. The rear element is crucial for image quality, so ensure it's pristine. Use a soft microfiber cloth to gently wipe away any dust or smudges.
Now, it's time to inspect the glass element itself. This is the heart of your lens, and any damage here will directly impact your photos. Check the front and rear elements for scratches, coating defects, or other flaws. Pay close attention to the edges and centre of the glass, as these areas are most vulnerable to damage. If you spot any scratches, refer to specialised resources for advice on repair or, if the damage is severe, replacement.
Additionally, it's important to check for dirt or debris inside the lens. Look through the front and rear elements while moving the focus and zoom rings. A small amount of internal dust is normal, even in brand new lenses, but larger particles or foreign objects like cloth or metal can be problematic.
Finally, remember to inspect the lens filter threads. If you use lens filters, ensure the filter threads are free from dirt and debris. A defective thread can make it difficult to attach filters properly, so check for any blockages or damage.
By following these steps, you can effectively check for scratches and dirt on the critical components of your camera lens, ensuring optimal performance and image quality.
CCD Camera Lenses: Color Corrected or Not?
You may want to see also

Inspect the lens barrel for damage
Inspecting the lens barrel for damage is an important step in testing a camera lens. The lens barrel is made up of several cylinders assembled together, and it's crucial to check for any loose sections or screws. Here are some detailed steps to inspect the lens barrel:
- Gently move, rock, or extend each segment of the lens barrel to check for any loose sections.
- Check if the filter ring can be rocked.
- Ensure that all screw holes, including those at the lens mount, have screws in them.
- If there is an extending internal barrel, test if it slides back and forth smoothly during zooming and focusing.
- Inspect if the front ring can easily accept a filter, especially for used lenses.
- Shake the lens gently to check for any loose screws or other internal components rattling inside.
By following these steps, you can ensure that the lens barrel is securely assembled and there are no potential issues with the lens mechanics.
Stealth Trail Cameras: Do They Have Lenses?
You may want to see also

Test the lens' autofocus accuracy
Testing the autofocus accuracy of your camera lens is important to ensure that you get sharp images. Here are some detailed instructions on how to do it:
Equipment and Setup:
- You will need a DSLR camera with Live View mode capability and at least one lens to test. It is preferable to have 2-3 lenses to isolate the problem to the camera or a specific lens.
- Set up your camera on a good, stable tripod.
- Find a flat vertical surface in a brightly lit area, such as a wall or a garage door. You can also use a test chart, such as the Siemens Star Focus Chart or the Focus Test Chart, printed on regular letter-sized paper. Tape the chart to the wall at eye level.
- Adjust the distance between the camera and the wall depending on the focal length of the lens. For a 50mm lens, a distance of approximately 5 to 7 feet (1.5-2 meters) is recommended. If you are using a wide-angle lens, stand closer, and if you are using a telephoto lens, stand further away. The goal is to have a shallow depth of field.
Camera Settings:
- Switch your camera to full Manual Mode.
- Set your lens aperture to the maximum aperture (e.g., f/1.8 for a Nikon 50mm f/1.8G lens).
- Set your ISO to a base value, such as ISO 100.
- Use the exposure meter inside the camera to determine the optimal shutter speed. Take sample shots and ensure that the chart is clearly visible. A fast shutter speed, such as 1/500 of a second, is ideal. If you are getting slow shutter speeds, increase the ambient light or take the setup outdoors.
- Turn off any lens corrections in your camera, such as vignetting, distortion, or chromatic aberration.
- Set the focus point to the center focus point, as it is the most accurate in your camera.
- Set the camera to AF-S/Single Servo mode.
- Capture test data in RAW format, as it provides more accurate results than JPEG.
Test Procedure:
- Capture the focus chart in Live View mode. This will be your reference shot. Zoom in to the center of the chart and force the lens to focus by half-pressing the shutter button or pressing the AF-ON button. Take the shot and analyze the image at 100% view. Ensure that it is sharp in the center where the focus point is. Repeat this step until you get a sharp image. Keep only one sharp image and delete the rest.
- Capture the second image without Live View. Turn off Live View and look through the viewfinder. Rotate the focus ring on the lens until the chart looks completely out of focus. This forces the camera to reacquire focus. Half-press the shutter button or press the AF-ON button to acquire focus. Take a shot. Repeat this process at least 3 times to eliminate any possibility of autofocus error.
Analyzing the Results:
- Import the images into your computer and open them using photo editing software. Compare the first reference image with the other images captured. Check the center and corners of the images for sharpness and vignetting.
- If the images look out of focus or show aberration problems, there may be a focus problem with the lens or the camera body.
- If you have multiple lenses, perform the test on each lens to determine if the issue is with the camera or a specific lens.
Correcting the Focus:
- If you identify a focus issue, you can try to correct it by making autofocus micro-adjustments in your camera's menu. Consult your camera's instruction manual to find the AF micro-adjustment settings.
- Determine if you have back or forward-focusing issues.
- Adjust the focus position of the lens accordingly. Select a positive number for a forward-focusing correction and a negative number for a back-focusing correction.
- Repeat the autofocus test after making the adjustments to verify if the focus issue has been resolved.
Camera Lenses in China: Cheaper or Expensive?
You may want to see also

Assess the lens' sharpness
To assess the sharpness of a lens, you can use a lens testing chart. This can be printed on 4x6 card, with multiple charts placed in the centre and at the corners of a larger chart. For APS-C sensor cameras, the charts are usually placed on a 15"x22" background, and for full-frame DSLRs, a 24" x 36" rectangle is used. The lens testing resolution patterns are based on the NBS 1010A test chart, with a high-contrast set on the left of the centre and a low-contrast set on the right. In the centre is a checkerboard pattern used for focusing.
The camera should be set up on a tripod, with the height adjusted so that the centre of the lens is level with the centre of the chart. The lighting should be uniform and the camera should be square to the chart. The plane of the sensor must be parallel to the chart, the optical axis of the lens must intersect the centre of the chart, and the horizontal/vertical axes of the sensor must align with the horizontal/vertical axes of the chart.
The first image should be shot at maximum aperture, and then a series of shots should be taken, stopping down by 1 stop for each one. The images can then be analysed for sharpness. The numbers on the lens testing chart represent the line pairs per mm (lp/mm) values of the test patterns they are next to. To find the resolution on the sensor, the magnification must be determined. For example, if the magnification is 1/26 (1:26) and the line set at 2.5 lp/mm is resolved in the image, the resolution on the sensor would be 2.5 x 26 = 65 lp/mm.
It is important to note that the sensor limits the resolution, and that strict resolution measurements are not the best indicator of lens quality. Other factors such as contrast (or MTF) play a significant role in the perceived sharpness of an image.
Cleaning Vintage Camera Lenses: A Step-by-Step Guide
You may want to see also

Test for vignetting
Vignetting is the darkening of the corners of an image, caused by the optical or physical design of a lens. It can be caused by the mechanical construction of the lens and the size of the optical elements, or by what is known as Cos^4 (Cosine to the 4th power) falloff. This falloff is particularly noticeable in very wide-angle lenses, where the light has to travel further to get to the corners of the image, causing a decrease in brightness per unit area.
To test for vignetting, you can shoot images of a perfectly evenly illuminated white or grey card. This test is quite sensitive, so getting even illumination is key. Sunlight is a good light source for this. You can then measure the brightness of the centre and corners of the image to determine the amount of vignetting.
Vignetting will always be worse at maximum aperture, so test at that extreme and at one or two lower apertures, such as f/4 and f/8 or f/5.6 and f/11. If you want to see the vignetting pattern more clearly, you can stretch the histogram so that the brightest areas are moved to a level of 255 and the darkest areas to a level of zero.
For zoom lenses, you will need to repeat this test at several focal lengths, but the strongest vignetting will almost always occur at the shorter focal length.
If you plan on using filters and lens shades, make sure to test with and without them, as they may impact the amount of vignetting.
The Best Ways to Carry Camera Lenses
You may want to see also
Frequently asked questions
First, check the lens mount for signs of use, such as dirt or scratches. Next, inspect the lens glass elements for scratches and dirt, and check inside the lens with a flashlight for large pieces of dust. Finally, test the lens by taking some pictures.
Some new lenses have excessive grease on the lens mount, which can affect the communication between the camera and the lens. There may also be issues with autofocus accuracy, lens softness, or lens distortion.
Set up a regularly marked surface at an angle to a focusing object. Autofocus the lens at the test target, then check where the sharpest focus is. Repeat this process at different distances and focal lengths.
Compare each quadrant of the image to the others. If the lens is well-assembled, the different sections should be similar. If there are discrepancies, test the lens again with the camera in portrait mode.
Ghosts and flare in images, as well as a reduction in contrast, can indicate lens distortion. Take photos of square objects, such as brick walls, to check for barrel or pincushion distortion.


