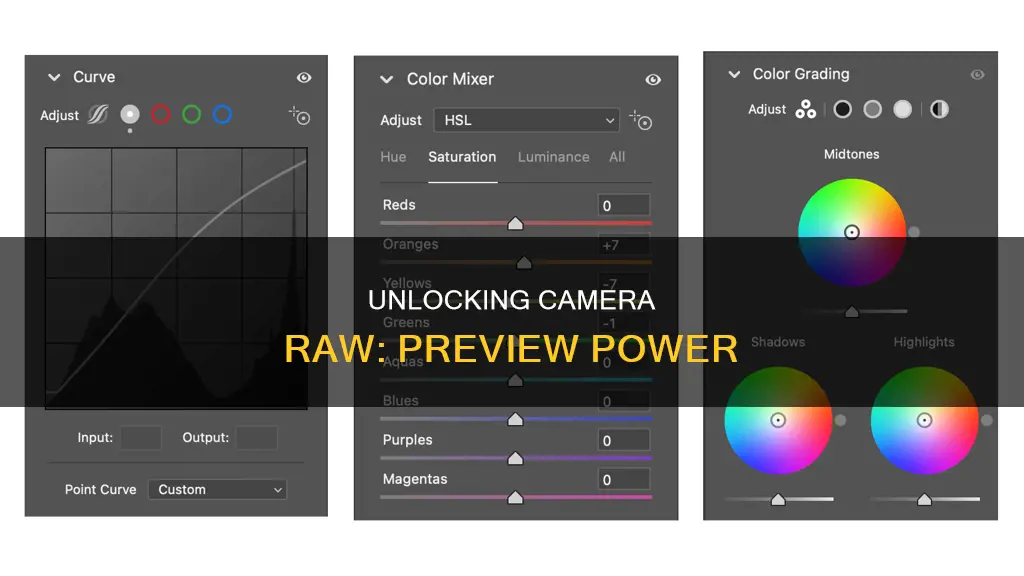
Adobe has recently added new Before & After preview options to Camera Raw in Photoshop CC, making it much easier to preview and compare your work with the original image as you edit and retouch. You can access these new preview features by running Photoshop CC, available with an Adobe Creative Cloud subscription. The preview options are found in the bottom right corner below the image. There are four preview options in total, including the ability to see a side-by-side comparison of the original and adjusted image. You can also toggle individual panel previews on and off, allowing you to see what the image looked like before making adjustments.
| Characteristics | Values |
|---|---|
| How to see preview in Camera Raw | Toggle individual panel previews on and off by clicking the fourth icon in the row (the one on the far right) |
| How to access Before/After views | Click on the first icon in the row (the icon that looks like either a letter Y or a wine glass) |
| How to swap Before/After views | Click the second icon from the left |
| How to copy current settings to the Before version | Click the third icon from the left |
What You'll Learn
![]()
Toggle individual panel previews on and off
To toggle individual panel previews on and off in Camera Raw, click the fourth icon in the row (the one on the far right). This will reset all of the settings in the currently open panel to their defaults. Clicking the same icon again will restore your settings in the panel.
In previous versions of Camera Raw, there was a Preview option at the top of the dialog box that could be toggled on and off to show and hide adjustments made in individual panels. However, in the latest version, this option has been moved down with the other preview options in the lower right below the image.
The new preview options in Camera Raw allow users to easily preview their work and compare it with the original version while editing and retouching images. These options are accessible through Photoshop CC with an Adobe Creative Cloud subscription.
Calibrating Your Lith Battery: A Step-by-Step Guide
You may want to see also
![]()
View side-by-side, top-and-bottom, and split-view comparisons
Adobe Camera Raw offers several different comparison views to choose from. To access and switch between them, click on the first icon in the row (the icon that looks like either a letter Y or a wine glass). Clicking the icon once will display both versions of the image beside each other, with the original version (the Before version) on the left and the adjusted version (After) on the right. If you zoom in on either version of the image and scroll it around, the other version will zoom and scroll along with it, making it easy to compare the exact same area in both versions.
Clicking the icon a second time will give a split view of the image, with the left half showing the original version and the right half showing the corrected version. Clicking the icon a third time switches from a left and right comparison to a top and bottom view, with Before on the top and After on the bottom. Clicking the icon one more time gives a top and bottom split view, with the top half of the image displaying the Before version and the bottom half showing the After version. If you prefer keyboard shortcuts, simply press the letter Q repeatedly to cycle through these various views. Clicking the icon (or pressing Q on your keyboard) one last time will return you to the original, single view.
If you want to jump straight to a specific view, click and hold on the icon to bring up a menu showing all five preview modes and select the one you want from the list.
Charging Your Fujifilm Camera: A Step-by-Step Guide
You may want to see also
![]()
Swap the before and after previews
Swapping the before and after previews in Camera Raw is a simple process.
First, you need to be running Photoshop CC, which is available with an Adobe Creative Cloud subscription. Once you have the image open in Camera Raw, you can make some edits in the Basic panel, which allows you to adjust the overall colour temperature, exposure, contrast, and colour saturation.
To swap the before and after previews, click the second icon from the left, which is the Swap Before & After icon. This will display your adjusted image on the left as the Before version, and the original, unedited image on the right as the After version. To swap them back, simply click the same icon again.
This is a useful feature if you want to compare your adjusted image with the original to see how your changes have impacted the overall look of the image.
Charged Camera Batteries: Marking Them Efficiently
You may want to see also
![]()
Copy the current settings to the before version
The final new preview option in Camera Raw is the "Copy Current Settings" tool. This is done by clicking the third icon from the left. This copies the current settings to the Before version, and now both the Before and After previews of the image look identical.
From here, you can continue to make adjustments to the image. For example, you can switch from the Basic panel to the HSL/Grayscale panel, select the "Convert to Grayscale" option, and drag the various colour sliders to create a black-and-white version of the image. The Before and After previews now allow for an easy comparison of the black-and-white image with the full-colour version, allowing the user to see which one they prefer.
This feature is available in the latest version of Adobe Camera Raw, which is available exclusively in Photoshop CC (Creative Cloud).
In addition to the above method, there are keyboard shortcuts and other methods to copy and paste settings from one image to another. In Bridge, you can copy and paste Camera Raw settings from one image file to another. In the Edit menu, choose "Develop Settings", then "Copy Camera Raw Settings". Next, select one or more files and choose "Paste Camera Raw Settings" from the "Develop Settings" submenu. You can also right-click on image files to copy and paste. In the "Paste Camera Raw Settings" dialogue box, choose which settings to apply.
Best Action Cameras for Extended Recording Sessions
You may want to see also
![]()
Cycle through preview modes
To cycle through preview modes in Camera Raw, click on the first icon in the row (the icon that looks like either a letter Y or a wine glass). Clicking the icon once will display both versions of the image beside each other, with the original version (the Before version) on the left and the adjusted version (After) on the right. Clicking the icon a second time will give a split view of the image, with the left half showing the original version and the right half showing the corrected version. Clicking the icon a third time switches to a top and bottom view, with Before on the top and After on the bottom. Clicking the icon one more time gives a top and bottom split view, with the top half of the image displaying the Before version and the bottom half showing the After version. Clicking the icon (or pressing the letter Q on your keyboard) one last time will return you to the original, single view.
Zhiyun's Camera-Charging Abilities: A Comprehensive Overview
You may want to see also
Frequently asked questions
You can see a preview of your image in Camera Raw by clicking on the first icon in the bottom right corner below the image, which looks like either a letter Y or a wine glass. This will display both versions of the image, the original and the adjusted version, side by side.
Yes, you can see a before-and-after comparison of your image in Camera Raw by clicking on the first icon in the row below the image. This will display the original version (before) on the left and the adjusted version (after) on the right. You can also cycle through four different before-and-after preview modes by repeatedly clicking this icon.
Yes, you can change the way the before-and-after comparison looks in Camera Raw by clicking and holding the first icon in the row and selecting Preview Preferences. From there, you can turn off any views you don't need and customize the appearance of certain visual elements, such as divider lines and labels.
Yes, you can swap the before-and-after versions of your image in Camera Raw by clicking the second icon from the left. This will make your adjusted image the before version and your original image the after version. You can click the same icon again to swap them back.