Removing a monitor stand can be a tricky process, but it's a great way to reduce clutter and improve your work setup. Whether you're looking to wall-mount your monitor or simply want to clear up some desk space, it's important to know the correct steps to ensure you don't damage your equipment. In this article, we'll guide you through the process of safely removing your monitor stand and provide tips for different types of stands. So, whether you have an LCD monitor or a budget model, we've got you covered!
| Characteristics | Values |
|---|---|
| Number of components | 2 or 3 |
| Components | Base, vertical stand, connector |
| Base shape | Circle, rectangle, arc |
| Base removal | Unscrew, remove screw, gently remove base plate |
| Vertical stand connection | Directly to monitor or to a holder on the back |
| Vertical stand removal | Unscrew, check for buttons, gently pull away |
| Vertical stand holder removal | Remove back panel, unscrew |
What You'll Learn

Unplug all monitor cables
Before you start removing your monitor stand, it is important to unplug all the cables connected to the monitor. This includes the power cable and all other cables from the PC. Ensure that the PC is turned off and the power plug is disconnected.
Place the monitor on a soft cloth on the table to prevent the screen from getting scratched. You can then begin to untangle the cables from the stand. It is important to be gentle during this process to avoid damaging any ports or connections.
Once all the cables are removed, you can proceed to the next step of removing the monitor stand. It is recommended to refer to the user manual to understand the specific connection points and components of your monitor stand. This will help you effectively remove the stand without causing any damage to the monitor.
In addition to unplugging the cables, you may also need to use a screwdriver to remove any screws that secure the stand to the monitor. Make sure you have a screwdriver readily available to assist in the removal process.
Identifying Monitor Types: LCD vs CRT
You may want to see also

Unscrew the base of the stand
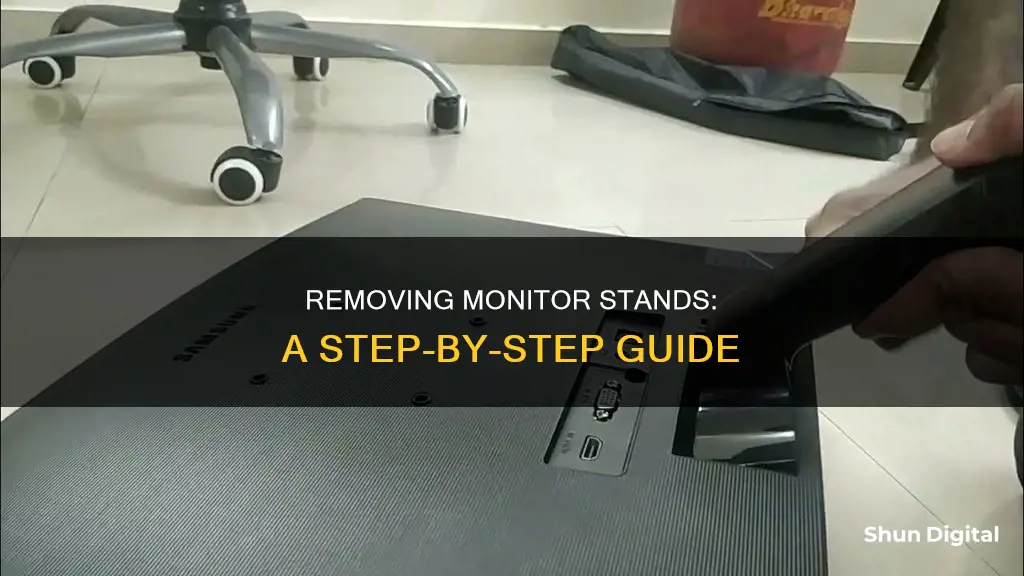
To remove the base of the stand from your monitor, you will need to invert the monitor and locate the screw that holds the base in place. Most monitors have a hook that you can rotate in an anti-clockwise direction to remove the screw. Once you have located the screw, use a screwdriver to remove it carefully. Be cautious not to lose the screw, as they can be challenging to replace.
After removing the screw, gently lift the base plate from the monitor. The base is the surface of the stand that provides stability when the monitor is placed on a solid surface. The shape of the base can vary, but the removal process remains consistent across different designs.
If your monitor stand is a budget model, the base and the vertical stand might be attached as a single unit. In such cases, removing the base will simultaneously detach the vertical stand. However, if they are separate components, you will need to repeat the process for the vertical stand after successfully removing the base.
It is important to consult the user manual for your specific monitor model before proceeding with the removal. The manual will provide detailed instructions and illustrations to guide you through the process, ensuring a safe and proper detachment of the stand.
Is Your Chromebook Being Monitored? Here's How to Tell
You may want to see also

Detach the vertical stand
Detaching the vertical stand is the next step after removing the base of the monitor stand. The base is typically removed by inverting the monitor, locating a screw that holds it in place, and removing it.
The vertical stand is the part that stays upright and is connected to the base. To detach it, first, check for any connection points in the vertical part. This section likely connects to the vertical stand holder, but some monitors may not have this component. Refer to the user manual to understand how the stand connects to the monitor.
Some monitors have a vertical stand that is directly connected to the monitor, while others may have the vertical stand connected to a holder that comes out of the back of the monitor.
To remove the vertical stand, check for any screws holding it in place. If there are screws, remove them, and then remove the stand. If there are no screws, look for any buttons near or on the vertical stand. Some monitors, like Dell and Acer, have a dedicated button that needs to be pressed to remove the vertical stand. Press the button and pull the stand outwards. If it does not come out easily, a small amount of mechanical oil can be applied to the joints to help loosen it.
If the vertical stand has no screws or buttons, it may be possible to remove it by gently pulling the stand away from the monitor. It is important to hold the monitor by its sides and not the screen when doing this.
Refer to the user manual for further guidance if you encounter any issues during the removal process.
Easy Steps to Connect Your AOC 215ML0055 Monitor
You may want to see also

Remove the vertical stand holder
Removing the vertical stand holder can be a challenging task and may require you to disassemble the monitor. Before you begin, make sure you have the monitor's user manual. If you don't have it, you can download it online using the monitor's model name and number. This information can usually be found on the front or back of the monitor, or by following these steps on a Windows PC: press Windows + I, go to System > Display, select Advanced Display under Related Settings, and find the model name and number under Display Information.
Once you have the user manual, refer to it for specific instructions on how to remove the vertical stand holder. In general, you will need to remove the back panel of the monitor by unscrewing and gently lifting it off, being careful to disconnect all cables connected to the ports and buttons on the panel. With the back panel removed, you should be able to access and unscrew any connections holding the vertical stand holder in place. Finally, reconnect all the cables and reassemble the monitor.
If you are unsure about disassembling your monitor, it is recommended to take it to a local electronic repair shop for assistance.
Kids' Monitor Size: Big or Small Screen?
You may want to see also

Reassemble the monitor
Reassembling your monitor is a straightforward process, but it's important to follow the correct steps to ensure a successful outcome. Here's a detailed guide to help you through the process:
Firstly, ensure you have all the necessary components for reassembly. This includes the monitor itself, the stand, any screws or fasteners that were removed during disassembly, and the required cables. The cables typically include the power cable and a data cable, such as HDMI, DisplayPort, or DVI.
Now, let's begin the reassembly process:
- Place the monitor in its original position on your desk or workspace. Make sure it is stable and secure.
- Take the stand and align it with the monitor. There should be specific slots or attachments designed for this connection.
- Secure the stand to the monitor using the appropriate screws or fasteners. Ensure that the stand is firmly attached and won't wobble or tilt unexpectedly.
- Connect the power cable to the monitor. The power cable is typically "kettle-like" and plugs into the monitor, as well as a power outlet or power strip.
- Identify the data cable that transmits the picture signal. This could be HDMI, DisplayPort, DVI, or another type of cable.
- Match the cable with the corresponding video port on the back of the monitor and your computer. Ensure that the cable screws line up with the ports, and then tighten them securely.
- If your monitor has USB ports, connect the USB cable to your computer. This allows for additional data transfer capabilities.
- If your monitor has built-in speakers, connect the audio cables to your computer as well. Newer monitors may not require audio cables.
- Once all the cables are connected, turn on the monitor and your computer. The monitor power button is usually located on the front, bottom, or side of the monitor.
- Check if your monitor requires any software installation. While most modern monitors don't need this, some older models or specialised monitors may require additional software.
- Fine-tune your monitor settings to optimise the display. This includes adjusting the refresh rate, picture settings, and other preferences to match your usage and comfort.
By following these steps, you should now have successfully reassembled your monitor. Remember to refer to your monitor's user manual for specific instructions related to your monitor model, as some steps may vary slightly depending on the make and model.
Replacement Power Supply for HP Monitors: Where to Buy?
You may want to see also


