Reinstalling your camera battery is a simple process, but it's important to follow the correct steps to avoid damaging your device. This guide will walk you through the process of reinstalling your camera battery, including any necessary precautions and troubleshooting tips. By following these steps, you'll be able to ensure that your camera battery is properly installed and functioning correctly. Additionally, we will cover some common issues you may encounter and provide solutions to help you get your camera up and running smoothly.
What You'll Learn
![]()
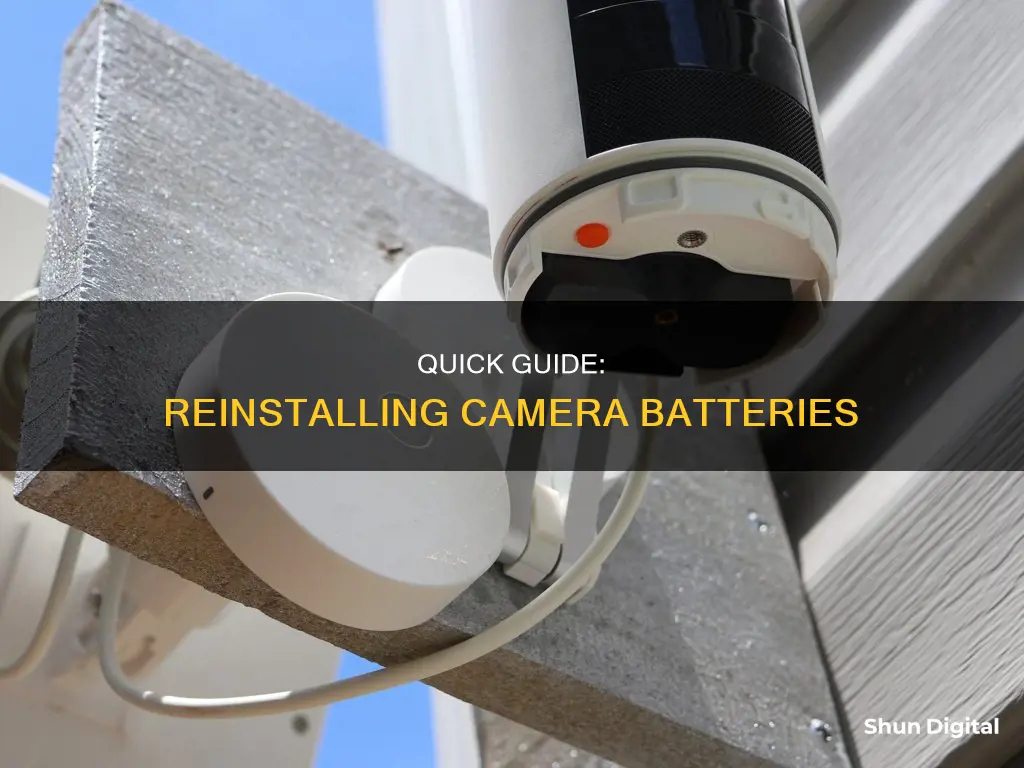
Removing the battery
Firstly, make sure your camera is turned off. This is an important step to ensure that no damage is caused to the internal components of the camera. Once the camera is off, locate the battery chamber or battery compartment. This is usually located on the bottom or side of the camera and will have a small cover or door. Open this cover to access the battery.
Some cameras may have a lock lever or a battery latch to secure the battery in place. If your camera has a lock lever, slide it to the OPEN position before opening the cover. If your camera has a battery latch, you may need to press or slide it in a specific direction to release the battery. Refer to your camera's manual for specific instructions if you're unsure.
Now, you can remove the battery. Gently pull out the battery ejection sheet or tab if your camera has one. This will help you remove the battery easily. Grab the battery by the edges and lift it out of the chamber. Be careful not to touch any exposed contacts or terminals on the battery or the camera.
If the battery seems stuck, do not force it out. Instead, check for any debris or corrosion in the battery compartment that might be causing the issue. Use a soft, dry cloth to gently clean the contacts and the compartment. You can also try gently blowing into the compartment to remove any dust or debris. If the battery still doesn't come out easily, consult your camera's manual or seek professional help.
Finally, store the removed battery in a safe place, away from extreme temperatures or moisture. Keep it out of reach of children and pets to avoid any accidents. Mark the battery with the date of removal so that you can keep track of its usage and replacement schedule.
The Best Camera Grip Battery Options and Their Lifespans
You may want to see also
![]()
Reinstalling the battery
Firstly, open the battery door of your camera. This could be as simple as opening the small compartment door, or it may require removing the side panel of your camera to access the battery. If you are unsure, consult your camera's manual or search for a tutorial specific to your camera model. Once the battery compartment is exposed, proceed to the next step.
Now, remove the battery or batteries. Slide them out carefully and set them aside, ensuring you don't lose any crucial components, like the small rubber piece mentioned in the Canon EOS 300 guide.
With the battery removed, take a moment to inspect the battery contacts. These are the metal parts of the camera that touch the battery terminals. Use a clean, dry cloth to wipe them down gently. If there is any visible corrosion or debris, you can carefully clean the contacts with a pen eraser or a Q-tip dampened with isopropyl alcohol. This step ensures optimal connectivity between the battery and the camera.
Next, reinstall the battery. Ensure the battery is correctly oriented and securely seated in the compartment. If you're reinstalling a rechargeable battery, make sure it's charged before proceeding.
Finally, close the battery door or reassemble any panels you had to remove to access the battery.
Now, turn on your camera. It should power up without issue. If your camera still doesn't turn on, there may be another issue with the camera or the battery itself. Try charging the battery or replacing it with a new one.
If you're working with a Blink camera, you may need to reset the camera after reinstalling the battery. This can be done through a device reboot or via the Blink app's settings.
By following these steps, you should be able to successfully reinstall your camera's battery and get back to capturing memories in no time!
Best Camera Battery Chargers: De-A45 Edition
You may want to see also
![]()
Resetting the battery indicator
Secondly, you can reset the battery indicator via the device settings. Open the Blink app and select the camera you want to reset. Go to the camera settings and find the "Battery" option. From there, select the "Reset Battery Indicator" option and follow the instructions.
Thirdly, check if the camera firmware is the latest version. If not, update the camera firmware and reboot the camera after completing the update. Check if the battery indicator is displayed normally.
If you are still having issues, you can try power cycling your internet router or Sync Module. If that doesn't work, you may need to reset your Blink system by resetting the Sync Module. To do this, press and hold the reset button on the device's side, next to the USB port, until the light turns red. This will reset the module and all connected cameras will go offline. You will then need to reinstall the Sync Module in the Blink app to use your cameras again.
Charging Camera Batteries: Empire Adapter Instructions
You may want to see also
![]()
Power cycling your camera
First, disconnect your camera from its power source. This can be done by unplugging the camera from the wall outlet or power adapter. Once you've done that, let it rest for about 20 seconds. This wait time will allow the camera to fully discharge, and any residual power to dissipate.
After the 20 seconds have passed, simply plug your camera back into the power source and allow it to reinitialize. If you're still experiencing issues, check for any ongoing problems with your camera model or associated apps.
Charging Your SP815UZ: Battery Power Basics
You may want to see also
![]()
Troubleshooting
If you're having trouble with your camera battery, there are several things you can check before opting to reinstall it.
First, inspect the battery and charger for any signs of damage, such as cracks or punctures in the cables, or grime and scratches on the metal contacts. If you notice any damage, replace the charger and avoid using the battery until you can have it checked.
Next, pay attention to any unusual smells or indicator lights. A burning plastic smell or odd indicator light behaviour could indicate a malfunctioning charger. Consult your camera user guide to understand the normal behaviour of the indicator lights.
If your battery is not charging, also check that the micro USB cable is plugged in properly, and that the temperature is within the optimal range of -10°C to 45°C (14°F to 113°F).
If your camera is not powering up, try switching the power switch on and off several times.
If your camera is a Blink model, you can reset it by holding down the Sync Module's button until the light turns red, then reinstalling the Sync Module in the Blink app.
If you have a Canon SX40 HS camera, the issue could be related to the battery or corroded contacts. Clean the contacts with a pen eraser or a Q-tip dampened with 90%+ Isopropyl Alcohol, then blow on the battery compartment to remove any debris. Check the contacts for any signs of damage.
If the above steps do not resolve the issue, you may need to purchase a new battery or contact the camera manufacturer for further support.
Freeing Stuck Batteries in Pentax Cameras
You may want to see also
Frequently asked questions
First, turn off the camera and remove the battery. Wait a few minutes, then reinstall the battery and reboot the camera.
You can reset your Blink camera by holding down the Sync Module's button until the light turns red. This will require you to reinstall the Sync Module in the Blink app.
This depends on the camera model. For some, you slide the lock lever to the OPEN side and open the cover. For others, you pull on a plastic tab attached to the battery.
If your camera has a plastic tab on the battery, pull on that to remove the battery. If the tab is broken, you can try using super glue or tweezers/a screwdriver to remove it.
Align the mark of the battery with that of the camera, and place the battery on the battery ejection sheet. Insert the battery pack, ensuring that the printed side is oriented as illustrated. Securely close the cover.