Cobra surveillance cameras are an increasingly popular choice for home security due to their high-quality footage, advanced motion detection, night vision, and remote access. They are available in wired and wireless models, making them suitable for both indoor and outdoor use. The cameras are easy to set up and offer reliable performance, providing peace of mind for homeowners.
To mount a Cobra surveillance camera, it is recommended to follow the user guide provided by the manufacturer, which includes step-by-step instructions and visuals. The process typically involves determining the optimal location, preparing the mounting bracket, marking the mounting points, drilling holes, attaching the camera, and adjusting the camera angle.
In addition to the camera itself, users will need a power drill, screwdriver, cable clips, cables, and a monitor or smartphone to view the camera feed. Proper placement, cable management, and testing are crucial for effective surveillance.
What You'll Learn

Choosing the right Cobra surveillance camera system
Camera Resolution
The resolution of a camera determines the clarity and detail of the captured footage. Cobra provides options with resolutions up to 4K, ensuring crisp and clear video surveillance. Higher resolution cameras are ideal for identifying people or objects, so consider your needs and budget accordingly.
Night Vision Capabilities
If you require around-the-clock surveillance, opt for Cobra cameras with excellent night vision capabilities. Look for cameras equipped with infrared (IR) LEDs, which enable them to produce clear footage even in low-light or complete darkness. This feature is crucial for monitoring your property during the night.
Field of View
The field of view refers to the area a camera can capture in a single frame. Consider the areas you want to monitor and choose cameras with a suitable field of view to minimize blind spots. Cobra offers various lens options, allowing you to customize the field of view according to your specific surveillance needs.
Weather Resistance
If you plan to install outdoor cameras, ensure they are weather-resistant. Cobra offers outdoor cameras with durable housing designed to withstand rain, wind, and extreme temperatures. This ensures reliable performance regardless of the weather conditions.
Additional Features
Cobra cameras may include additional features such as two-way audio, motion detection, remote viewing through mobile apps, and cloud storage. Consider which of these features would enhance your surveillance system and choose cameras that offer them.
Budget
Finally, consider your budget. Cobra provides a range of options to accommodate different financial constraints. Determine how much you are willing to invest and choose a system that meets your needs without exceeding your budget.
By carefully considering these factors, you can select the right Cobra surveillance camera system that aligns with your security requirements, preferences, and financial limitations.
Montebello Camera Tickets: Do You Have to Pay?
You may want to see also

Gathering the necessary tools and materials
To successfully mount a Cobra surveillance camera, it is essential to gather the necessary tools and materials beforehand. This ensures a smooth and efficient installation process. Here is a comprehensive list of the items you will need:
- Power Drill: You will need a power drill to create holes for mounting the cameras and running cables. Ensure you have the appropriate drill bits for the surface you will be drilling into.
- Screwdriver: A screwdriver is essential for securing camera brackets, mounting plates, and any other hardware included with your Cobra surveillance camera system. Have both flat-head and Phillips-head screwdrivers available to accommodate different screw types.
- Cable Clips: Cable clips are used to neatly secure the cables along walls or ceilings, preventing tangles and tripping hazards. Ensure you have enough cable clips for the entire installation.
- Cables: Different types of cables may be required, such as BNC cables for transmitting video signals and power to the cameras. Make sure you have sufficient cable length to connect each camera to the DVR or power source.
- Monitor or Smartphone: You will need a display device to view the camera feed and configure the system. This can be a dedicated monitor, or you can use your smartphone or tablet if the Cobra system supports remote viewing through a mobile app.
- Tape Measure: A tape measure is essential for determining the correct distances between mounting points and ensuring precise camera placement. It also helps in calculating the required cable lengths.
- Pencil or Marker: Use a pencil or marker to mark the mounting points and cable paths before drilling holes or running cables. This ensures accurate installation and minimises damage to walls or ceilings.
- Ladder or Step Stool: Depending on the height of the mounting locations, you may need a ladder or step stool to safely reach the desired positions. Ensure you have the necessary equipment to access high or difficult-to-reach areas.
- Power Extension Cords: In some cases, you may require power extension cords to connect the cameras or the DVR to electrical outlets. Ensure you have sufficient lengths and quantities of extension cords.
- Extra Screws and Wall Anchors: It is always advisable to have some extra screws and wall anchors in case any are lost or damaged during the installation process.
By gathering all the necessary tools and materials in advance, you can ensure a more organised and efficient setup of your Cobra surveillance camera system. Having everything at your disposal will make the process smoother and allow you to focus on achieving optimal camera placement and reliable surveillance coverage.
The Intricate Art of Crafting Camera Lenses
You may want to see also

Mounting the cameras
Choose Optimal Mounting Locations:
Begin by identifying the best areas for your cameras. Consider the zones you want to monitor, such as entrances, driveways, or backyards. Take into account the camera's field of view and any potential obstructions or blind spots that may impact its effectiveness.
Prepare the Mounting Brackets:
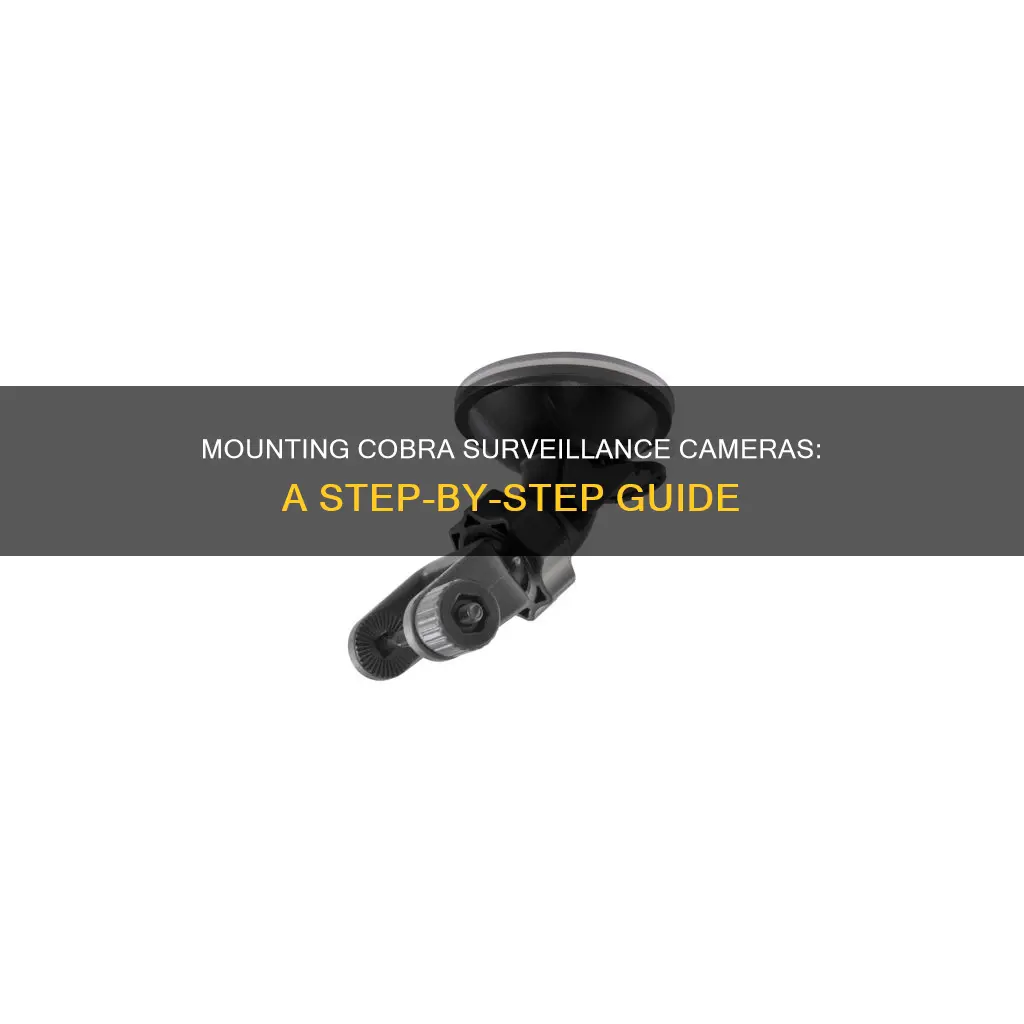
Your Cobra surveillance camera may come with a mounting bracket. Attach the camera to the bracket according to the manufacturer's instructions. Ensure that the camera is securely fastened to the bracket to prevent any movement or misalignment.
Mark the Mounting Points:
Use a pencil or marker to indicate the spots where you plan to mount the cameras. Double-check the height and angle to ensure the best viewing angles. If you're mounting multiple cameras, use measurements to ensure consistent placement.
Drill Holes:
With the mounting points marked, use a power drill and the appropriate drill bit to create holes for the camera brackets. Ensure the holes are the correct size and depth for a snug fit for the screws or wall anchors.
Attach the Cameras:
After drilling the holes, attach the camera brackets to the wall or chosen surface using screws or wall anchors. Make sure the brackets are securely fastened to provide stable support for the cameras.
Adjust Camera Angle and Level:
Once the cameras are mounted, adjust their angles to capture the desired areas. Use a level tool to ensure the cameras are aligned horizontally and vertically for a neat and professional installation.
Test Camera Range and Coverage:
After mounting, check the camera's field of view and adjust the angle if necessary to minimise blind spots and maximise coverage. Verify that the cameras capture the intended areas and provide clear, unobstructed views.
Consider using camera mounts or extension poles to achieve the desired height or adjust the angle of the cameras. If you're mounting cameras outdoors, ensure they are weather-resistant and protected from the elements.
Refer to the manufacturer's instructions for specific guidelines and recommendations for mounting your Cobra surveillance cameras. Take into account the wiring and cable routes when choosing the best mounting points to ensure neat and tidy cable management.
By following these steps, you can ensure that your Cobra surveillance cameras are properly mounted, providing effective coverage and clear footage for your security needs.
Focus Camera: Price Drop Refunds and Your Credit Options
You may want to see also

Testing and optimising camera placement
Monitor the Camera Feed
Systematically observe the camera feed to ensure that each camera captures the intended areas and provides clear and unobstructed views. Pay close attention to the camera's field of view, and make adjustments if necessary to minimise blind spots and maximise coverage.
Identify Blind Spots
Blind spots are areas that are not within the camera's field of view and can provide potential hiding spots for intruders. Move around the monitored area and carefully note any locations that may be outside the camera's range. Adjust the camera angles or consider adding extra cameras to minimise or eliminate these blind spots for enhanced security.
Optimise Camera Angles
Fine-tune the camera angles to improve the surveillance coverage. Adjust the tilt, pan, or rotation to effectively capture the desired areas, especially critical entry points and vulnerable spots. Ensure that the cameras are positioned to monitor human activities, as this is a key aspect of task-specific camera placement.
Check for Obstructions
Look for any objects or structures that may obstruct the camera's view or cause unnecessary shadows. Ensure that there are no obstructions between the camera and the areas you want to monitor. Remove or reposition any obstructions to improve the camera's ability to capture clear and uninterrupted footage.
Assess Lighting Conditions
Evaluate the lighting conditions at different times of the day to ensure that the cameras can adjust to changing lighting conditions, both during the day and at night. Fine-tune the camera settings to optimise image quality under various lighting conditions, and consider adding extra lighting if necessary to enhance visibility.
Perform Test Recordings
Conduct test recordings to assess the quality of the footage. Review the recorded videos to ensure that the images are clear and that important details are captured. Make adjustments to the camera settings or positions if needed to improve the quality of the recorded footage.
Monitor Camera Performance Over Time
Regularly check the camera performance to identify any changes in image quality, connectivity, or surveillance coverage. Inspect the cameras for signs of wear or damage, such as loose connections or lens dirt, and clean them as necessary to maintain optimal performance.
Troubleshooting Camera Focus Issues: Viewfinder Vision Problems
You may want to see also

Troubleshooting common issues
No camera feed: If your monitor or connected device isn't displaying a camera feed, there are a few things to check. First, ensure that both the cameras and DVR are powered on and properly connected. Verify the camera cables for any loose connections or damage. Check if the correct input channel is selected on the DVR for the camera you want to view. If all else fails, try restarting the DVR and monitor to refresh the connection.
Poor image quality: If your camera feed appears blurry or pixelated, try cleaning the camera lens with a soft, lint-free cloth to remove any dirt or smudges. Adjust the camera settings for brightness, contrast, and focus as needed. Ensure the camera is not positioned too far from the subject, as this can affect image clarity. Also, confirm that the camera resolution is set correctly in the DVR settings.
Connectivity issues: If you're experiencing connectivity problems, check the network cables and connections between the cameras and the DVR or router. Restart the DVR and router to refresh the network connections. Ensure that the network settings in the DVR are correctly configured, including IP address and port settings. If you're still having issues, check that your network has sufficient bandwidth to support the camera feeds and adjust any bandwidth limitations if necessary.
False motion detection alerts: If you're receiving too many false alerts, adjust the motion detection sensitivity settings in the camera or DVR settings to a lower level. Review the camera placement to ensure that moving objects like trees or curtains are not triggering the alerts. Modify the motion detection areas to focus on specific regions of interest and exclude areas with regular movement, such as roads or trees. Ensure that environmental factors like changing light or shadows are not triggering false alerts.
DVR or camera firmware issues: If you're experiencing issues with the DVR or camera firmware, check the manufacturer's website for any available updates and install them. Follow the firmware update instructions carefully. If issues persist, try resetting the DVR or camera to factory settings and reconfigure the system. If problems continue, contact the manufacturer's support team for further assistance.
Remember to consult the user manual or online resources provided by the manufacturer for specific troubleshooting steps tailored to your Cobra surveillance camera model.
Choosing the Right Charger for Your Camera: A Guide
You may want to see also
Frequently asked questions
Cobra cameras offer reliable monitoring solutions with features such as motion detection, night vision, and remote access. They provide high-resolution image quality, ensuring crystal-clear footage for easy identification. Additionally, their durability and weather resistance make them suitable for both indoor and outdoor use.
Consider high-traffic areas or vulnerable entry points such as doors, windows, and garages. Also, take into account the camera's field of view and potential obstructions like trees or walls that may impact its effectiveness.
While it is possible to install Cobra cameras yourself, seeking professional help is recommended if you are unfamiliar with electrical wiring or mounting hardware. Professionals can ensure proper positioning and connection to your home network for remote viewing.
To access footage remotely, use the manufacturer's mobile app or web portal. Download the app, create an account, and follow the instructions to connect your cameras. This allows you to view live or recorded footage from anywhere with an internet connection.
Regularly clean the camera lenses and housing to ensure clear footage. Check for loose connections or signs of wear and tear, and consider using surge protectors to safeguard against power surges. Refer to the user manual for additional maintenance tips specific to your camera model.


