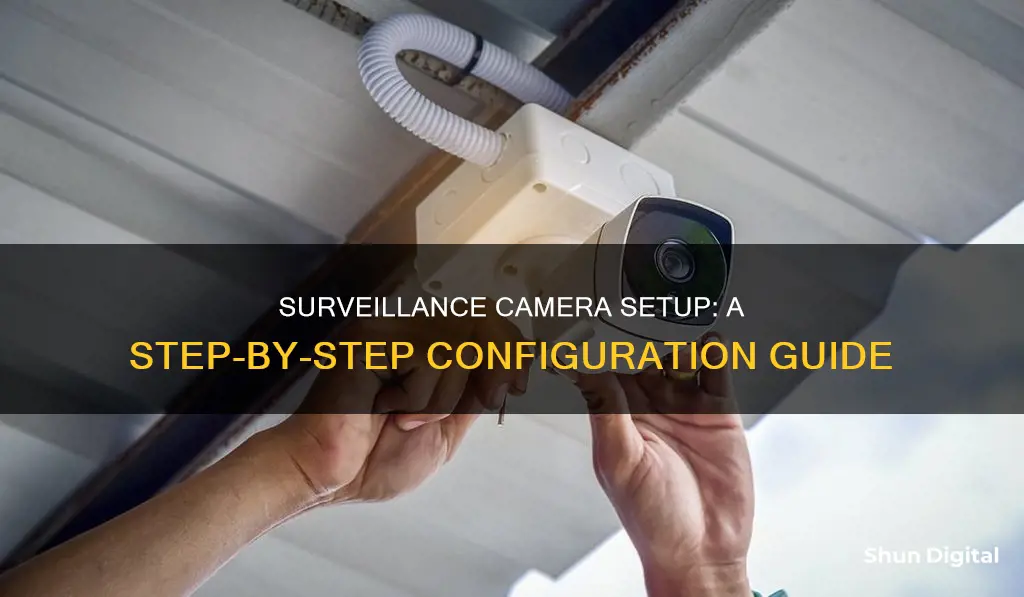
Configuring a surveillance camera is a challenging task, but with the right instructions, it can be a breeze. The first step is to identify the spots where you want to install the cameras. It is essential to place the cameras in a way that covers as many essential areas as possible, avoiding blind spots, and ensuring they are out of reach of intruders. The height of the camera is also crucial, with the ideal range being between 8 to 10 feet from the ground. The next step is to mount the cameras on the wall. This involves marking the spots for the camera and its cable, drilling holes, and then screwing the camera into place. After that, you need to arrange the wires and cables neatly, using wire protection covers or conduits to prevent wear and tear. The camera is then connected to a power source and a recording device, such as a DVR, NVR, or VCR. Finally, you can set up the user interface and make any necessary adjustments to the camera angle and video settings.
| Characteristics | Values |
|---|---|
| Camera placement | Front and back doors, large common spaces, stairways, garages, driveways, basements, attics, ceilings, walls, corners of rooms, near power sources |
| Camera type | Wired, wireless, PoE, WiFi, battery-powered, indoor, outdoor, motion-sensing, remote viewing |
| Installation tools | Drill, drive bits, spade bits, drill bits, masking tape, monitor, mouse, keyboard, fish tape, ethernet cable, power extension cable, mounting template, mounting bracket, mounting screws, electrical tape |
| Connection type | BNC cable, ethernet cable, LAN cable, power cord, coaxial cable, HDMI cable |
| Recording device | DVR, NVR, VCR, UPS, generator |
| Recording capacity | 3 days |
| Power source | Power strip, power outlet, DC power adapter, power extension cable, portable high-capacity battery backup |
What You'll Learn
- Camera placement: Install cameras 8-10 feet from the ground, avoiding direct sunlight and reflections
- Wired vs wireless: Wireless cameras are easy to set up but may have sub-par quality
- Mounting: Use a mounting template and drill pilot holes for the camera screws
- Running cables: Plan the route and drill holes for cables, using fish tape to thread them through
- Connecting: Connect the camera to the DVR box, then to a power outlet and external monitor
![]()
Camera placement: Install cameras 8-10 feet from the ground, avoiding direct sunlight and reflections
When installing a surveillance camera, it's important to consider the height and angle of the camera placement to avoid direct sunlight and reflections. Here are some detailed instructions and tips for optimal camera placement:
- Install cameras 8-10 feet from the ground: Mounting your camera at a height of about 8 to 10 feet is recommended to get a clearer and wider view of the area. This height also makes it difficult for intruders or vandals to reach the camera.
- Avoid direct sunlight: Position the camera to avoid direct sunlight, which can cause glare and affect image quality. Consider the angle and direction of sunlight when selecting the camera location.
- Minimize reflective surfaces: Reflective surfaces can amplify glare, so try to adjust the camera angle or position to minimize their impact. Avoid pointing the camera directly at light sources or reflective surfaces.
- Utilize shadows and overhangs: Place the camera in areas with shadows or overhangs to reduce direct sunlight exposure and minimize glare.
- Consider the camera lens: Invest in a high-quality lens with anti-reflective and multi-coated lenses to enhance the camera's performance in bright conditions and reduce reflections and flares.
- Mounting and placement: When mounting the camera, use a template to mark the drill holes for the camera's cable and mounting screws. Drill pilot holes for the mounting screws, and then drill a bigger hole for the cable. Use appropriate drill bits for the wall material (wood, drywall, or masonry).
- Camera angle adjustments: After installing the camera, make rough adjustments to the camera angle using the adjustment screws. Fine-tune the positioning once you can see the live view of the camera.
Updating Your Camera Raw D500: A Step-by-Step Guide
You may want to see also
![]()
Wired vs wireless: Wireless cameras are easy to set up but may have sub-par quality
Wireless cameras are a good option if you want to avoid drilling holes and running cables through your house. They are generally easier to set up and more suitable for DIY installations. They can be placed in various locations without the constraint of cables, making them ideal for homeowners who want the flexibility to install cameras without the hassle of running cables.
However, wireless cameras may have sub-par quality. They can experience signal interference from other devices or obstacles like walls and structures, and the range of wireless cameras may be limited. Wireless cameras are also more susceptible to hacking if they are not properly secured with strong passwords and encryption.
On the other hand, wired cameras provide a more stable and reliable connection and experience almost no interference from nearby devices. They can be placed far from the recording device without signal degradation, and they can transmit higher-resolution video with less compression, resulting in better video quality.
Wired cameras are more complex to install and are more expensive due to the need to run cables, especially in existing structures. They are also less flexible in terms of placement due to cable constraints.
Focus Red Lines Camera: How Does It Work?
You may want to see also
![]()
Mounting: Use a mounting template and drill pilot holes for the camera screws
Mounting your surveillance camera is a crucial step in ensuring the safety of your home or property. Here is a detailed, step-by-step guide on how to mount your surveillance camera using a mounting template and drilling pilot holes for the camera screws:
First, decide on the location where you want to place the camera. Consider the height and angle that will provide the best view and coverage of the area you want to monitor. Mark this spot on the wall with a pencil or a marker.
Next, attach the mounting template that comes with your camera to the desired location. This template will guide you in drilling the holes for the camera screws. Using a drill bit that matches the size of your camera screws, drill pilot holes at each marked location on the template. If you are drilling into a wooden wall, you can drill directly into the wood. However, if you are drilling into drywall, use a power drill with a wood bit to create a starter hole, and then switch to a metal bit for the final hole.
Now, it's time to secure the camera mount. Place the mount over the pilot holes and use the provided screws to attach it securely to the wall. Make sure the mount is tight and stable.
Finally, you can attach your camera to the mount. Position the camera in your desired angle and use the provided screws to fix it in place. Adjust the camera angle as needed to ensure it captures the required field of view.
By following these steps, you will have successfully mounted your surveillance camera, ensuring it is securely installed and ready to monitor your chosen area.
Spy Cameras: How Long Does the Charge Last?
You may want to see also
![]()
Running cables: Plan the route and drill holes for cables, using fish tape to thread them through
Running cables for your surveillance camera is a challenging task, but with the right tools and know-how, it can be done efficiently. Here are some detailed instructions to guide you through the process:
Planning the Route:
- Identify the location of your surveillance camera and the route the cables will take to the central surveillance hub or DVR.
- Consider the easiest route, which might not always be the most direct. Take advantage of unfinished spaces like basements and attics to run cables.
- Use a stud finder to check for any obstructions, such as studs, ducts, or fire blocks, and plan your route accordingly.
- Mark the spots on the walls where you will need to drill holes for the cables to pass through.
Drilling Holes:
- Use a power drill or a hammer drill, depending on the wall material. For wood, drywall, or aluminium walls, a power drill with drive bits or spade bits is sufficient. For concrete or brick walls, you will need a hammer drill with masonry drill bits.
- Drill holes in the marked spots. Keep the holes centred on the studs and at least 1 1/4 inches away from the edge to comply with building and electrical codes.
- If you encounter fire blocks, horizontal wooden braces that slow the spread of flames, you may need to drill through them or cut a notch.
Using Fish Tape:
- Obtain an electrician's fish tape, a long metal line with a hook used to guide cables through walls.
- Feed the fish tape through the drilled holes, starting from the camera end. Gently push it through until it reaches the other end or the DVR location.
- Secure the cables to the end of the fish tape using electrical tape. Overlap about 6 inches of the cable with the fish tape and wrap them tightly together, ensuring a smooth connection.
- Pull the fish tape and cables slowly through the wall. Have an assistant at the other end to guide and support the process.
- Repeat this process for each cable, pulling them through the wall one at a time.
By carefully planning the route, drilling holes, and utilising fish tape, you can successfully run cables for your surveillance camera setup.
Traffic Camera Tickets: Are Chicago's Laws Legal?
You may want to see also
![]()
Connecting: Connect the camera to the DVR box, then to a power outlet and external monitor
Connecting your surveillance camera is a straightforward process. First, you will need to connect your camera to the DVR box. This is done using a BNC (Bayonet Neill–Concelman) cable. BNC cables are simple to use—they are identical on both sides, and you simply plug them into the appropriate port, twisting a small nut on the end to lock them in place. Plug one end of the BNC cable into the camera's "output", and the other end into one of the "input" ports on the DVR box.
Next, you will need to connect the DVR box to a power outlet. Simply plug the power cable into the DVR box and into a power outlet. Ensure that both the DVR box and the camera are powered on.
Finally, you can connect the DVR box to an external monitor. This can be done using a BNC cable, an HDMI cable, a DVI cable, a component cable, or an S-video cable. For this example, we will use an HDMI cable. First, turn off the DVR box and the monitor. Then, connect one end of the HDMI cable to the "HDMI Out" port on the DVR box. Connect the other end of the HDMI cable to the "HDMI In" port on the monitor. Now, turn on both the DVR box and the monitor. To use the DVR, simply switch the monitor to the correct HDMI input source.
Focus Bracketing: Which Cameras Offer This Feature?
You may want to see also
Frequently asked questions
Place cameras in areas where intruders are most likely to enter, such as the front door, back door, and windows. Position cameras high up, around 8-10 feet from the ground, to get a clear view and avoid vandalism.
You can choose between wired and wireless cameras. Wired cameras, such as PoE cameras, transmit data and power through a single Ethernet cable, making installation simpler. Wireless cameras, like Wi-Fi cameras, transmit data wirelessly but still need power cables.
First, decide on the spots where you want to place the cameras. Then, mark the holes for the camera's cable and mounting screws. Drill the holes, run the cables, and connect them to a recording device or monitor. Finally, mount the cameras and adjust their positioning.
To hide camera cables, you can conceal them in walls, attics, or conduit. This can be done by drilling holes and running the cables through them. You can also use wire protection covers or conduit to keep the wires neat and protected.
Test your equipment before installing. Ensure the camera is mounted securely and is accessible for maintenance. Be mindful of your neighbours' privacy and avoid pointing the camera directly at light sources to prevent glare and high contrast in your footage.