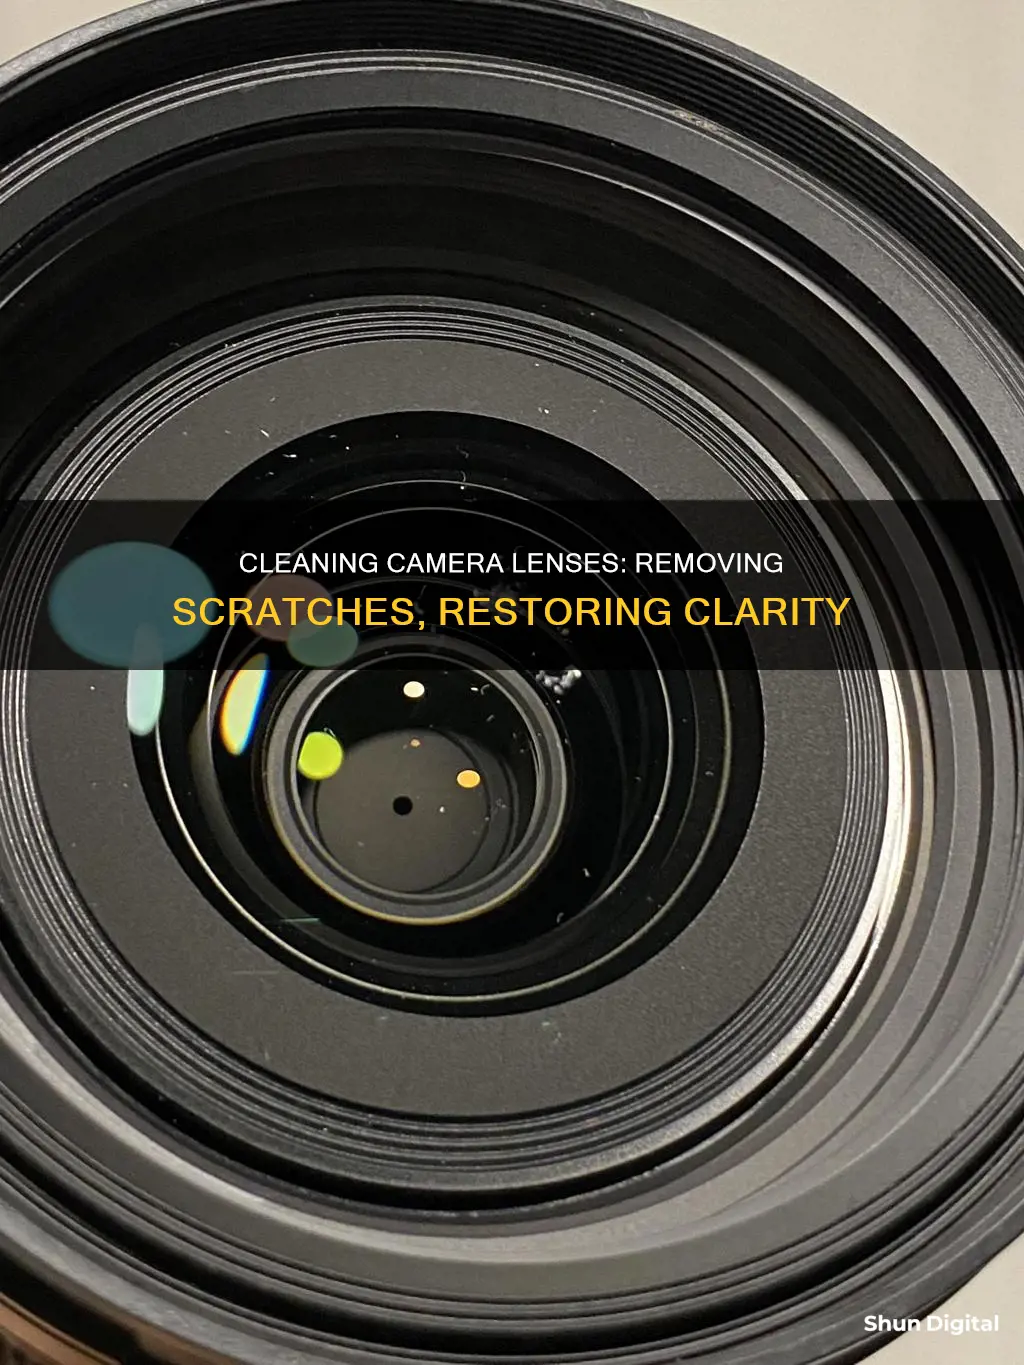
A scratched camera lens can be a real pain, especially if you're looking to capture crystal-clear memories. While there are many DIY methods available online to remove scratches, it's important to note that most modern lenses have a layer of protective coating that can be damaged if not handled correctly. So, before attempting any repairs, it's crucial to assess the damage and determine if it's worth the risk. While some sources suggest that a few faint, minor scratches will not significantly affect image quality, others claim that even small scratches can blur your entire lens and ruin your pictures. If you do decide to proceed with a DIY method, there are several options to consider, each with its own pros and cons. These include using toothpaste, rubbing alcohol, Vaseline, pencil eraser, screen polisher, scratch remover, banana and baking soda, or a scratch repair kit. However, keep in mind that the safest way to fix a scratched lens is to have it replaced or send it to a service center for repair.
Characteristics of cleaning scratched camera lenses
| Characteristics | Values |
|---|---|
| Safe way to fix a scratch | Replace the lens |
| DIY methods | Toothpaste, pencil eraser, rubbing alcohol, Vaseline, scratch remover, screen polisher, banana and baking soda |
| Effectiveness of DIY methods | Varying degrees of success; some methods may remove a layer of lens coating, making the lens more prone to scratches |
| Professional repair | Sending the lens to a service center is the safest way to repair a scratched lens |
What You'll Learn
![]()
Using toothpaste
Toothpaste is a common household item that can be used to remove scratches from camera lenses. The micro-abrasive components in toothpaste help smooth out the scratched surface by levelling out the surface and removing a thin layer of plastic from the lens. However, it's important to note that using the wrong type of toothpaste could damage your lens further.
Step 1: Prepare the Lens
Before applying toothpaste, ensure that the lens is clean. Use a soft cloth or cotton swab to remove any dirt, dust, or debris from the lens surface. You can dampen the cloth or swab slightly to help with this process.
Step 2: Apply Toothpaste
Take a small amount of toothpaste on a cotton swab or cotton bud. It is important to use a non-abrasive, gel-based toothpaste for this purpose. Avoid using abrasive whitening toothpaste as it can cause more scratches. Apply the toothpaste to the lens, gently coating the entire surface.
Step 3: Buff the Lens
Use a microfiber cloth to gently buff the toothpaste into the lens in a circular motion. Be careful not to apply too much pressure, as this can damage the lens further. Continue buffing for a few minutes, ensuring that you cover the entire scratched area.
Step 4: Rinse and Dry
After buffing, rinse the lens with water to remove any remaining toothpaste. Use a clean, dry microfiber cloth to gently dry the lens. This will help remove any streaks or residue left behind.
Step 5: Inspect and Repeat
Once the lens is dry, inspect it closely to see if the scratches have been removed. If some scratches remain, you can repeat the process. However, it is important not to overdo this, as too much toothpaste can wear down the lens coating. For deeper scratches, it is recommended to seek professional help or use a lens repair kit.
Black Friday Camera Lens Deals: What to Expect
You may want to see also
![]()
Applying Vaseline
To apply Vaseline to a scratched camera lens, start by wiping the lens with a microfiber cloth to remove any dust or dirt. Then, apply a small amount of Vaseline to the lens's surface. Use a clean portion of the microfiber cloth to carefully rub the Vaseline in small circles until it is completely clear. It is important to avoid using excessive force during this process.
This technique can effectively remove scratches from the camera lens, but it may need to be repeated semi-regularly as the Vaseline will wear off over time. Additionally, ensure that you completely remove all traces of Vaseline from the lens afterwards. Isopropyl alcohol can be used as a solvent to dissolve any remaining Vaseline.
While this method is generally safe, it is always a good idea to assess the damage and determine if the benefits outweigh the risks of potential self-repair. If you are unsure, it may be best to consult a professional or consider other DIY methods for removing scratches from your camera lens.
Camera Lenses: Waterproof or Not?
You may want to see also
![]()
Using rubbing alcohol
To clean your camera lens with rubbing alcohol, start by mixing one part rubbing alcohol with 20 parts water to dilute it. Then, dip a clean microfiber cloth into the diluted alcohol solution. Gently rub the scratched lens with the cloth, being careful not to apply too much pressure. Repeat this process four times, and you should see the scratches gradually disappear.
It is recommended to use purified water or de-ionized water for dilution, as tap water may contain impurities that could potentially damage the lens. Additionally, avoid over-saturating the cloth with the alcohol solution to prevent water from seeping into the camera lens.
After cleaning the lens with alcohol, it is important to follow up with a blower to remove any remaining residue or liquid. Finally, use a dry, clean microfiber cloth to wipe the lens gently, ensuring that it is completely dry before using the camera again.
While rubbing alcohol can be effective for cleaning camera lenses, it is always advisable to proceed with caution. Test the solution on a small area of the lens first and always handle your camera equipment with care.
Samy's Camera: Renting Lenses and Photography Equipment
You may want to see also
![]()
Removing with pencil eraser
Removing scratches from your camera lens with a pencil eraser is a simple and effective method. This technique has been around for a long time and is a great way to remove scratches without damaging or removing the coating on the lens. It is important to note that this method should not be used to clean the contacts on either a camera body or a lens, as it can easily rub off the gold plating and cause data communication problems.
To remove scratches from your camera lens using a pencil eraser, start by cleaning the camera lens with a microfiber cloth to ensure it is completely dust-free. This step is important as dust or debris can cause additional scratches if rubbed against the lens.
Next, take a new, soft pencil eraser that is not coarse or abrasive. Gently move the eraser in the direction of the scratch on the lens. It is important to be careful and gentle during this step to avoid causing any additional scratches. Repeat this process as many times as needed until the scratch is removed.
Once the scratch is no longer visible, use a soft, clean microfiber cloth to wipe down the lens and remove any eraser residue. Be sure to wipe the lens gently to avoid creating new scratches.
This method is a great, low-cost solution for removing scratches from your camera lens. However, for deeper or more severe scratches, it may only minimise the appearance of the scratch rather than completely removing it. Additionally, if you are looking to remove scratches from the contacts of your camera or lens, it is recommended to use a soft, clean cloth, perhaps moistened with isopropyl alcohol, instead of an eraser.
The Evolution of Camera Lenses: From Bulky to Compact
You may want to see also
![]()
Using screen polisher/scratch remover
If you have a screen polisher or scratch remover at home, you can use it to remove scratches from your camera lens. This method is also safe as it gives your camera lens an extra layer of lens coating.
If you don't have one at home, you can purchase a good car windscreen polishing product. Put a little polish on a flat surface and use the tip of a soft microfiber cloth to pick up a bit. Then, rub it along the scratch and use a clean part of the microfiber cloth to wipe the screen clean. Ensure you are using a polish that has an advanced formula nano-coating protection.
If you have access to a scratch repair kit, you can also use that. These kits are usually designed for digital camera lenses but they also work for phone camera lenses. Simply follow the instructions on the pack and use a soft microfiber cloth to finish the process.
Remember, prevention is always better than cure. A protective case could help keep the back camera lens away from objects and for the front camera lens, a screen protector is recommended.
The Lifespan of Camera Autofocus Lenses: How Long Do They Last?
You may want to see also
Frequently asked questions
The only safe way to fix a scratch on your camera lens is to have it replaced. However, there are some DIY methods you can try first.
There are several methods you can try, but please note that these may damage your lens further. These include: using toothpaste, using an eraser, using rubbing alcohol, using Vaseline, using glass coating polish, and using banana and baking soda.
Apply toothpaste to the camera lens and use a Q-tip to spread it evenly. Wipe the lens in a clockwise direction for 5 minutes, then use a microfiber cloth with a drop of water to clean off any residue.
Use a soft, clean, and unused pencil eraser. Gently move the eraser over the scratches in one direction until the scratch disappears.
Mix 1 part rubbing alcohol with 20 parts water to dilute it. Dip a clean microfiber cloth into the solution and gently rub the scratched lens. Repeat this process four times.