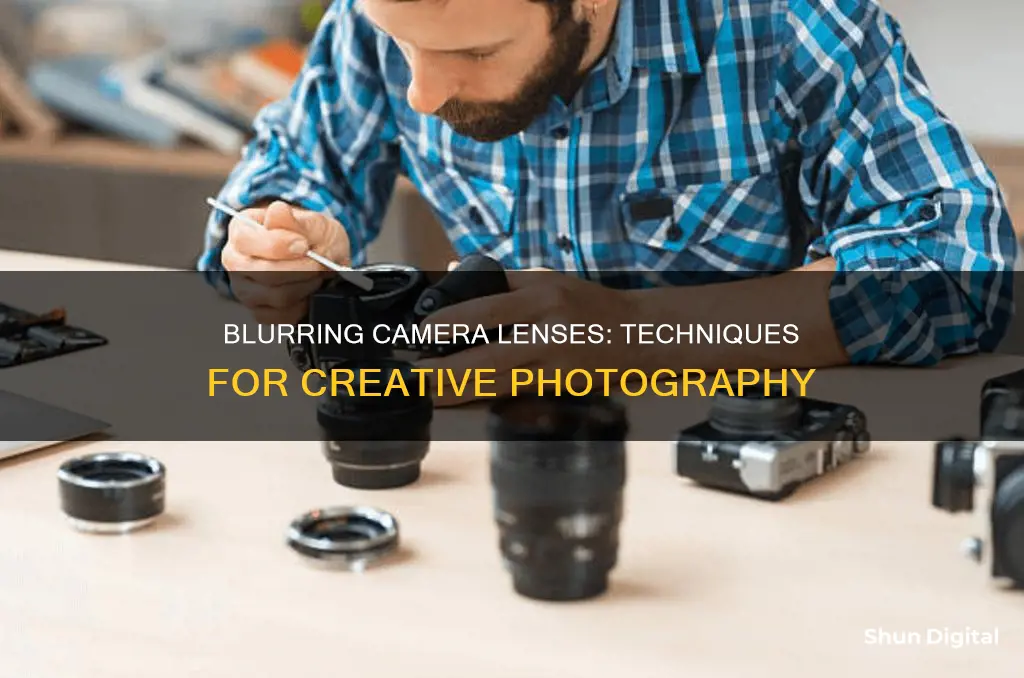
There are many ways to achieve a blur effect on your camera lens. One way is to use Lightroom Classic's Lens Blur feature, which allows you to create a shallow depth of field effect by automatically selecting your subject and letting you refine the focus area. You can also adjust the blur amount and explore creative effects. Another way is to use the Lens Blur tool in Snapseed, which emulates the swings and tilts of a large-format camera to create blur and draw attention to a specific subject. Additionally, there are online image editors such as gifgit.com that offer lens blur filters. These tools can help you enhance your photos and create captivating effects.
| Characteristics | Values |
|---|---|
| Software | Lightroom Classic, Snapseed, Photoshop, Gifgit |
| Purpose | To blur the background of a photo, creating a shallow depth of field effect |
| Tools | Lens Blur panel, Lens Blur section, Lens Blur tool, Lens Blur filter |
| Actions | Click "Apply" to generate automatic background blur, use "Blur Amount" slider to control intensity, click "Visualize Depth" to see a heatmap of focus areas |
| Additional Adjustments | Blur Strength, Transition, Vignette Strength |
What You'll Learn

Using Lightroom Classic
Lightroom Classic's Lens Blur feature allows you to add a blur effect to your photos, simulating the look of a wide-aperture lens. This can be particularly useful if you want to blur a distracting background and create a shallow depth of field effect, emphasising the focus of your image.
To get started, open your photo in Lightroom Classic and go to the Develop module, where you'll find most of the editing tools. In the right-hand panel, locate the Lens Blur section and click "Apply" to let Lightroom analyse your image and generate an automatic background blur effect.
The automatic blur may not be perfect, so you can refine it by clicking on the "Focus Range" icon and then clicking and dragging the sections of your image that you want to keep in focus. This tells Lightroom which areas should be sharp and which should be blurred. You can also adjust the intensity of the blur effect using the "Blur Amount" slider—dragging the slider to the right increases the blur, while moving it to the left reduces it.
To help you visualise which parts of your image are blurred and in focus, you can click on the "Visualize Depth" checkbox to see a heatmap of the focus areas. Warm colours (yellow, orange, pink) represent the sharpest parts of the photo, while cool colours indicate the least sharp areas.
For even more control, you can use the Brush Refinement tool to choose between "Blur" or "Focus" and paint over specific areas to fine-tune the effect. This allows you to address any minor imperfections in the automatic selection, ensuring a natural and realistic blur transition.
With its user-friendly interface and powerful tools, Lightroom Classic's Lens Blur feature gives you the ability to transform your photos and achieve stunning results that rival those captured with expensive wide-aperture lenses.
Camera Lenses: Reselling and Buying Used
You may want to see also

Using Photoshop
There are several ways to blur a camera lens using Photoshop. Here is a step-by-step guide on how to do it:
Step 1: Duplicate the Background Layer
Before starting, duplicate the background layer to avoid making any changes to the original image. This can be done by using the keyboard shortcut Ctrl+J (Win) / Command+J (Mac).
Step 2: Add a New Channel
Switch to the Channels palette and click on the "New Channel" icon to add a new channel. This new channel will be named "Alpha 1" and will be filled with black.
Step 3: Select the Brush Tool
Choose the Brush Tool from the Tools palette. This will be used to paint on the new alpha channel.
Step 4: Lower the Opacity of the Brush
Go to the Options Bar and lower the brush's opacity to 50%. This will allow for a gradual build-up of blurring and non-blurring areas.
Step 5: Turn on the RGB Channel
Click inside the empty box to the left of the "RGB" Channel to make it visible. This will overlay the image with red, making it easier to see what you're painting over.
Step 6: Paint with White on the Alpha Channel
Set your foreground color to white and begin painting on the alpha channel to control the blurring effect. Paint over the areas you want to keep in focus, as the red overlay will disappear where you paint with white.
Step 7: Select the RGB Channel and Switch Back to Layers Palette
Click directly on the RGB channel to select it and turn off the alpha channel. Then, switch back to the Layers palette and select "Layer 1".
Step 8: Apply the Lens Blur Filter
Go to Filter > Blur > Lens Blur in the top menu bar. In the Lens Blur dialog box, choose "Alpha 1" as the source for the Depth Map. If you want to invert the effect, select the "Invert" option. Adjust the Radius value to fine-tune the amount of blurring.
Step 9: Adjust the Blur and Focus
Use the "Set Focus Point" option to click on different areas of the image and adjust the blur and focus. You can also play around with the Iris Shape, Blade Curvature, and Rotation options to customize the blur effect further.
Step 10: Add Specular Highlights (Optional)
If desired, add specular highlights by dragging the Threshold slider to select a brightness cutoff. Pixels brighter than the cutoff value will be treated as highlights. You can also increase the brightness of the highlights by dragging the Brightness slider.
Step 11: Add Noise (Optional)
If you want to add noise to the image, use the Amount slider under the Noise section. Choose between Uniform or Gaussian noise distribution and select Monochromatic to add gray noise without affecting color.
Step 12: Click OK to Apply the Changes
Once you're happy with the blur effect, click OK to apply the changes to your image.
Additional Tips:
- When creating a depth map, use shades of gray to indicate the distance of objects from the viewer. White represents objects that are far away, while black indicates objects that are very close.
- If you want to blur the background of an image, it's important to understand the image first. Decide how much blur can be added without making the image look unnatural.
- You can also use the Magnetic Lasso Tool to create a selection with irregular edges, helping to avoid harsh lines between blurred and sharp portions of the image.
- Always duplicate your background layer before adding any blur effects, so you can adjust the opacity or use layer masks for fine-tuning.
Camera Lenses: Do They Age Like Wine or Rust?
You may want to see also

Using Snapseed
Snapseed is a photo-editing app available on iOS and Android, which allows for easy and professional editing. One of the filters available is Lens Blur, which allows you to blur certain portions of a photo using different options.
Launch Snapseed and Open a Photo
Locate the app on your device and tap on it. The app icon has a picture of a vertical leaf. If you don't have Snapseed, you can download it from the App Store or Google Play Store. On the welcome screen, select and open a photo to be edited by tapping the "Open Photo" button at the bottom and navigating through your albums.
Open the Editing Menu
Tap the pencil button on the lower-right corner to access the editing tools and filters.
Select the Lens Blur Filter
Under the Filters section, tap the Lens Blur picture or button. The Lens Blur filter tool will appear over your photo.
View and Adjust Blur Options
All the blur options that can be applied to your photo are accessed on the bottom toolbar. You can adjust the shape, strength, and style of the blur.
Select Blur Shape
The first tool from the left is for the shape of the blur. You have two choices: Elliptical and Linear. Tap the button to switch between the two shapes. The Elliptical option will give you a circular shape, while the Linear option will give you a rectangular one. You can also use a pinching gesture to alter the size, shape, or rotation of the focus.
Select Blur Strength
The second tool is for blur strength, with three adjustable options:
- Blur Strength: Controls how much blur is applied to the out-of-focus areas. Swipe right or left to increase or decrease the blur effect, ranging from 0 (no blur) to 100 (complete blur).
- Transition: Controls the distance of the fade between the in-focus and out-of-focus areas. Swipe right or left to increase or decrease the transition, ranging from 0 (no transition) to 100 (maximum distance).
- Vignette Strength: Controls the vignette applied. Swipe right or left to darken or lighten the edges, ranging from 0 (no vignette) to 100 (very dark edges).
Select Blur Style
The third and last tool is for the style of the blur. You have 11 options for the blur style or shape, ranging from circle to various stars. Tap on the tool and swipe right to see all the options, then tap the one you want to use. You can also select the desired shape of any specular highlights that appear within the blurred areas.
Exit the Editing Screen
Once you're done, tap the check button on the rightmost part of the bottom toolbar to exit the Lens Blur filter and return to the main screen. All your changes will be applied to the photo.
Attaching Camera Lens Covers: A Step-by-Step Guide
You may want to see also

Using a wide-aperture lens
When using a wide-aperture lens, it is important to consider the gear you are using. A camera with a larger sensor, such as a full-frame or DSLR camera, will make it easier to achieve a blurred background. Smartphone cameras, on the other hand, typically have smaller sensors, which is why they often rely on software to create fake background blur in portrait modes.
The lens you choose also plays a crucial role in achieving a blurred background. A 50mm lens is a popular choice for creating stunning portraits with beautiful bokeh. These lenses are available at different price points depending on the maximum aperture they offer. For example, a 50mm f/1.8 lens can be found for less than $300, while an f/1.4 lens will cost significantly more.
When shooting with a wide-aperture lens, it is important to remember that a wide aperture creates a shallow depth of field. This means that only a small portion of your image will be in focus, while the rest will appear blurred. To control the amount of blur, you can adjust your aperture setting. A wider aperture will result in more blur, while a narrower aperture will keep more of your image in focus.
In addition to gear and settings, subject placement also plays a role in achieving a blurred background. The farther away your subject is from the background, the blurrier the background will appear in your image. Try to create distance between your subject and the background, or shoot with your subject standing in front of a background that is several feet away. This will help exaggerate the blur effect.
By combining the right gear, aperture settings, and subject placement, you can create stunning portraits with beautiful blurred backgrounds using a wide-aperture lens. Remember to experiment with different settings and distances to find the combination that works best for your specific camera and lens setup.
Lens and Camera Compatibility: Universal Fit or Not?
You may want to see also

Using a large format camera
Move your subject closer to you and farther from the background. This technique is essential when using a large format camera, as it helps to shift the depth of field towards the camera and away from the background, creating a desirable blur effect. The closer your subject is to the camera, the more pronounced the blur will be.
Invest in a large-sensor camera. The sensor size plays a crucial role in achieving background blur. Larger sensors result in a more pronounced blur effect, while smaller sensors, like those in smartphones, are at a disadvantage. Look for cameras with sensors such as the 24x36 full-format sensor found in high-end Sony hybrid cameras or mid-range DSLRs from Canon, Nikon, Pentax, or Sony.
Use a large aperture setting. By opening the lens aperture as wide as possible, you can narrow the depth of field and increase the blur. Look for lenses with a large aperture, such as f/1.4 or f/2, which will allow more light to reach the sensor and create a beautiful blur. Remember that a lower f-stop value indicates a larger aperture.
Choose a lens with a long focal length. The longer the focal length, the more the background will appear blurred. This is because the narrower angle of view magnifies the out-of-focus areas. Zoom lenses can be advantageous here, as they allow you to zoom in on your subject, increasing the background blur.
Pay attention to the focus distance. The focus distance is the distance between your camera and your subject. When using a large format camera, get as close to your subject as possible while being mindful of the perspective effect. Wide-angle lenses can distort the image if you get too close, so strike a balance between proximity and perspective.
Maximize the distance between your subject and the background. To enhance the blur effect, it's crucial to choose a background that is as far away from your subject as possible. Look for large spaces like gardens or spacious rooms where you can position your subject at a considerable distance from the background.
By following these tips and practicing your technique, you'll be able to create stunning photos with a beautiful background blur using your large format camera.
The Art of Camera Lenses: Beautify or Uglify?
You may want to see also
Frequently asked questions
First, open your photo in Lightroom Classic and navigate to the Develop module. In the Develop module, locate the Lens Blur section on the right-hand panel. Click the “Apply” button to let Lightroom analyse your image and generate an automatic background blur effect.
The automatic blur might not be perfect. To refine it, click on the “Focus Range” icon. Then, click and drag a section of your image that you want to keep in focus. This will tell Lightroom which areas should be sharp and which should be blurred.
Use the “Blur Amount” slider to control the strength of the blur effect. Dragging the slider to the right increases the blur, while moving it to the left reduces it.
When using Snapseed, you can swipe right on the "Vignette Strength" option to darken the edges of the image and incorporate a vignette with the blur.


