There are many ways to attach a camera lens cover to your camera. Some people opt for a lens cap leash or tether, which can be bought online. Others prefer to store the lens cap in their pocket or camera bag when not in use. Some photographers choose not to use a lens cap at all, instead relying on a lens hood for protection.
| Characteristics | Values |
|---|---|
| How to attach a camera lens cover | Use a lens cap leash, tether, or string attachment |
| Put the lens cap in a pocket or small pouch | |
| Use a clip-on lens cap holder |
What You'll Learn
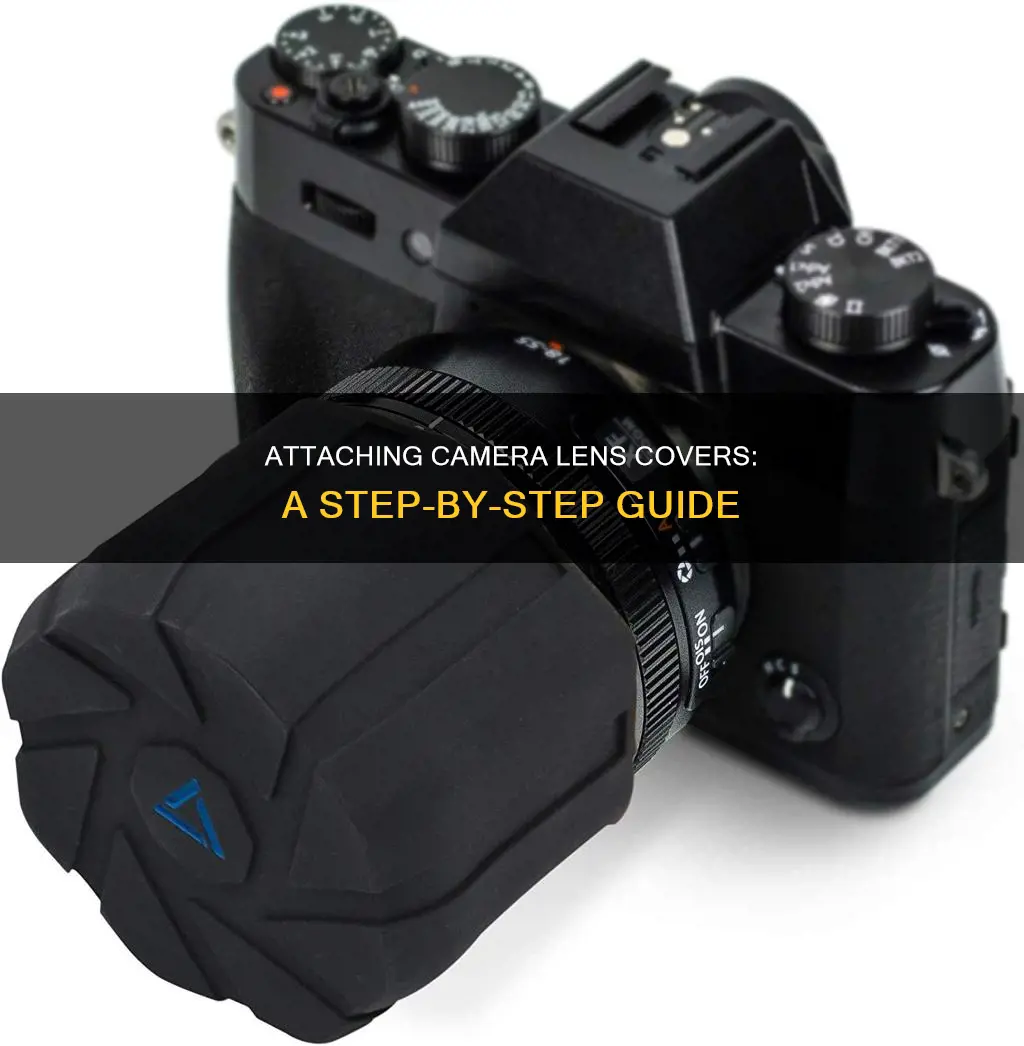
![]()
Lens cap keeper/leash/tether
A lens cap leash, or tether, is a great way to ensure you don't lose your lens cap. They are simple to use and can be a cheap solution to prevent the loss of your lens cap.
Lens cap leashes usually consist of a small adhesive button that sticks to the front of your lens cap. The other end of the leash has an elastic loop that stretches to fit around the circumference of your lens. This means that when you take off your lens cap, it remains attached and hangs from your lens.
The adhesive button is usually made of plastic, while the leash itself is made of elastic. The elastic is stretchy enough to anchor it to your lens without being too loose.
Reviews of lens cap leashes are mixed. Some users find them very convenient and say they are a great way to prevent losing lens caps, especially when shooting in locations where it is easy to misplace a cap, like nightclubs or concerts. Others have found that the adhesive does not hold for long and that the elastic can wear out over time.
Alternatives
Some photographers choose to store their lens caps in a pocket or camera bag, or to keep the cap off for a while when actively shooting. There are also lens caps that sit permanently on the lens and open when you extend it, but these are only suitable for collapsible lenses.
Camera Lenses: Are Their Filters Universal?
You may want to see also
![]()
Using a string
First, you'll need to purchase a lens cap string or tether. These are typically thin, durable strings that connect the lens cap to the camera body or lens barrel. You can find them at camera accessory stores, photography equipment suppliers, or online. If your lens cap already has a string attached, you can skip this step.
Now, let's attach the string to your lens cap. Most lens caps will have a small hole where you can insert the cord. Simply pass one end of the string through this hole. If your string has a plastic attachment, make sure to insert that through the hole as well. Once the string is through, secure it by fastening the plastic attachment, if applicable.
Next, we'll attach the other end of the string to your camera. If your camera has an attachment point, usually a small hole or loop on the side, simply insert the string through this hole and tie an overhand loop knot. Ensure the loop is large enough for the lens cap to slip through. Gently tug on the string to ensure it's secure.
If your camera doesn't have an attachment point, don't worry. You have a couple of options. One is to use an adhesive to stick one end of the string to a flat surface on your camera body, such as the hand grip or the side, being careful not to cover any important ports. Another option is to purchase a lens cap string with an elastic wristband, which you can simply wrap around the lens body or barrel.
That's it! You've successfully attached your camera lens cover using a string. Remember to clean the string gently with mild soapy water if it gets dirty, and always handle your camera with care to avoid damage.
Camera Lenses: Heavy Weights for the Perfect Shot
You may want to see also
![]()
Using a clip-on lens cap holder
Step 1: Choose the Right Clip-on Holder
Select a clip-on lens cap holder that is compatible with your camera's lens cap size. Ensure it has a strong spring-loaded clip to securely hold the lens cap. Some products, like the Easy Hood Clip-On Lens Cap Keeper, are designed to fit various lens cap sizes from different manufacturers.
Step 2: Attach the Clip to Your Camera Strap
Take the clip out of its packaging and attach it to your camera strap, backpack, or camera bag. Ensure it is securely fastened and won't come loose during use. The clip should be easy to attach and can be placed in any position on the strap that is convenient for you.
Step 3: Insert the Lens Cap into the Clip
Once the clip is in place, open the spring-loaded clip and insert your lens cap into it. The clip should hold the lens cap securely, preventing it from falling off or getting lost. You can now shoot without worrying about where to place your lens cap.
Step 4: Adjust the Clip Position (Optional)
Depending on your preference, you may want to adjust the position of the clip on your camera strap. This can ensure the lens cap is easily accessible and doesn't obstruct your movements while shooting. Experiment with different positions until you find the most comfortable setup.
Step 5: Care and Maintenance
To ensure the longevity of your clip-on lens cap holder, it's important to care for it properly. Clean it regularly, especially after outdoor shoots, to remove any dust or debris. Additionally, when not in use, store it in a safe place, such as a camera bag or case, to prevent damage or misplacement.
Lens Compatibility: EF-S Cameras and EF Lenses
You may want to see also
![]()
Using a lens cap with a string
With an Attachment Hole
If your camera has an attachment point (usually a small hole or loop on the side), you can tie the lens cap string through it. First, prepare the cord by buying a camera lens cap with a string already attached or by inserting one end of the string through the small hole in your lens cap. Then, find the attachment point on your camera body and insert the other end of the string through it. Secure the string with an overhand loop knot, ensuring the loop is large enough for the lens cap to slip through.
Without an Attachment Hole
If your camera doesn't have an attachment point, you can use an adhesive to stick one end of the lens cap string to any flat surface on your camera body, such as the hand grip or side, being careful not to cover any ports. Alternatively, you can purchase a lens cap string with an elastic wristband and simply wrap it around the lens body or barrel.
Without a Lens String
If you have a lens cap without a string, you can create your own lens cap keeper with some basic materials: elastic, elastic cord, pliers, scissors, adhesive, a sewing needle, thread, and hook-and-loop closures. First, bend the eyelet of the hook-and-loop closure to a 90-degree angle and use epoxy to attach it to the lens cap. Next, wrap the elastic around the lens barrel, cut it to the desired length, and sew the ends together. Then, attach the elastic cord in the same way. Finally, insert the cord into the eyelet and secure it with a knot.
Purchasing Lens Cap Strings
Lens cap strings can be purchased at camera accessory stores, photography equipment suppliers, and online. They are typically included with third-party lens caps, and you can also buy separate strings to attach to your existing lens cover.
Detaching and Cleaning the Lens Cap String
To detach the lens cap string, simply loosen the knot or unthread it from the attachment point. You can also clean the lens cap string by removing it and soaking it in mild soapy water before allowing it to dry.
Choosing the Right Lenses for Your Camera
You may want to see also
![]()
Using a camera lens cap leash with elastic string
- Prepare the Lens Cap Leash: The Foto&Tech Camera Lens Cap Leash comes with a small button that has a strong adhesive back. Simply peel off the protective layer to expose the adhesive.
- Attach the Button to the Lens Cap: Stick the adhesive button securely onto the front of your lens cap. Make sure the surface of the lens cap is clean and dry before attaching the button. The button should have a diameter of approximately 1.5cm/0.59 inches.
- Wrap the Elastic Loop Around the Lens Barrel: The elastic loop is designed to stretch and wrap snugly around the circumference of the lens barrel. Alternatively, you can attach it to the camera's strap connection points. This ensures that your lens cap remains attached to the camera even when removed. The total length of the leash is approximately 25cm/9.84 inches, with the elastic loop being about 9.5cm/3.74 inches long.
- Compatibility: These lens cap leashes are designed to work with DSLR, SLR, EVIL, and mirrorless cameras with interchangeable lenses, as well as video cameras. They are compatible with most types of lens caps, including those with or without a hole or loop, center-pinch, and snap-on caps.
- Benefits: The elastic string design ensures that your lens cap is always within reach, preventing it from getting lost or misplaced. It also saves you the hassle of having to put the lens cap in your pocket or another storage location. Additionally, the lightweight and durable construction of the leash makes it a convenient accessory for all photographers.
By following these simple steps, you can effectively use a camera lens cap leash with elastic string to keep your lens cap secure and easily accessible.
How Lenses Transform Your Camera's Vision
You may want to see also
Frequently asked questions
You can attach a lens cover to your camera using a string or an elastic leash. However, some photographers dislike this method as the lens cap can get in the way and dangle around when shooting.
You can use a clip-on lens cap holder that attaches to your camera strap or belt. You can also use a lens cap with a built-in tether, or a lens cap holder that sticks to the lens cap with an adhesive.
Some photographers store their lens caps in their pockets or camera bags. Others keep the lens caps on their lenses inside their camera bags, only removing them when they need to attach the lens to the camera.