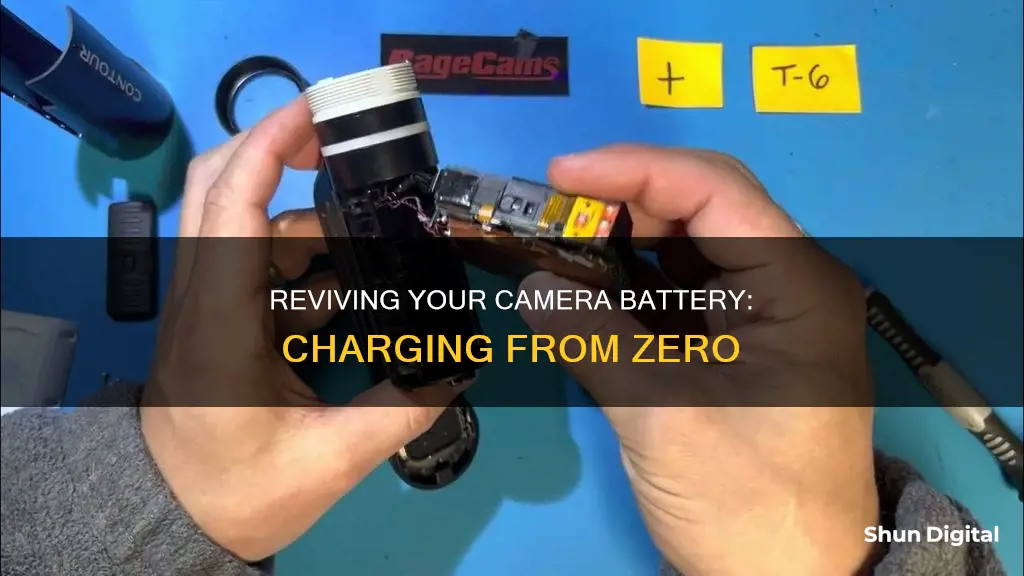
A dead camera battery can be a frustrating issue, but there are several methods you can use to charge it and get back to capturing memories. In this guide, we will explore various approaches to charging a completely dead camera battery, from using the correct charger to reconditioning and replacing battery cells. By following these steps, you'll be able to revive your camera battery and get back to taking stunning photos.
| Characteristics | Values |
|---|---|
| First Step | Locate the charger and the cable that came with the camera |
| Charging Process | Connect the battery to the charger using the provided cable |
| Charging Process | Ensure the charger is plugged into a power source |
| Charging Process | Ensure the connections are secure |
| Charging Process | Check for a charging indicator light on the charger or camera |
| Charging Process | Leave the battery to charge for the recommended amount of time |
| Charging Process | Keep an eye on the charging process and battery to ensure there are no signs of overheating or other issues |
| After Charging | Avoid overcharging by disconnecting the battery once fully charged |
What You'll Learn

Remove the battery from the camera
Removing the battery from your camera is a simple process, but it's important to follow the correct steps to ensure you don't damage the battery or the camera itself. Here is a detailed guide on how to do it:
First, make sure your camera is turned off. This is an important step to ensure that no power is running through the camera, which can cause damage to the battery or the device. Once the camera is off, locate the battery chamber or battery compartment. This is usually a small compartment with a cover that can be opened.
Next, you will need to open the battery chamber cover. Depending on your camera model, there may be a lock lever that you need to slide to the 'open' side before you can open the cover. Open the cover carefully, as not to drop or damage the battery. Once the cover is open, you should see the battery inside.
Some cameras have a battery ejection sheet, which is used to remove the battery. If your camera has this feature, simply pull out the battery ejection sheet to remove the battery. If not, gently pull out the battery by hand. Be careful not to drop or damage the battery, and ensure that you are holding it by the sides, avoiding any metal contacts.
If your battery seems stuck, do not force it out. Instead, check online or in your camera's user manual for specific instructions on how to remove a stuck battery for your particular camera model. Forcing the battery out can cause damage to the battery or the camera, so it is important to follow the correct procedure.
Once you have successfully removed the battery, place it in a safe location where it cannot roll away or come into contact with metal objects. Keep the battery ejection sheet (if your camera has one) in a safe place as well, as this will be needed when you insert the battery back into the camera.
Remember, always handle batteries with care and follow the manufacturer's instructions for your specific camera model to ensure a safe and proper removal process.
Motorola Focus 66: How Long Does the Charge Last?
You may want to see also

Connect the charger to a power source
To charge a camera battery that is completely dead, you must first connect the charger to a power source. This may seem obvious, but it is a crucial step that is often overlooked. Ensure that the charger is plugged into a power outlet, such as a wall socket or a USB port on your computer. It is imperative to use the specific charger and cable that came with your camera, as using a different charger may not be compatible and could potentially damage the battery. Once the charger is plugged in, connect it to the camera battery, making sure the connections are secure.
When connecting the charger to a power source, it is important to refer to the camera's user manual to ensure you are using the correct charger and cable. Different camera models may have specific requirements or recommendations for the type of charger and cable to use. Additionally, the user manual can provide guidance on any specific indicators or instructions related to the charging process.
While connecting the charger to a power source, it is crucial to inspect the charger and cable for any signs of damage. Over time, chargers and cables can become worn or frayed, which may impact their effectiveness and safety. If you notice any damage, it is recommended to replace the charger or cable with a compatible one from the camera manufacturer or a reputable source.
It is also important to note that some camera batteries have built-in safety features that prevent them from charging if they are completely drained. In such cases, you may need to leave the charger connected to the power source and the battery for a few minutes before the charging process begins. This safety feature is designed to protect the battery and ensure safe and effective charging.
In conclusion, connecting the charger to a power source is a crucial step in charging a camera battery that is completely dead. By following the instructions provided, you can ensure that your camera battery charges effectively and safely.
Best Buy's Camera Battery Charger Options Explored
You may want to see also

Insert the dead battery into the charger
Once you have located the correct charger and cable for your camera, it's time to insert the dead battery into the charger. This process will differ depending on the make and model of your camera, but there are some general guidelines to follow.
First, ensure that the charger is plugged into a power source, such as a wall outlet or a USB port on your computer. It is crucial to use the specific charger and cable that came with your camera, as using a different charger may not be compatible and could potentially damage the battery. Check that the charger is functioning properly and securely connected to the power source.
Next, open the battery compartment of your camera and remove the dead battery, if it is removable. Check the battery for any visible damage or corrosion on the contacts. If necessary, use a soft cloth or cotton swab to clean the contacts gently. This step is important because dirty or corroded contacts can interfere with the charging process.
Now, carefully insert the battery into the charger, ensuring proper alignment. Look for markings or indicators on the battery and charger that show how they should align. Incorrect alignment can not only result in a failed charge but also potentially damage the battery.
Once the battery is inserted, check for any charging indicators on the charger. Some chargers have LED lights that turn on or blink to indicate that the battery is charging. Refer to the user manual if you're unsure about the specific charging indicators for your model.
It's important to note that some camera batteries have a built-in safety feature that prevents them from charging if they are completely drained. If the battery doesn't seem to be charging, leave it connected to the charger for a few minutes. If it still doesn't charge, consult the camera's user manual or contact the manufacturer for further assistance.
While the battery is charging, monitor it for any signs of overheating or other issues. If you notice any unusual behaviour, such as excessive heat or strange smells, immediately disconnect the charger and consult a professional.
Finally, allow the battery to charge for the recommended amount of time specified by the manufacturer. This can vary depending on the battery and charger model, so be sure to follow the instructions provided. Once the battery is fully charged, you can remove it from the charger and reinsert it into your camera.
GoPro Charging Time: How Long Until Your Camera's Ready?
You may want to see also

Allow the battery to charge for the recommended time
Allowing your camera battery to charge for the recommended time is crucial for ensuring it reaches a full charge. This time can vary depending on the battery and charger model, so it is important to consult the user manual for specific charging times. Generally, it is advised to leave the battery to charge for several hours.
While waiting, it is important to monitor the charging process. Keep an eye on the charger and battery to ensure there are no signs of overheating or other issues. If you notice any unusual behaviour, such as excessive heat or a strange smell, immediately disconnect the charger and seek professional advice.
Some camera batteries have a built-in safety feature that prevents them from charging if they are completely drained. If your battery doesn't seem to be charging, leave it connected to the charger for a few minutes. If it still doesn't charge, refer to the camera's user manual or contact the manufacturer for further assistance.
Additionally, always use the specific charger and cable that came with your camera. Using a different charger may not be compatible and could potentially damage the battery. Make sure to follow any specific instructions or safety guidelines mentioned in the camera's user manual.
Charging the Kitmesh Camera: A Quick Guide
You may want to see also

Reinsert the charged battery into the camera
Now that your camera battery is charged, it's time to reinsert it into your camera. Here's a detailed guide to ensure you do it correctly:
Step 1: Handle the Charged Battery with Care
Before you begin, it's important to handle the charged battery with care. Avoid touching the metal contacts on the battery, as oils from your skin can cause corrosion over time. Hold the battery by its sides or edges, and place it on a clean, flat surface if you need to set it down temporarily.
Step 2: Locate the Battery Compartment
On your camera, locate the battery compartment. It is usually a small door or flap on the bottom or side of the camera. Gently open the compartment by sliding, lifting, or pulling it open according to your camera's design. Make sure you don't force it open, as this could damage the mechanism.
Step 3: Properly Align the Battery
Carefully pick up the charged battery and align it with the battery compartment. Ensure that the battery is facing the correct way, matching any labels or markings inside the compartment. Gently insert the battery, making sure it is securely seated and fits snugly in place.
Step 4: Close the Battery Compartment
Once the battery is inserted, close the battery compartment door securely. Make sure it clicks into place or locks securely, depending on your camera's design. A properly closed battery compartment ensures that the battery remains connected and doesn't shift during use.
Step 5: Power on the Camera
After reinserting the battery, you can power on the camera. Locate the power button and turn it on. Check the camera's display or viewfinder to ensure it is functioning properly. If the camera doesn't turn on, double-check that the battery is inserted correctly and that the battery compartment is securely closed.
Step 6: Test the Camera Functions
Once the camera is on, test its various functions to ensure proper operation. Take a few test photos, record a video, and review the footage to ensure everything is working as expected. Check the camera's settings, zoom functions, flash, and any other features you typically use.
By following these steps, you can confidently reinsert the charged battery into your camera and get back to capturing memories or creating amazing content. Remember to always handle your equipment with care and follow the manufacturer's guidelines for optimal performance and longevity.
Is Your Webbie HD Camera Charging?
You may want to see also
Frequently asked questions
First, remove the battery from your camera. Then, connect the battery charger to a power source. Insert the dead battery into the charger, ensuring it is properly aligned. Allow the battery to charge for the amount of time specified by the manufacturer. Once it is fully charged, remove it from the charger and reinsert it into your camera.
Check for any visible damage or corrosion on the battery contacts and clean them if necessary. If the battery is not removable, try using a different charger or power source. If that doesn't work, you may need to replace the battery.
If your camera battery is not holding a charge or is not functioning at all, it may need to be replaced. Look for a compatible battery from a reputable manufacturer. Also, consider the age of your battery, as they have a limited lifespan and will eventually need to be replaced.


