The 'bird's eye view' or '360-degree view' car camera is an advanced piece of automotive technology that provides drivers with a real-time view of their surroundings. This is achieved by stitching together the perspectives of several video cameras strategically placed around the vehicle, typically on each bumper and on either side. The cameras are usually placed on the front grille, under the rear-view mirrors, and on the tail, with some systems also including side-view cameras positioned ahead of the front wheels. The video signals from these cameras are then fed into an image-processing program, which knits together the individual inputs to create a synthetic yet positionally accurate top-down view of the car and its surroundings. This allows drivers to easily navigate their vehicles into parking spots while avoiding nearby obstacles. While this technology is most commonly seen in luxury vehicle models, it is also available as an aftermarket kit for installation in existing vehicles.
| Characteristics | Values |
|---|---|
| Number of Cameras | 4-6 |
| Camera Placement | Front grille, under side mirrors, tail, bumpers, emblem, near trunk release |
| Camera Activation | Shifting into reverse, pressing a button |
| Camera Turn Off | Once the vehicle is moving at traffic speeds |
| Image Processing | Stitching of images, geometric alignment, photometric alignment, composite view synthesis |
| Display | HMI (Human Machine Interface), infotainment system screen |
What You'll Learn
- Camera placement: cameras are placed strategically around the vehicle, often on bumpers, grilles, and side mirrors
- Image stitching: software combines images from multiple cameras to create a single, seamless top-down view
- Camera calibration: intrinsic and extrinsic calibration is crucial for the optimal performance of the system
- Display: the stitched image is projected onto an HMI, typically the infotainment screen
- Guidelines: some systems superimpose guidelines onto the image to indicate the vehicle's orientation and expected direction of travel
![]()
Camera placement: cameras are placed strategically around the vehicle, often on bumpers, grilles, and side mirrors
Camera placement is a critical aspect of achieving effective vehicle surveillance. When it comes to placing cameras on a car's roof or around its exterior, several factors and strategies come into play to ensure optimal results.
Firstly, let's focus on the placement of cameras on vehicle exteriors, including bumpers, grilles, and side mirrors. These locations are strategic choices due to their ability to capture crucial viewpoints without obstructing the driver's field of vision. Here are some key considerations for camera placement in these areas:
- Field of View: Position the cameras to capture a clear and wide field of view, encompassing the vehicle's surroundings, including the road, nearby objects, and potential blind spots. This helps in avoiding obstacles and enhances overall situational awareness.
- Height and Angle: Mount the cameras at an appropriate height and angle to capture detailed recordings. Typically, a height of eight to ten feet is recommended to deter tampering and capture a comprehensive view. Adjust the angle to minimize glare and obtain a balanced perspective of the road and surroundings.
- Stability: Ensure that the cameras are securely mounted to prevent vibrations or movement. This can be achieved through the use of stable mounting brackets, clamps, or suction cups. A steady camera reduces the impact of vehicle movements, resulting in clearer and more stable footage.
- Aesthetic and Functional Considerations: When placing cameras on bumpers, grilles, and side mirrors, it's important to strike a balance between aesthetics and functionality. The cameras should be positioned to maintain the vehicle's overall design while ensuring a clear view of the vehicle's perimeter.
- Camera Calibration: No two cameras produce identical outputs. Intrinsic and extrinsic calibration of cameras are crucial for the optimal performance of the system. Proper calibration compensates for differences in lens placement, aging, and thermal expansion, ensuring aligned output images and accurate colours.
- Maintenance and Protection: Ensure easy access to the cameras for maintenance and cleaning. Consider using protective measures, such as UV filters or covers, to safeguard the cameras and lenses from dirt, bugs, and weather conditions. Regular maintenance and protection will help maintain the quality of the captured footage.
By following these strategic placement considerations, you can maximize the effectiveness of your vehicle's exterior camera system, enhancing safety, improving data collection, and providing valuable evidence for various applications, including parking assistance, traffic analysis, and incident investigation.
Charging SimpliSafe Camera Batteries: A Step-by-Step Guide
You may want to see also
![]()
Image stitching: software combines images from multiple cameras to create a single, seamless top-down view
Image stitching is a common problem with out-of-the-box solutions. It is a process that combines images from multiple cameras to create a single, seamless image. In the context of a 360-degree view car camera system, image stitching is used to provide a top-down view of the vehicle and its surroundings, making it seem like the car is being filmed by a drone. This is achieved by using 4-6 cameras with wide-angle lenses integrated into the body panel of the vehicle. These cameras are typically placed on the front grille, under the rear-view mirrors, and on the tail, ensuring full surveillance of the vehicle's perimeter.
The image stitching process involves several steps. Firstly, feature detection is performed on each image to identify key points. Then, homography estimation is used to calculate the transformation required to align the images. After that, all images are transformed into a common plane or view. Finally, the images are blended at the transition points to create a seamless composite image.
One challenge in image stitching is accounting for differences in camera hardware and settings, such as lens distortion, white balance, and exposure. Calibrating the cameras offline by using a calibration pattern like a checkerboard or Charuco board can help improve the accuracy of the homography and reduce errors.
Another consideration is the placement of cameras to ensure clear visibility of the vehicle's perimeter without disrupting the aesthetics or functionality of the car. System designers use CAD models to simulate and analyse the field of view and blind zones from different angles and vehicle load configurations.
Overall, image stitching plays a crucial role in creating a seamless top-down view for advanced driver assistance systems, enhancing parking assistance, and providing a better driving experience.
Canadian Police Cars: Are On-Board Cameras Standard?
You may want to see also
![]()
Camera calibration: intrinsic and extrinsic calibration is crucial for the optimal performance of the system
Camera calibration is a critical process in ensuring the optimal performance of a rooftop camera system. The calibration process involves fine-tuning the intrinsic and extrinsic parameters of the camera to ensure accurate image capture and processing.
Intrinsic camera calibration refers to the adjustment of parameters within the camera itself. These parameters include the focal length, optical centre or principal point, and the skew coefficient. The focal length is the distance between the centre of projection and the image plane, and it determines how much of the scene the camera can capture. The optical centre is the point at which light rays converge to form an image, and the skew coefficient accounts for any misalignment between the image axes. By calibrating these intrinsic parameters, we can ensure that the camera accurately captures the desired field of view without distortion.
Extrinsic camera calibration, on the other hand, involves adjusting the parameters that define the camera's position and orientation in 3D space. These parameters include the rotation and translation of the camera relative to a known object in the scene. Through extrinsic calibration, the camera's exact location and orientation are determined, allowing for accurate mapping of the surrounding environment. This is particularly crucial in applications such as autonomous driving, where precise knowledge of the vehicle's position relative to surrounding objects is essential for safe navigation.
The calibration process typically involves capturing multiple images of a calibration pattern, such as a checkerboard or chessboard, from different angles and positions. By analysing these images and extracting key features, the system can calculate and adjust the intrinsic and extrinsic camera parameters for optimal performance.
One of the key benefits of proper camera calibration is the ability to correct for lens distortion. Lenses can introduce radial and tangential distortions, especially in wide-angle lenses commonly used in rooftop camera systems. Radial distortion occurs when light rays bend more near the edges of a lens than at its optical centre, resulting in warped or curved images. Tangential distortion, on the other hand, occurs when the lens and the image plane are not parallel, causing skewed or tilted images. By calibrating the camera, these distortion coefficients can be modelled and corrected, ensuring that the captured images accurately represent the surrounding environment.
In addition to distortion correction, camera calibration enables advanced functionality in rooftop camera systems. For example, by accurately mapping the camera coordinates to pixel coordinates, the system can overlay virtual objects onto the real world, enhancing augmented reality applications. Camera calibration also enables accurate measurement of objects within the camera's field of view, allowing for applications such as object detection and size estimation.
In conclusion, intrinsic and extrinsic camera calibration is of paramount importance in rooftop camera systems. By fine-tuning the camera parameters, we can ensure optimal performance, correct for lens distortion, and enable advanced functionality. Proper camera calibration enhances the overall reliability and accuracy of the system, making it a crucial step in the development and deployment of rooftop camera technology.
Harford, Maryland: Fighting Unfair Camera Tickets
You may want to see also
![]()
Display: the stitched image is projected onto an HMI, typically the infotainment screen
Display is the final step in the process of creating a cohesive bird's-eye view image of a car and its surroundings. Once the image-processing module has stitched the individual images together, the video is projected onto an HMI (Human Machine Interface), typically the infotainment screen. This allows the driver to see a top-down view of their vehicle and its surroundings, as if filmed by a drone, making parking and navigating tight spaces much easier.
The infotainment screen is not the only way drivers can access this bird's-eye view. Some vehicles also offer a split-screen view, with the vehicle's top view on one side and the front, rear, or side view on the other. This provides drivers with even more detailed information about their surroundings, enhancing their situational awareness.
In addition to the visual display, feedback mechanisms such as audio alerts are often used in surround-view camera systems to notify the driver of nearby objects. This multi-modal approach to providing information ensures that drivers receive the information they need in a timely and effective manner.
The display of the stitched image is not limited to a single, static viewpoint. Newer 360-degree camera systems allow for different angles of the vehicle's exterior to be displayed. This is achieved through more advanced software that combines the views from different cameras into adjustable perspectives, with the vehicle illustrated in the middle. This gives drivers an even more dynamic and comprehensive understanding of their surroundings.
The clarity and seamlessness of the displayed image are crucial factors in the effectiveness of a 360-degree camera system. Auto engineers put a lot of effort into perfectly positioning the cameras and concealing them within the car's design. They also work to protect the cameras from the environment and ensure that their views are combined into a clear, lifelike image.
The placement of the cameras is a critical design decision. They must be positioned to have a clear view of the vehicle's perimeter without disrupting the aesthetics of the vehicle or any other functionality. This involves extensive simulation and analysis of CAD models of the vehicle to optimise the field of view and minimise blind spots.
Troubleshooting Camera Issues on Lenovo Computers
You may want to see also
![]()
Guidelines: some systems superimpose guidelines onto the image to indicate the vehicle's orientation and expected direction of travel
When maneuvering a vehicle, whether reversing, parking, or negotiating tight spaces, it is essential to have a clear understanding of the vehicle's orientation and projected path. Rooftop cameras, often paired with parking sensors and sometimes even required by law, are invaluable aids in these situations. One of the key ways these camera systems assist drivers is by superimposing guidelines onto the displayed image, providing a clear visual reference for the driver. These guidelines are typically composed of a series of lines and shapes, offering a dynamic overlay that adjusts as the vehicle moves.
The guidelines are designed to represent the vehicle's current position and its anticipated path as it moves forward or backward. Typically, these lines will include a central vertical line, indicating the car's longitudinal axis, and a series of horizontal lines, representing the vehicle's width at different distances from the camera. Often, these horizontal lines will fan out from the central axis, creating a sense of perspective and depth, and providing a clear visualization of the vehicle's trajectory. This allows the driver to easily judge the distance to obstacles and understand how much space the vehicle has to maneuver.
In addition to these basic lines, some systems may also incorporate dynamic elements that react to the vehicle's steering input. These dynamic guidelines can offer a visual representation of the vehicle's expected path as it turns. This is particularly useful when navigating tight corners or trying to align the vehicle with a specific target, such as a parking spot or a narrow passage. By displaying the projected path, these guidelines help prevent scrapes and bumps, and make maneuvering in confined spaces much easier. The systems may also include distance markers, providing a clear indication of how far away objects are, and helping to judge the necessary clearance.
The use of these superimposed guidelines offers a simple yet highly effective solution to the challenge of reversing and parking. By providing a clear, dynamic reference, drivers can quickly understand the vehicle's orientation and make necessary adjustments. This enhances safety, not only for the driver and their vehicle but also for pedestrians and surrounding objects. The inclusion of such camera systems can significantly reduce blind spots and improve overall situational awareness, making driving a safer and less stressful experience, especially in busy or congested areas. With the aid of these visual guidelines, drivers can confidently navigate their vehicles with a better understanding of their vehicle's position and the space around them.
Mastering Auto-Focus: A Guide to Camera Auto-Focusing
You may want to see also
Frequently asked questions
Rooftop cameras on cars are used for filming and shooting panoramic footage. They are also used by the police to monitor surroundings. In addition, some cars have 360-degree camera systems that help with parking and provide a real-time view of the area surrounding the car.
A 360-degree camera system uses several video cameras placed around the vehicle that combine their perspectives into one image, typically a top-down view.
The system consists of surround-view cameras, proximity sensors, image processing software, and hardware for display.
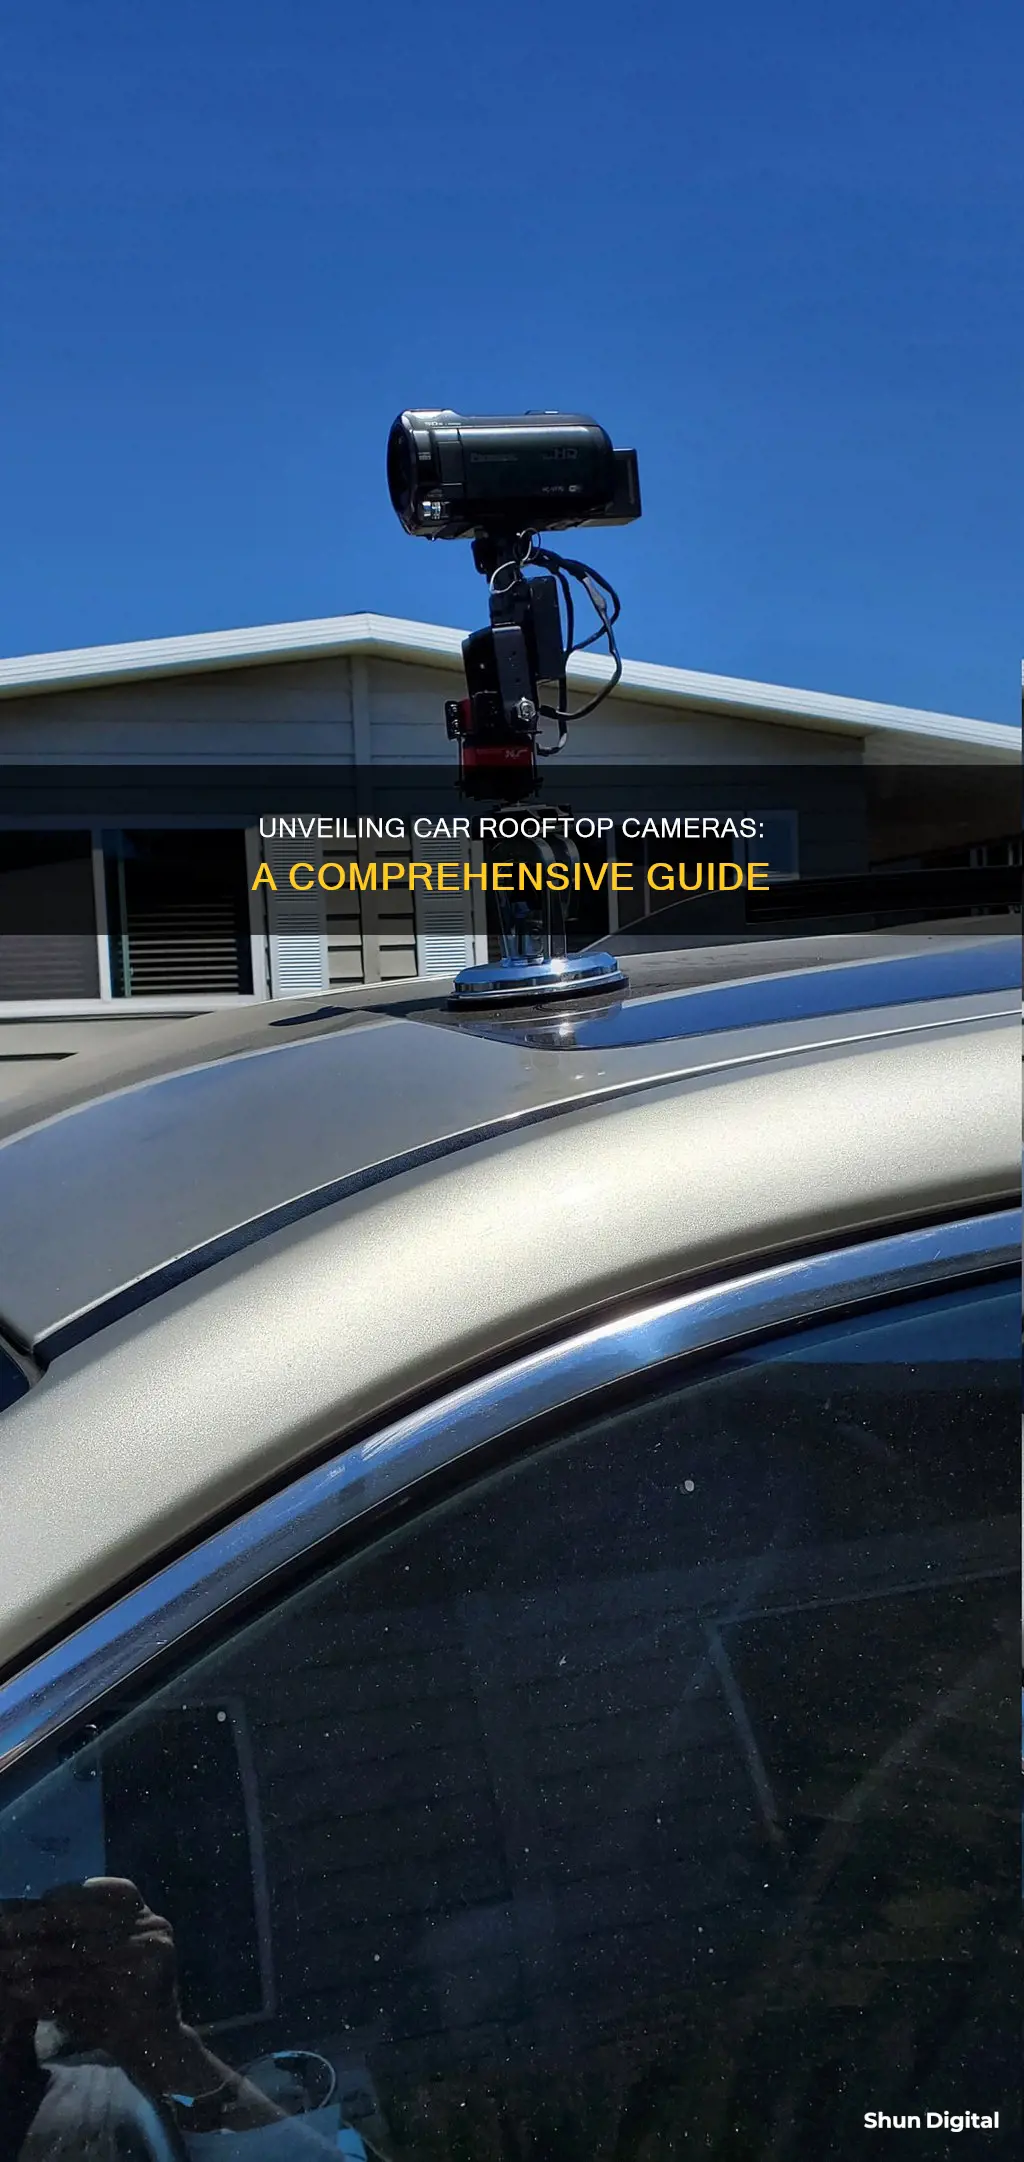
You can use a suction mount, a tripod, a super clamp, or a camera suction mount.
Use a regular UV filter to keep the lens safe and wrap the camera in bubble wrap to protect it from dirt, bugs, and stone chips.