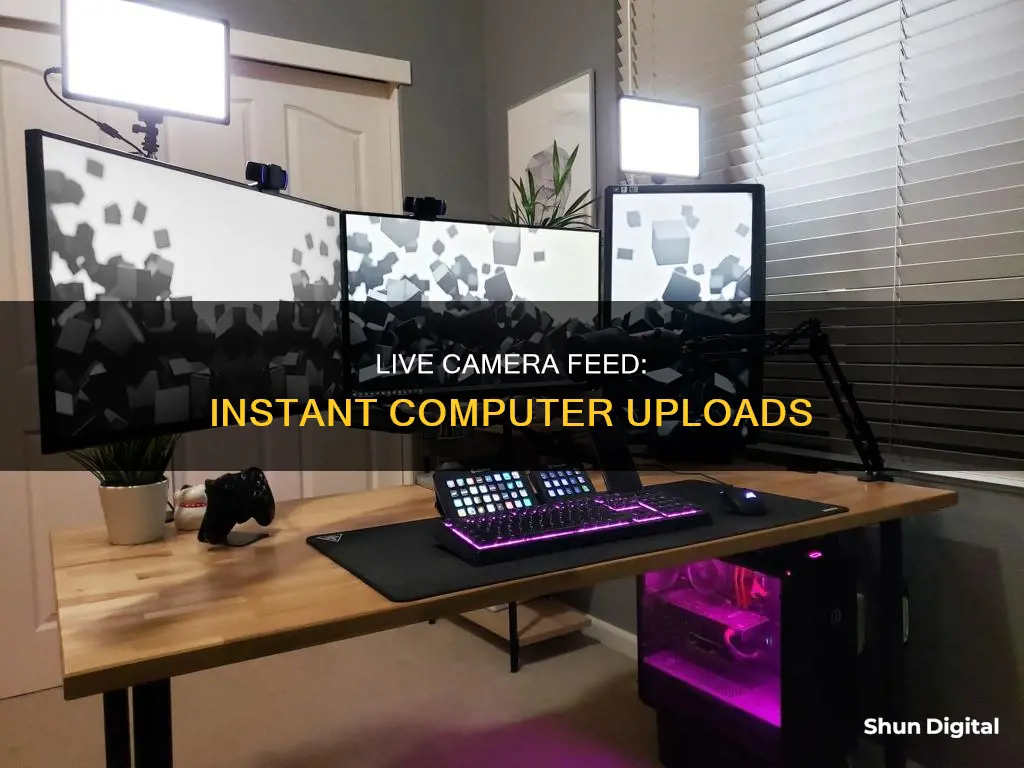
Live streaming is a popular method of content creation that allows broadcasters to attract and connect with viewers in a way no other medium can. One of the easiest ways to level up the quality of live-streamed content is to use a video camera instead of a computer's built-in webcam. By using a mirrorless or DSLR camera as a webcam, you can instantly boost the quality of your video creation projects.
To set up a live camera feed, you will need a reliable online video platform, a high-quality camera, and a stable internet connection. You may also need a microphone, especially if audio is important to your live stream. Once you have your equipment set up, you can connect your camera to your computer using a USB cable or HDMI interface unit and start streaming!
| Characteristics | Values |
|---|---|
| Camera | Webcam, DSLR, mirrorless camera, video camera |
| Camera Accessories | Microphone, teleprompter, portable lights |
| Connection | USB, HDMI, Wi-Fi |
| Software | OBS, vMix, Wirecast, YouTube Live Streaming, PlayMemories Home |
| Streaming Platform | Dacast, YouTube |
| Streaming Quality | 720p at 24fps, 480p, 1080p, 4K |
What You'll Learn
![]()
Using a USB cable to connect your camera to your computer
To connect your camera to your computer using a USB cable, you will need to ensure you have the correct USB cable for your camera. Most camera manufacturers include the necessary cable in the box, but if you cannot find it, you will need to purchase a replacement cable that fits your camera model.
Once you have the correct cable, follow these steps:
- Turn on your computer.
- Connect the USB cable to your camera. The port on your camera may be hidden under a plastic flap, so check your camera carefully.
- Connect the other end of the USB cable to an open USB port on your computer.
- Turn on your camera. Your computer should recognize it immediately. If not, you may need to switch your camera to "Review" mode or select a specific USB Connection or Transfer mode setting in the camera menu (e.g., Mass Storage, Media Transfer Protocol (MTP), or Auto).
- On your computer, open the relevant folder to view the files on your camera. This may be the "AutoPlay" window or the "File Explorer."
- Select the photos or files you want to transfer. You can usually do this by clicking on each file, or by pressing CTRL + A to select all.
- Drag and drop the selected files to a new location on your computer, such as the "Pictures" folder or a new folder.
- Once the transfer is complete, safely eject your camera from the computer and unplug the USB cable.
This process may vary slightly depending on your specific camera model and computer operating system, but the basic steps of connecting the camera, selecting the files, and transferring them to your computer should remain the same.
Mounting a Battery Plate: A Guide for Cameramen
You may want to see also
![]()
Using an SD card to transfer images from your camera to your computer
Using an SD card is a straightforward way to transfer images from your camera to your computer. Here is a step-by-step guide:
Step 1: Remove the SD Card from Your Camera
Firstly, open the panel on your camera that contains the internal storage. Press the SD card to unlock it from your device.
Step 2: Insert the SD Card into Your Computer
If your computer has a built-in SD card reader, insert the SD card into the corresponding slot. If your computer lacks an SD card reader, you can purchase an external SD card reader that connects to your computer via USB.
Step 3: Access the SD Card on Your Computer
On a Windows computer, right-click the Start menu and select "File Explorer". From the left panel in the File Explorer window, click on your SD card. If you are using a Mac, open the "Finder" and locate your SD card in the left panel of the Finder window.
Step 4: Select the Images You Want to Transfer
Open the DCIM folder on your SD card to locate your photos. You can select individual photos or press "Ctrl + A" (on Windows) or "Cmd + A" (on Mac) to select all the photos in the folder.
Step 5: Transfer the Selected Images
Drag and drop the selected images from your SD card to your desired location on your computer, such as the "Pictures" folder or a new folder. You can also manually copy and paste the images to your desired location.
Step 6: Eject the SD Card (Optional)
Once the image transfer is complete, you can eject the SD card from your computer. On Windows, click the arrow in the bottom-right corner of the taskbar, then click the flash drive icon and select "Eject". On a Mac, locate the SD card in the left panel of the Finder, then click the up-arrow symbol to safely eject it.
Step 7: Return the SD Card to Your Camera (Optional)
After ejecting the SD card, you can insert it back into your camera if needed.
Activeon Action Camera: Swappable Batteries?
You may want to see also
![]()
Using an HDMI interface unit to connect your camera to your computer
To connect your camera to your computer using an HDMI interface unit, you will need the following items:
- A camcorder with an Auto Shut Off (A.Shut Off) Power Save option in the menu and an HDMI output port.
- An HDMI to USB video capture device (not a Sony product).
- An HDMI cable. The type of HDMI cable will depend on your camcorder model and video capture device.
- A computer with streaming software installed.
Firstly, connect one end of the HDMI cable to the camcorder's HDMI output and the other end to the HDMI input of the video capture device. Then, connect the video capture device to your computer using a USB cable. Ensure that the Auto Shut Off feature on your camcorder is set to "Off" or "Never" to prevent it from turning off during the live stream.
Next, turn on your camcorder and open the video/audio settings of the capture/streaming software on your computer. The software should now recognise your camcorder as a webcam, and you should see the live stream from the camcorder on your computer display.
If you are using an external microphone, be sure to select the correct device in your computer's audio settings. If the camcorder menu is appearing on the stream, you can turn off the display by navigating to HDMI Settings -> HDMI Info. Display -> Off.
This method can be used to live stream on platforms such as YouTube, which allow for webcam streaming.
Speeding Tickets by Camera: Do I Pay or Fight?
You may want to see also
![]()
Using a camera as a webcam
The Hardware Solution
If your camera has a USB port, you can use a USB cable to connect it directly to your computer. However, since USB Video Class (UVC) support is a relatively new feature, most cameras with UVC now have a USB-C port.
To set up your camera with UVC support as a webcam:
- Confirm that your camera supports the UVC spec by checking the official listing.
- Plug one end of a compatible USB data cable into your camera and the other end into your computer.
- Select the appropriate USB mode (often called "Webcam" or "Tethering") on your camera.
- Open your preferred video meeting app or streaming platform and choose your connected camera as the video source in the preferences section.
If your camera does not have UVC support, you can still use it as a webcam by relying on manufacturer software. Here are the general steps:
- Download the correct software for your camera model.
- Connect your camera to your computer using a compatible USB data cable.
- Select the correct USB connection mode on your camera.
- Open your chosen video meeting app or streaming platform and select your connected camera as the video source.
The Software Solution
Some software programs can use the video feed from a camera plugged directly into the USB port without requiring an HDMI connection. These software solutions are usually less universal than video cards, but several camera manufacturers, including Canon, Nikon, Sony, Fujifilm, Panasonic, Olympus, and GoPro, have recently released native software solutions.
To use manufacturer software:
- Ensure you have the USB cable that came with your camera.
- Download and install the webcam utility software provided by the camera manufacturer.
- Connect your camera to your computer using the USB cable.
- Launch the webcam utility software and follow any setup instructions.
- Open your preferred video meeting or streaming software and select your camera as the video source in the settings.
The HDMI Solution
If your camera does not have webcam software or a USB data port, but it has an HDMI port that outputs clean video, you will need an HDMI-to-USB adapter or capture card. This method is generally more expensive than using USB, but it can provide higher-quality streaming.
To set up your camera with an HDMI adapter:
- Get an HDMI-to-USB adapter or capture card, such as the Elgato Cam Link 4K, Mirabox Capture Card, or Up Stream Video Capture Adapter.
- Connect the adapter to your camera using a micro-HDMI to HDMI cable.
- Connect the adapter to your computer via USB.
- Turn on your camera and, if available, enable "HDMI" mode in the setup screens.
- Open your preferred streaming or video chat app and select your camera as the video source.
Additional Tips:
- It is recommended to use a tripod or mount to position your camera correctly.
- Consider using an external microphone for better audio quality.
- Ensure your camera is fully charged or plugged into a power source to avoid battery drain during long streaming sessions.
- Some lenses are better for video than others. Wide-angle lenses and lenses with bright apertures are generally good choices.
- Turn off autofocus and auto white balance to prevent your camera from changing colours and focus during the stream.
Camera Tickets: Are They Legally Valid Evidence?
You may want to see also
![]()
Using live streaming software
Live streaming software is an essential program for creating live streams. It allows you to record your content and transmit it to your viewers' devices. It also enables you to mix multiple camera sources to create a professional-looking HD broadcast.
Wirecast
Wirecast is a top-notch streaming program that enables live streaming to any RTMP destination and supports recording streams locally. It is compatible with various capture cards, devices, and camera inputs, and includes features such as live switching, picture-in-picture composition, and audio delay. Wirecast offers two plans: Studio for $35/month and Pro for $46/month.
VMix
VMix is a powerful encoder developed by StudioCoast that supports simultaneous streaming, recording, and output. It offers native support for multi-bitrate streaming and includes a built-in titling tool with animation support. vMix is only available for Windows PCs, with different versions ranging from Basic HD to Pro, starting at $60.
VidBlasterX
VidBlasterX is an RTMP-enabled video production software that enables streaming to most live streaming platforms. It provides multi-channel and multi-camera broadcasting features and uses multi-core CPUs instead of a GPU. VidBlasterX is compatible with Windows and offers three annual subscription plans: Broadcast for $999/year, Broadcast 4K UHD for $4995/year, and Studio for $1995/year.
OBS Studio
OBS Studio is a free and open-source software for video recording and live broadcasting. It supports RTMP broadcasting, switching between multiple sources, capture cards, webcams, chroma-key, and more. OBS is available for Windows, macOS, and Linux and does not support multi-bitrate streaming.
Streamlabs OBS
Streamlabs OBS is another live streaming software based on OBS's open-source programming. It offers advanced features such as a web-based live streaming studio, gamer overlays, and dual output functionality. Streamlabs offers a free version and a paid "Ultra" version for $19/month.
FFmpeg
FFmpeg is a basic but customizable broadcasting software that underwent a major update in April 2024. It is free to download and use and is compatible with Linux, Windows, and macOS.
XSplit Broadcaster
XSplit is a live streaming and video-recording studio with easy-to-use video content creator tools. It offers professional layouts, audio volume management, and multi-scene features. XSplit works with Windows and offers three plans: VCam Premium for $8/month, Broadcaster Premium for $15/month, and Premium Bundle for $20/month.
These live streaming software options provide a range of features and compatibility to meet different needs and budgets.
Bell & Howell Cameras: Are They Worth the Hype?
You may want to see also
Frequently asked questions
You will need a camera, a laptop or computer, and a stable internet connection. You may also need to purchase a power adapter for your camera to avoid battery drain.
First, choose an online video platform that supports live streaming. Next, set up your camera and connect it to your computer or laptop using a USB cable or HDMI interface unit. Then, open your chosen live streaming platform and follow the on-screen instructions to start streaming.
Using a camera as a webcam can instantly boost the quality of your live streams. Cameras offer improved lighting, a shallower depth of field, and more manual settings than a standard webcam. You can also connect accessories such as microphones, teleprompters, and portable lights directly to your camera.
To fix audio sync issues, try connecting your microphone directly to your camera. This ensures that the audio and video are synced before being imported to your computer. If this is not possible, you can manually adjust the audio settings within your live streaming software to align it with the video.