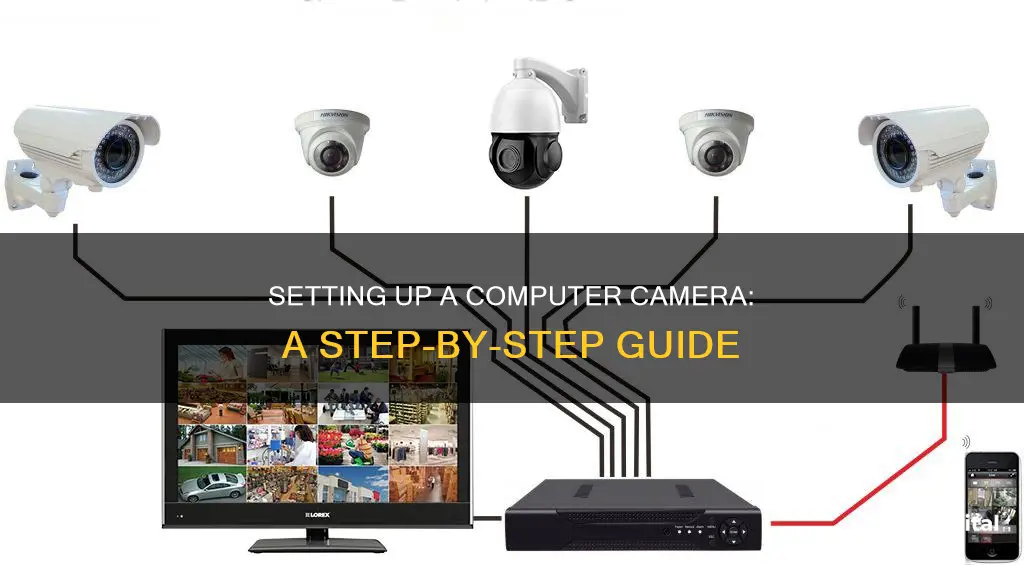
If you're looking to hook up a computer camera, you'll need to connect it to your computer via a USB cable. First, turn on your computer and camera. Then, plug the small end of the USB cable into the camera, and the rectangular end into a USB port on your computer. Once connected, your camera's drivers should install automatically. If not, you may need to install the necessary software using a CD or by downloading it from the manufacturer's website.
| Characteristics | Values |
|---|---|
| Connection type | USB cable |
| Cable shape | Rectangular |
| Cable orientation | Hollow side of the USB should be on top |
| Port location | Back or sides of a laptop |
| Installation | Plug and play |
| Driver installation | Automatic |
| Software installation | Manual |
What You'll Learn

Connecting a camera to a computer
Step 1: Gather the necessary components
To connect your camera to your computer, you will need a USB cable, your camera, and a computer with an open USB slot. Most point-and-shoot cameras use mini-USB connectors, so ensure you have the correct USB cable for your camera. Your camera manufacturer should have included the appropriate cable in the box. If not, you may need to purchase one from an electronics or office supply store.
Step 2: Locate the USB slot on your camera
The USB slot on your camera may be hidden behind a panel or door, designed to blend into the camera's overall design. Look for a USB logo on your camera or near the panel. The USB slot may be in the same compartment as the battery and memory card, so check the sides and bottom of your camera. If you cannot locate the USB slot, refer to your camera's user guide.
Step 3: Connect the USB cable to your camera
Gently slide the USB connector into your camera's USB slot. Ensure that the connector is aligned correctly with the slot; forcing it in the wrong way can damage the cable and camera. Make sure any panel or door protecting the USB slot is fully open to avoid pinching it with the cable. Some cameras have both a USB and an HDMI slot behind the same panel, so double-check that you are using the correct one.
Step 4: Connect the USB cable to your computer
Connect the other end of the USB cable to your computer. It should fit into a standard USB slot, typically found on the back of a computer or the sides of a laptop. Ensure that the hollow side of the USB connector is facing up.
Step 5: Power on your devices
Turn on your camera and computer if they are not already powered on. Your camera may need to be turned on from a dial near the top, depending on the model.
Step 6: Install drivers (if necessary)
Newer computers should automatically recognize and install the necessary drivers for your camera. If your computer does not automatically install the drivers, you may need to download them from the camera manufacturer's website or install them from a CD that came with your camera.
Step 7: Follow on-screen instructions
Once the drivers are installed, a pop-up window should appear with photo-downloading instructions. Select an option and follow the prompts to download or save your photos. You can then access your photos through the "My Computer" or "Devices and Drives" section on your PC.
Troubleshooting
If you are having trouble connecting your camera, ensure that you are using the correct USB cable and that it is firmly connected to both the camera and the computer. Check your camera's user guide for instructions specific to your model. As a last resort, you can take the memory card to a photo processing centre to copy your photos to a CD, which you can then transfer to your computer.
Surveillance Cameras: Effective Crime Prevention for Businesses?
You may want to see also

Finding the USB slot on your camera
To hook up a computer camera, you will need to use a USB cable. USB stands for Universal Serial Bus and is a standard connection interface for PCs and consumer electronic devices.
To connect your camera to your computer, you will need to find the USB slot on your camera. This step can sometimes be tricky as camera manufacturers sometimes hide the slot behind a panel or door, blending it into the overall design of the camera. Many cameras have a USB logo on them, which may be a helpful indicator. The USB slot may also be found in the same compartment as the battery and memory card. It is worth checking the sides and bottom of the camera for the USB slot. If you are still unable to locate it, consult the camera's user guide.
Once you have located the USB slot, connect the USB cable to the camera. The USB connector should slide in fairly easily. Ensure that the connector is aligned with the slot, as trying to insert it the wrong way may damage the cable and the camera. Make sure that any panel or door hiding the USB slot is completely out of the way so that it does not get pinched between the cable and the slot, preventing the connector from being fully inserted.
Now that you have connected the camera, the next step is to plug the other end of the USB cable into your computer. The USB port will typically be found on the side of the computer or at the back/front of the CPU.
Residential Camera Surveillance: Privacy vs. Security
You may want to see also

Connecting a webcam wirelessly
Gather the required equipment:
You will need a webcam, a network cable, and a router that supports both wired and wireless connections. To ensure maximum compatibility, consider buying a webcam made by the same company as your router.
Gather network information:
You will need information about your wireless network during setup, including the network name or Service Set Identifier (SSID), the type of security the network uses (WEP or WPA), the key length or encryption algorithm, and the shared encryption key or passphrase.
Decide on webcam placement:
Choose a location for your webcam, ensuring there is a nearby power outlet. If the network cable doesn't reach the router from the webcam's permanent place, you'll need to bring the webcam closer during setup and then move it back later.
Connect the webcam to the router:
Use the network cable to connect the webcam to the router, then plug the webcam into a power source and turn it on. Follow any manufacturer instructions regarding the order of these steps.
Launch the setup software:
Using a computer on the same network, launch the setup software that comes with the webcam. This will usually be a user-friendly wizard that guides you through the process. Set up a strong administrator username and password for the camera to ensure its security over the Internet.
Enter wireless network information:
Input your wireless network information into the setup software. If given the option, choose Infrastructure mode over Ad-Hoc mode. During setup, you'll be provided with the camera's IP address, which you should write down as you'll need it to access the camera later.
Name the camera:
Give the camera a memorable name, especially if you plan to add more cameras to your network later.
Power down the camera and disconnect the network cable:
Once the setup wizard is complete, turn off the camera and unplug the network cable.
Test the camera:
Power up the camera again and enter the IP address from earlier into a web browser on a computer connected to the same network. If all goes well, you should see the picture from your camera.
If you want to make the camera accessible from outside your network (over the Internet), you may need to set up a unique Public IP address. Refer to your webcam's documentation for instructions.
And that's it! You've successfully connected your webcam wirelessly and can now access it from anywhere in the world with an Internet connection.
Fight Traffic Camera Tickets: Iowa's Legal Options
You may want to see also

Connecting a webcam via USB
Connecting a webcam to your computer or laptop is a straightforward process. Most webcams connect to your device via a USB cable. If your webcam doesn't have a USB cable, you can purchase one separately.
To connect your webcam:
- Plug the USB cable into the USB port on your computer. If your computer is a desktop, the USB port will typically be located at the back or front of the system unit. For laptops, USB ports are usually on the sides.
- If the cable doesn't fit into the USB port, try turning it 180 degrees. USB cables only fit into the port in one orientation.
- If you have a Mac, you may need to purchase a USB-to-USB-C adapter to connect certain webcams.
Once you've connected your webcam, your device should automatically detect it and install the necessary drivers. If not, you may need to manually install the drivers from the webcam manufacturer's website.
After your device has detected the webcam and installed the necessary software, you can test it using a camera application. On Windows, you can use the Camera app, and on macOS, you can use the Photobooth app.
Focusing Your LG K20 V Camera: Tips and Tricks
You may want to see also

Installing the webcam's software
Installing the webcam software is a straightforward process. The first step is to insert the disk that came with the webcam. If there is no disk, simply plug the webcam into your computer and Windows will recognise it as new hardware and install the drivers automatically.
If you are using Windows 7, you will need to download the software from the Logitech Webcams support site. For other operating systems, you can download the latest drivers from the manufacturer's website.
For a Logitech camera, you will need to download the Logitech camera drivers from the VSS website. Then, open Windows Explorer and navigate to the Downloads directory. Double-click the relevant file and follow the installation instructions.
If you are installing a Sony Visual Communications Camera, the drivers should install automatically. If not, you can follow the procedure to reinstall the drivers: click Start, then Control Panel, then System and Security, then Device Manager. From there, click on Imaging Devices, select the camera, and uninstall it. Restart your computer and the drivers should install automatically.
Attaching a Mod Camera Strap: A Quick Guide
You may want to see also
Frequently asked questions
Most webcams connect to a computer through a USB port. You will need to attach the USB cable to the camera and the computer. If your camera has a CD, you may need to install the software before use.
If your computer doesn't automatically detect the camera, you may need to install the driver software. You can usually find this on the webcam manufacturer's website.
No, if your camera came with a CD, you can install the software using that. If not, you can download the software from the manufacturer's website.
If you don't have any free USB ports, you can buy a webcam with a built-in WiFi connection. You will need to connect the webcam to your router with an Ethernet cable to configure the wireless feature.


