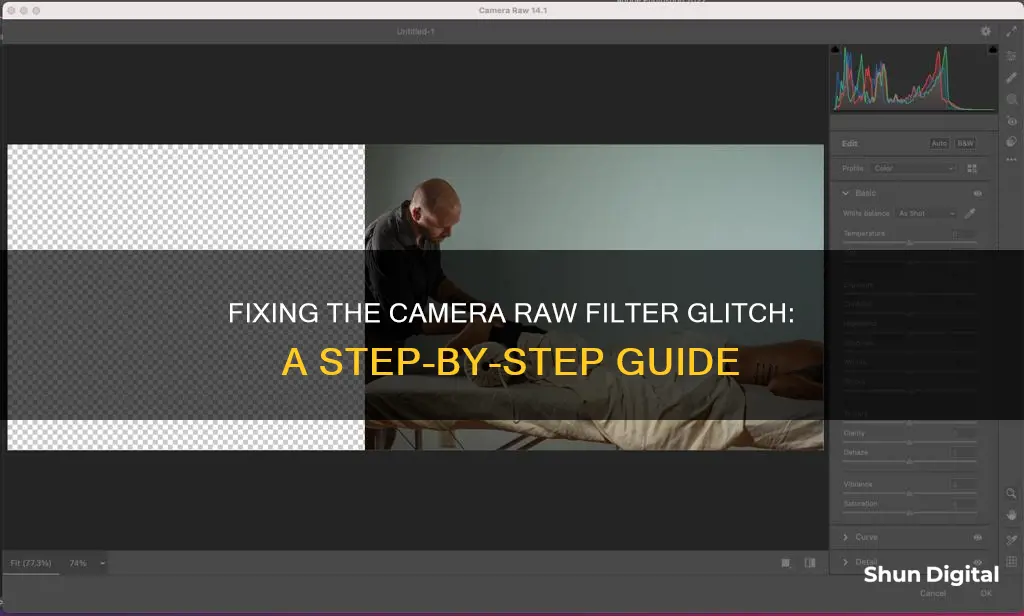
Many users have reported issues with the Camera Raw Filter, with error messages such as Could not complete the Camera Raw Filter command because of a disk error or Could not complete your request because of a program error. This issue has been observed across different versions of Photoshop, including CC 2017, CC 2018, and CC. While some users have found temporary solutions, such as creating a new user account or reinstalling the Camera Raw plugin, others have had to perform a fresh installation of Photoshop or even reformat their hard drive to resolve the issue.
| Characteristics | Values |
|---|---|
| Error Message | "Could not complete the Camera Raw Filter command because of a disk error" |
| Cause | Missing ACR plugin, outdated camera raw plugin, or user account-related |
| Solutions | Reinstall camera raw plugin, update camera raw plugin, create a new user account, use Adobe Creative Cloud Cleaner Tool, increase RAM usage, disable GPU acceleration |
What You'll Learn
![]()
Reinstalling the camera raw plugin
If you are facing issues with the Camera Raw Filter, you may need to reinstall the Camera Raw plugin. Here is a step-by-step guide on how to do that:
Windows
- Exit all Adobe applications. This is important to ensure a smooth installation process without any conflicts.
- Download the appropriate installer file. Visit the official Adobe website to download the latest Camera Raw installer that is compatible with your Adobe application and operating system.
- Locate the downloaded file. The file will typically be in your "Downloads" folder, unless you specified a different location during the download.
- Unzip the downloaded file. Double-click on the .zip file to extract its contents. In some cases, Windows might automatically unzip the file for you.
- Double-click on the extracted .exe file. This will initiate the installation process.
- Follow the on-screen instructions. The installer will provide you with instructions to complete the installation.
- Restart your Adobe applications. Once the installation is successful, relaunch your Adobe applications, such as Photoshop or Bridge.
MacOS
- Quit all Adobe applications. Ensure that no Adobe applications are running in the background.
- Download the appropriate installer file for your macOS version and Adobe application.
- Locate the downloaded file. It will usually be in your "Downloads" folder.
- Click on the downloaded .dmg file. Depending on the version, you may need to double-click on a .zip file within to unzip it first.
- Double-click on the .pkg file. This will start the installation process.
- Follow the on-screen instructions. These will guide you through the installation process.
- Restart your Adobe applications. After the installation is complete, relaunch your Adobe applications.
If you are still encountering issues with the Camera Raw Filter, there may be other factors at play. It is recommended to seek further troubleshooting advice from official Adobe support channels or community forums.
Eufy Camera Charging: Mounting Prep or Not?
You may want to see also
![]()
Using the Adobe Creative Cloud Cleaner Tool
The Adobe Creative Cloud Cleaner Tool is a utility for experienced users to clean up corrupted installations. It can be used to fix many common problems, such as removing old Adobe software, cleaning corrupt installation files, and fixing host files to establish a connection with Adobe servers.
Before using the tool, it is important to take the necessary precautions to avoid potential data loss. This includes backing up relevant folders and files, running the log collector tool, and checking the sync status of your Creative Cloud files. Additionally, make sure to close any open Adobe apps and background processes.
- Download the Adobe Creative Cloud Cleaner Tool for your operating system. For Windows, download the .exe file, and for macOS, download the .dmg file.
- Run the downloaded file. On Windows, right-click the file and choose "Run as Administrator" if available. If not, simply double-click the file to run it. On macOS, double-click the .dmg file and then double-click the Adobe Creative Cloud Cleaner Tool file.
- Follow the onscreen instructions:
- Choose your language by typing "e" for English or "j" for Japanese, then press Enter.
- Review the Adobe End-User License Agreement by typing "y" to accept or "n" to decline, then press Enter.
- Select the product or app you want to remove or clean up by typing the corresponding number and pressing Enter.
- Confirm that you want to remove the entry by typing "y" and pressing Enter.
- If you're having trouble connecting to Adobe's servers, you can fix your host file. After accepting the license agreement, type "12" to select the host file option, then confirm by typing "y" and pressing Enter.
- Once you see the message "Adobe Creative Cloud Cleaner Tool completed successfully," press Enter and restart your computer.
After running the Adobe Creative Cloud Cleaner Tool, you can proceed to install your desired Creative Cloud or Creative Suite application.
Charging Enel3e Camera Battery: Alternative Methods to Try
You may want to see also
![]()
Creating a new user account
If you are encountering the "Could not complete the Camera Raw Filter command because of a disk error" message when trying to open the Camera Raw Filter in Photoshop, one solution is to create a new user account. This issue may be specific to your current user account, so creating a new one may resolve the problem. Here is a step-by-step guide on how to create a new user account on a Windows device:
Step 1: Open the Settings App
On your Windows device, open the Settings app. You can do this by clicking the Start button and then selecting the Settings icon, or by searching for "Settings" in the Start menu search bar.
Step 2: Navigate to Accounts
In the Settings app, look for and select the "Accounts" option. This should expand to show additional options.
Step 3: Select "Other User" or "Add a User"
Depending on your version of Windows, you may see either "Other User" or "Add a User." Select this option to proceed.
Step 4: Enter Account Information
You will now be prompted to enter the account information for the new user. If the person already has a Microsoft account, enter their email address. If they don't have a Microsoft account, you can use their email address to create one or create a local account without a Microsoft account.
Step 5: Follow the On-Screen Instructions
Follow the on-screen instructions to complete the account setup process. You may be asked to provide additional information or make certain selections.
Step 6: Configure Account Privileges (Optional)
If you are setting up the account for a child, you can limit their privileges to maintain privacy and security. You can do this by checking the "This is a child's account" option during the setup process or by modifying the account privileges later.
By following these steps, you can create a new user account on your Windows device. This may help resolve the "Could not complete the Camera Raw Filter" issue you are encountering. It is recommended to try this solution before proceeding with more advanced troubleshooting steps.
Charging the DSC-S780 Camera: A Step-by-Step Guide
You may want to see also
![]()
Updating the camera raw plugin
For Windows:
- Quit all Adobe applications.
- Download the appropriate file and double-click the downloaded .zip file to unzip it. Windows might unzip the file for you.
- Double-click the resulting .exe file to start the installer.
- Follow the onscreen instructions.
- Restart your Adobe applications.
For macOS:
- Quit all Adobe applications.
- Click the downloaded .dmg file. In the case of Camera Raw 10.5, double-click the .zip file to unzip it.
- Double-click the .pkg file to start the installer.
- Follow the onscreen instructions.
- Restart your Adobe applications.
Alternatively, for Photoshop CS6, simply open the Adobe Creative Cloud app, click on the "Updates" tab, select the "Camera Raw" update, and click "Install."
It is important to keep your software up to date to maintain optimal performance and security. Updating Camera Raw in Photoshop CS6 may cause unexpected errors or crashes, so it is recommended to back up your files before proceeding.
The Rebel T6 Camera Battery: How Long Does It Last?
You may want to see also
![]()
Resetting preferences
Resetting your Camera Raw preferences can be helpful when encountering errors with the Camera Raw Filter command. This can be done by following these steps:
For macOS:
- Hold down the Command key.
- Go to Photoshop > Preferences > Camera Raw.
- Click 'Camera Raw' while still holding the Control key.
- Click 'Yes' when asked if you want to delete the Camera Raw preferences.
For Windows:
- Hold down the Ctrl key.
- Go to Edit > Preferences > Camera Raw.
- Click 'Yes' when asked if you want to delete the Camera Raw preferences.
New preference files will then be created in their original locations.
In addition to resetting preferences, you may also want to try reinstalling the Camera Raw plugin, as this has been known to resolve issues with the Camera Raw Filter command.
Travel Tips: Wrapping Camera Batteries for Safe Journeys
You may want to see also
Frequently asked questions
Try reinstalling the camera raw plugin. You can also try unchecking the "use graphics processor" box in Camera Raw Preferences.
Try creating a new user account and opening Photoshop with that account. If that doesn't work, use the Adobe Creative Cloud Cleaner Tool to uninstall Photoshop, then go to Library/Application Support/Adobe and delete the Photoshop and Camera Raw folders before reinstalling Photoshop CC.
It looks like your ACR plugin is missing. You can download and run the ACR standalone installer.
Try using the Adobe Creative Cloud Cleaner Tool to uninstall Photoshop, then go to your C drive and delete any Camera Raw files before reinstalling.