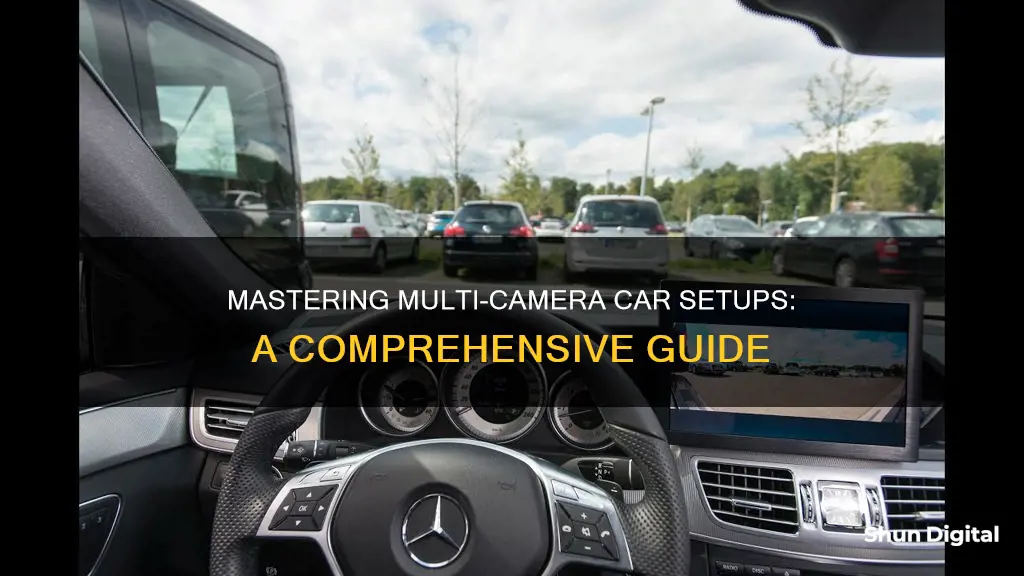
Running multiple cameras in a car can be a complex process, but it is possible to achieve. The number of cameras, their placement, and the desired functionality will all factor into the setup process. For example, you may want cameras that automatically turn on when reversing or using a turn signal, or you might prefer manual control. In addition, you will need to consider how to display the camera feeds, whether on a dedicated screen or by integrating them with a suitable head unit. While some head units can support multiple camera inputs, others may require the use of a video splitter or a camera app to manage multiple feeds.
| Characteristics | Values |
|---|---|
| Number of Cameras | 2-4 |
| Camera Placement | Front, Rear, Sides |
| Camera Functionality | Backup, Clearance, Obstacle View |
| Display Options | Single/Split Screen, Quad View |
| Connection Type | Wired, Wireless |
| Components | Video Splitter, Camera Interface Box, Multiplexer, RCA Video Switch |
| Power Source | Turn Signals, Reverse Lights, Dedicated Power Cable |
| Switching Mechanism | Manual, Automatic |
| Budget | $200-$1000 |
What You'll Learn
- Using a wireless transmitter to monitor multiple cameras
- Using a video splitter to connect multiple cameras
- Using a camera interface box to determine what is seen by the head unit
- Using a relay switch to manually turn on the backup camera when driving forward
- Using a quad-view screen and camera package to view multiple cameras at once

Using a wireless transmitter to monitor multiple cameras
Wireless video monitoring systems are a great way to monitor multiple cameras in a car without the hassle of cables. These systems consist of wireless transmitters and receivers that send and receive signals to and from a base station, which is often a monitor, recorder, or portable device. When choosing a wireless transmitter, there are several factors to consider:
- Line-of-sight distance: This refers to the maximum guaranteed distance between the transmitter and receiver. For example, the Teradek Ace 500 has a line-of-sight range of 500 feet to a Bolt receiver. Longer distances are ideal for cameras in hard-to-reach places, such as on cranes or car mounts. Keep in mind that obstacles between the transmitter and receiver, such as walls or landscape, can degrade the signal.
- Latency: If you're working with high-resolution video, latency becomes an important factor to maintain video quality.
- Number of receivers: Many professional transmitters can transmit to multiple receivers simultaneously. For instance, Teradek's Bolt 4K 1500 transmitter/receivers support transmission to up to six receivers. This allows you to send video to multiple people, such as the focus puller, director, and producer.
- Inputs and outputs: Consider what types of inputs and outputs you require, such as HDMI, SDI, or Wi-Fi.
- Transmission resolution: Most professional transmission systems support input and transmission up to 1080p, while some advanced systems, like the Bolt 4K series, support up to 4K video without any loss of quality.
When setting up a wireless monitoring system for multiple cameras in a car, it's important to consider the range and signal stability. Metal panels and electronics in cars can interfere with the transmitter, so it's recommended to mount the transmitter up high and away from metal surfaces. Additionally, using a high-end system that employs microwaves can help ensure a more stable signal.
- Teradek Bolt 6 LT 750 3G-SDI/HDMI Transmitter/Receiver Kit: This system supports the new 6 GHz frequency band and transmits up to 750 feet line-of-sight. It also supports up to 4K30 resolution input.
- Hollyland Mars 4K Wireless Transmission System: This system can transmit up to UHD 4K30 video up to 450 feet and supports SDI and HDMI inputs and outputs. It also features smart channel scanning and a touchscreen LCD.
- Blackmagic Design Multiview: This product allows you to monitor multiple cameras on one screen.
- Decimator DMON-QUAD MultiViewer: Another multiview product that can display four camera feeds at once.
- DJI Wireless Monitors: DJI offers wireless monitors that generally receive positive reviews.
By utilising wireless transmitters and receivers, you can effectively monitor multiple cameras in a car without the constraints of cables, providing flexibility and convenience for your video production needs.
Access Bunker Hill Cameras on Your Computer
You may want to see also

Using a video splitter to connect multiple cameras
Using a video splitter is one way to connect multiple cameras to your car's head unit. A video splitter will combine multiple video feeds into one image, allowing you to view footage from different cameras simultaneously.
To use a video splitter, you will need to connect the splitter to your head unit and then connect each of your cameras to the splitter. You can find video splitters with different numbers of inputs, so be sure to select one that accommodates the number of cameras you plan to use. Some video splitters also offer additional features, such as remote controls or the ability to display multiple cameras on a single screen.
When purchasing a video splitter, it is important to consider the type of connections required. Some splitters use RCA connections, while others may use BNC or other types of connections. Ensure that the splitter you choose is compatible with your cameras and head unit.
Additionally, pay attention to the power requirements of the video splitter. Some splitters may require a constant power source, while others may be powered through the head unit or camera connections.
It is also worth noting that using a video splitter may result in a degraded video signal. This can be mitigated by using a video splitter with amplification capabilities or by ensuring that your camera and head unit are properly configured to optimise the video signal.
Overall, a video splitter can be a useful solution for connecting multiple cameras to your car's head unit, offering the ability to view multiple camera feeds simultaneously and providing a more comprehensive view of your surroundings.
Surveillance in Vegas: Are Parking Lots Being Watched?
You may want to see also

Using a camera interface box to determine what is seen by the head unit
Using a camera interface box, or a video interface box, is a way to connect multiple cameras to a single head unit. This is a good option if you want to view all the cameras on one screen and be able to switch between them.
A camera interface box takes the video signal from each of the cameras and combines them into a single signal that can be sent to the head unit. This means that you can have multiple cameras connected to the box, and then select which one you want to view on the head unit.
The specific way to set this up will depend on the type of camera interface box and head unit you are using. However, generally, you will need to connect the video output of each camera to the interface box, and then connect the output of the interface box to the head unit.
You may also need to connect the interface box to a power source, such as the car's battery. Once everything is connected, you should be able to use the controls on the head unit or interface box to switch between the different cameras.
It is important to note that when using a camera interface box, the quality of the video signal may be reduced. This is because the signal is being split and combined, which can result in a loss of quality. Additionally, the number of cameras you can connect may be limited by the number of inputs on the interface box.
Focusing Your Camera Solo: The Ultimate Guide
You may want to see also

Using a relay switch to manually turn on the backup camera when driving forward
To manually turn on a backup camera while driving forward, you can use a relay switch. This setup will allow you to view the rear camera even when your car is not in reverse. Here's a step-by-step guide on how to achieve this:
Step 1: Understanding Your Vehicle's Electrical System
Before starting the installation, it's crucial to understand your vehicle's electrical system. Familiarize yourself with the wiring diagram specific to your car make and model. Additionally, consult a mechanic to ensure that your vehicle's electrical system can handle the additional power drain from the continuously running backup camera.
Step 2: Choosing the Right Camera
Select a backup camera that is powered independently of the reverse light. This is essential because you want to use the camera while driving forward, and the reverse light power source will only activate when the car is in reverse. A universal license plate-style backup camera or a Wi-Fi-enabled smartphone backup camera are standard options that will get the job done.
Step 3: Gathering the Necessary Tools and Materials
To install the backup camera and relay switch, you'll need the following tools and materials:
- Hand drill with high-speed drill bits coated with titanium oxide
- Wrench set or an adjustable wrench
- Standard wire stripper/crimper
- Socket or nut runner set
- Rubber grommets for camera installation
- Relay switch
- Electrical tape
Step 4: Installing the Camera
Remove the interior panel of your trunk and your license plate to access the wiring. Drill a hole and insert a rubber grommet to run the camera and power cables through. Mount the camera just above or on your license plate, ensuring it doesn't block your license plate number.
Step 5: Connecting the Relay Switch
Locate the running lights wiring in your car, which will provide continuous power to the backup camera. Strip the positive and negative wires on the running lights cable and splice in the power cable for your backup camera. Ensure positive connects to positive and negative to negative. Cover the connections with electrical tape.
Step 6: Mounting the Monitor
Follow the instructions provided with your chosen monitor to mount it. It may be mounted to your rearview mirror or dashboard, depending on your preference and the kit you've chosen.
Step 7: Connecting the Camera and Monitor
Connect the RCA cable from the camera to the RCA output on the monitor. You may also need to run a trigger wire or power the monitor through the same source as the backup camera. Refer to the specific instructions for your monitor model.
Step 8: Testing and Adjustments
Once the installation is complete, power on the monitor and test the rearview camera to ensure a clear video stream. Remember to only use the camera when necessary and power it off when not in use to reduce battery drain.
Additionally, consider adding switches to the circuits to enable viewing the cameras even when the car is not running. This provides added flexibility and convenience.
By following these steps and using a relay switch, you can manually turn on your backup camera while driving forward, enhancing your visibility and safety on the road.
Dual Focus Camera: Capturing Two Images at Once
You may want to see also

Using a quad-view screen and camera package to view multiple cameras at once
Using a quad-view screen and camera package is a great way to view multiple cameras at once and enhance your vehicle's safety. This setup typically involves a standalone LCD screen that can capture up to four separate target areas around your vehicle simultaneously. The quad-view screen is usually paired with a backup camera system, allowing you to see any blind spots and make parking easier.
The first step is to choose a suitable quad-view screen and camera package. There are many options available, such as the Pyle PLCMTRDVR48, which offers a 7-inch quad-view LCD display with waterproof-rated round and square rearview backup cameras. It also includes DVR recording and night vision illumination. Another option is the Rear View Safety RVS-4CAM, which features a 7-inch quad-view display, digital wireless connectivity, and the ability to connect and view up to four cameras simultaneously.
Once you've selected your package, you'll need to install the cameras and connect them to the quad-view screen. The cameras should be positioned correctly, covering the desired surveillance areas. You'll also need to connect the cameras to a power source, such as the vehicle's fuse box or cigarette lighter. The quad-view screen will also need to be mounted in a suitable location within your vehicle, and it will require a power source as well.
After installation, you can configure the quad-view screen to display the camera feeds. You'll be able to select different viewing options, such as single, split-screen, or quad view, allowing you to monitor multiple areas at once. Some systems may also offer features like adjustable distance grid lines and recording capabilities, allowing you to record footage from each camera onto an SD card.
It's important to note that you may need professional installation for certain components, especially if you're not comfortable with the technical aspects of the setup. Additionally, always refer to the user manuals and instructions provided with your specific quad-view screen and camera package for detailed installation and configuration steps.
Car Cameras in California: Are They Legal?
You may want to see also
Frequently asked questions
You can use a video splitter, turn signal interface, or a camera interface box.
No, a video splitter will combine feeds from two cameras into one image.
You can use a quad switcher or a video interface unit.
You can trigger the side cameras with the blinkers, which can run through a delay-off relay to keep continuous power.


