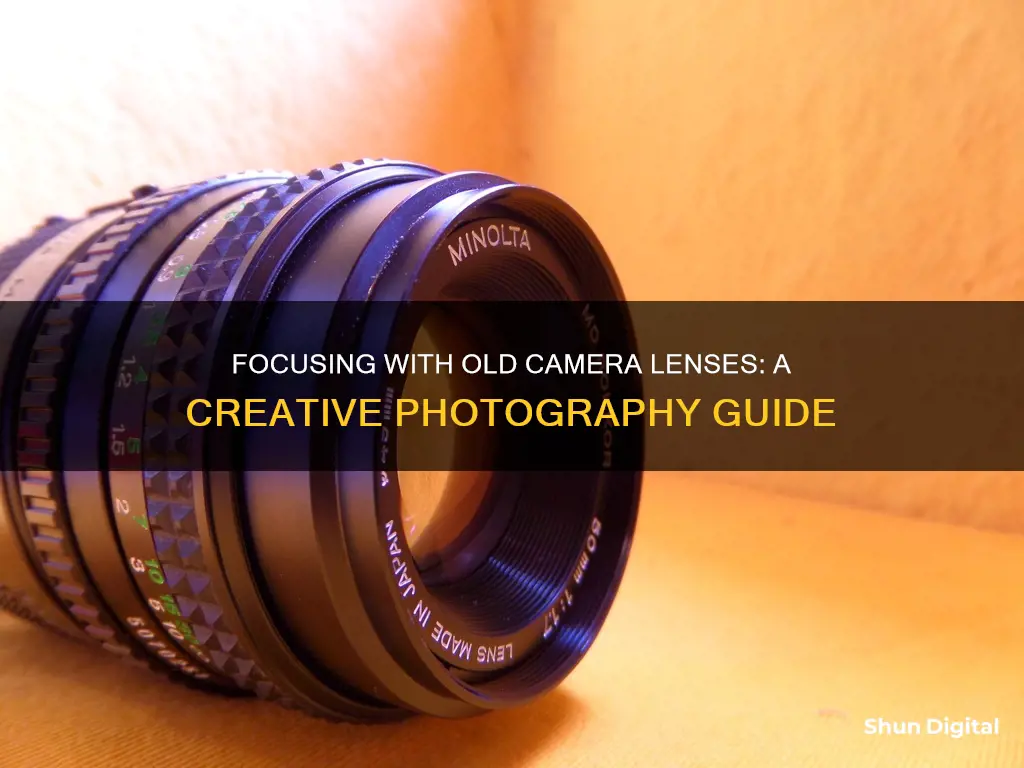
Focusing with an old camera lens can be challenging, but it's a great way to experiment with different lenses and create unique photographs. While modern autofocus systems are convenient, using manual focus lenses can slow you down and force you to compose your images more carefully. In this guide, we will discuss the process of focusing with an old camera lens, including the benefits and potential issues you may encounter. We will also provide tips on adapting different lenses to your camera and overcoming common challenges with manual focus.
| Characteristics | Values |
|---|---|
| Cost | Older lenses are cheaper than modern lenses |
| Image | Older lenses produce a unique image with different colour rendition, sharpness, and bokeh rendition |
| Focus | Older lenses require manual focus, which can slow you down and help you compose your image more carefully |
| Metering | Older lenses require the use of Stop-Down Metering, which involves adjusting the aperture ring and aperture manually |
| Camera modes | Older lenses are only usable in Manual and Aperture Priority modes |
| Exposure | Older lenses may require exposure compensation |
| Focusing screens | Older lenses may require a different focusing screen, as modern DSLRs are designed with autofocus in mind |
| Adapters | Older lenses may require an adapter to fit your camera, which may include a chip to enable focus confirmation |
What You'll Learn

Understand the physics of interchanging lenses from different systems
To understand the physics of interchanging lenses from different systems, it is important to first understand the basic mechanics of how a camera lens works. Camera lenses are made of glass or plastic that refracts light and come in two types: convex and concave. Convex lenses are thicker in the centre and thinner around the edges, allowing them to focus light. Concave lenses, on the other hand, are thinner in the centre and thicker on the edges, causing them to disperse light.
When taking a picture, the lens forms an image of the three-dimensional world on the image sensor. This process inevitably leads to a deviation from ideal image formation, known as an "aberration", which can manifest as colour blurring, a colour shift, or image distortion. To correct for these aberrations, multiple lenses must be used in conjunction with each other. A single interchangeable lens can contain 20 or more convex and concave elements arranged to minimise aberrations.
Now, let's delve into the specifics of interchanging lenses from different systems. The key factor to consider is the Flange Focal Distance, or Register. This is the distance between the mounting flange of your camera body and the sensor or film plane. In general, you can adapt a lens with a larger register to a camera with a smaller register without the need for corrective optics. However, adapting a lens with a shorter register to a camera with a longer register requires an optical adapter, which will degrade image quality and introduce a slight focal length multiplier.
Another important consideration is the diameter of the lens mounts. Using a lens from a system with a smaller flange diameter on a system with a wider flange will result in a smaller image circle, leading to faster light drop-off towards the edges and creating a vignette or unusable image. Therefore, it is generally advisable to use similar or larger mount diameters to avoid detrimental effects on image quality.
Additionally, when interchanging lenses from different systems, functional issues may arise due to the lack of electrical connectivity between the lens and the camera. This can affect metering, as most modern cameras rely on an electrical connection to receive aperture information. To overcome this limitation, photographers may need to use Stop-Down Metering, a process that involves manually setting the aperture and focusing before taking the picture.
In summary, by understanding the physics of lens design and the specific considerations for adapting lenses from different systems, photographers can successfully interchange lenses to achieve their desired results.
Camera Lenses: Understanding the Basics of Photography
You may want to see also

Learn about the Flange Focal Distance, or Register
Flange Focal Distance (FFD) is the distance from the mounting flange of your camera body to the sensor or film plane. In other words, it is the distance the lens needs to be mounted from the film plane. This distance varies between cameras and lens mounts, which explains the depth or thickness of lens mount adapters.
The flange focal distance is also known as the flange-to-film distance, flange focal depth, flange back distance (FBD), flange focal length (FFL), back focus or register, depending on the usage and source.
For interchangeable lens cameras, the flange focal distance is the distance from the mounting flange (the interlocking metal rings on the camera and the rear of the lens) to the film or image sensor plane. This value is different for different camera systems and is usually measured to a precision of hundredths of millimetres.
The flange focal distance is one of the key measurements defining a particular lens mount standard. Rangefinder cameras and modern mirrorless digital models accepting interchangeable lenses typically have shorter lens registers than SLRs, because SLRs must leave extra body depth for the reflex mirror. The flange focal distance is the determining factor in a camera's thickness.
Lenses can be adapted from one mount (and respective FFD) to another. FFD determines whether infinity focus can be achieved with a simple non-optical adapter. Optics to correct for distance introduce more cost and can lower image quality, so non-optical lens adapters are preferred. A simple non-optical adapter holds the longer FFD lens the appropriate additional distance away from the sensor or film on the shorter FFD camera.
A camera body with a shorter FFD can accept a larger number of lenses (those with a longer FFD) by using a simple adapter. Conversely, a lens with a longer FFD can be more readily adapted to a larger number of camera bodies (those with a shorter FFD). If the difference is small, other factors such as the sizes and positions of the mounting flanges will influence whether a lens can be adapted without optics. Typically, camera bodies with shorter flange focal distances can be adapted more readily to lenses with longer flange focal distances.
When adapting lenses, it is important to ensure that the flange focal distance of the lens is greater than that of the camera body it is being adapted to, in order to allow room for the adapter.
Sigma Lenses: Compatible with Full-Frame Cameras?
You may want to see also

Know how to use Stop-Down Metering
Stop-down metering is a technique used when a camera cannot correctly measure exposure on certain lenses, usually older ones. It is also needed when using any lens/camera combination where you have to do manual metering.
To use stop-down metering, follow these steps:
- Set the aperture ring on the lens to the widest available aperture.
- Focus the lens.
- Change the aperture on the lens to the desired aperture.
- The viewfinder will get dim, but the camera can now meter to calculate exposure and also functions as a depth-of-field preview.
- Take the picture.
These steps need to be repeated for each new shot.
Stop-down metering is required when using older lenses on modern cameras, as the metering will not work properly due to a lack of electrical connectivity between the lens and camera. The camera relies on an electrical connection to provide aperture information.
Using stop-down metering means that only the Manual and Aperture Priority camera modes will be available. In Manual mode, you set the aperture and then adjust the shutter speed. In Aperture Priority, the camera functions as normal, and you just need to stop down the aperture and the camera chooses the exposure.
When using older lenses, you may need to use Exposure Compensation in Aperture Priority mode, or slightly under/over-expose in Manual mode, as the camera's recommended exposure may be incorrect.
Olympus Lenses: Universal Fit for All Olympus Cameras?
You may want to see also

Understand the limitations of modern DSLRs
DSLRs have been the go-to camera for professionals and enthusiasts for many years, but they have limitations that newer cameras, particularly mirrorless cameras, do not.
DSLR development has essentially stopped, with camera brands instead focusing their R&D efforts on mirrorless technology. This means that DSLRs have hit an innovation wall and are unlikely to improve beyond their current capabilities. For example, it is difficult to implement IBIS (In-Body Image Stabilisation) on a DSLR without causing issues with the viewfinder.
DSLRs also have physical and technological limitations that prevent their autofocus systems from reaching a whole new level. In comparison, mirrorless cameras have a huge amount of room for innovation. For example, the Canon EOS R5/R6 and Sony A1 have advanced autofocus systems that utilise machine learning and AI. These systems will only get smarter and more automated, taking away the complexity of using an advanced camera.
DSLRs also have limitations when it comes to video capabilities. While you can shoot video on a DSLR, mirrorless cameras offer a lot more advanced features, such as better optics due to reduced flange distance.
Another limitation of DSLRs is their weight and bulkiness. This can make them uncomfortable to hold for long periods and more difficult to carry around compared to smaller, lighter mirrorless cameras.
Finally, DSLRs are likely to become obsolete in the future as mirrorless technology advances and becomes the standard. This means that, at some point, it may be difficult or expensive to buy a new DSLR or find lenses and accessories that are compatible with your DSLR.
Camera Lenses: Do They Age Like Wine or Rust?
You may want to see also

Learn how to use manual focus lenses for video
Manual focus lenses can be a great tool for videography, giving you complete control over the aperture and focus. Here are some tips for using manual focus lenses for video:
Advantages of Manual Focus Lenses for Video
Firstly, let's understand why you may want to use manual focus lenses for video in the first place. Manual focus lenses offer several benefits for videography:
- Complete control over aperture and focus: With manual focus lenses, you can fine-tune the focus by hand, ensuring that your subject is always in perfect sharpness. This level of control is especially useful for video, where maintaining consistent focus is crucial.
- Cost-effectiveness: Manual focus lenses can be much more affordable than modern autofocus lenses, allowing you to expand your lens collection without breaking the bank.
- Unique characteristics: Each lens, modern or old, renders a scene differently. Manual focus lenses can offer interesting optical qualities, such as soft colour rendition or unique bokeh effects, that can enhance your video footage.
- Slowing down your process: Working with manual focus lenses requires you to slow down and carefully compose your shots, which can lead to more thoughtful and deliberate videography.
Choosing the Right Manual Focus Lens
When choosing a manual focus lens for video, consider the following:
- Lens mount compatibility: Ensure that the lens mount of the manual focus lens is compatible with your camera body. You may need to use adapters to attach older lenses to modern camera bodies.
- Image quality: Some adapters may introduce optical elements that can degrade image quality or change the focal length. Choose adapters wisely, and consider investing in high-quality adapters that minimise these issues.
- Focusing screen: Modern DSLRs are designed with autofocus in mind, and their focusing screens may not be optimised for manual focus lenses. Consider upgrading to a split prism focusing screen for better accuracy when focusing manually.
Techniques for Manual Focusing
- Use Live View mode: Most modern cameras offer a Live View mode, where you can preview the scene on the LCD screen. This can be extremely helpful for manual focusing, as it allows you to zoom in and ensure that your subject is in perfect focus.
- Adjust the aperture: Narrowing the aperture gives you a larger margin of error when focusing manually. By shooting at a higher f-stop, you can ensure that your subject remains in focus even if your focus is slightly off.
- Use focus confirmation tools: Some cameras have focus confirmation systems, such as focus peaking or focus magnification, that can assist with manual focusing. These tools can help you achieve precise focus, especially in low-light conditions or when working with shallow depth of field.
- Practice zone focusing: Zone focusing is a technique where you set a narrow aperture and manually focus in advance, so you can quickly capture a shot when the perfect moment arises. This is particularly useful for street photography or videography, where the action is fast-paced and unpredictable.
Scenarios for Using Manual Focus
While manual focus can be used in any situation, there are certain scenarios where it really shines:
- Macro and close-up shots: Manual focus allows you to gain precise control over the focus when working with shallow depth of field, ensuring that your subject is sharp.
- Crowded settings: In busy scenes with multiple similar objects, autofocus may struggle to identify the correct subject. Manual focus gives you the ability to selectively focus on your desired subject.
- Shooting "through" an object: Achieve striking shots by keeping the object closest to the lens out of focus and manually focusing on a subject further away.
- Low-light conditions: Autofocus can struggle in dimly lit environments, but manual focus allows you to carefully adjust the focus and ensure your subject is sharp.
- Landscape videography: When shooting landscapes, autofocus often focuses on the foreground, leaving the rest of the scene blurred. By using autofocus to focus on infinity and then switching to manual focus, you can ensure that distant objects remain in focus.
Canon Cameras: Do They Include Lens Caps?
You may want to see also
Frequently asked questions
You will need to use a mount adapter. Adapters are generally simple rings that feature your native mount bayonet on the back and the receiver bayonet on the front, customised for the mount of the lens you wish to use.
Functional issues include poor metering, as most modern cameras rely on an electrical connection to provide aperture information. You may also find that your camera's autofocus confirmation system does not work with the old lens.
You will need to utilise Stop-Down Metering. First, set the aperture ring on the lens to the widest available aperture. Then focus the lens. Next, change the aperture on the lens to the desired aperture.
Only Manual and Aperture Priority modes will be available to you.
Cost is a big factor, as good manual focus lenses can be found for a fraction of the cost of a modern lens. You may also find that the unique characteristics of the lens, such as its optics and coatings, can have an interesting effect on colour rendition, sharpness, and bokeh rendition.


