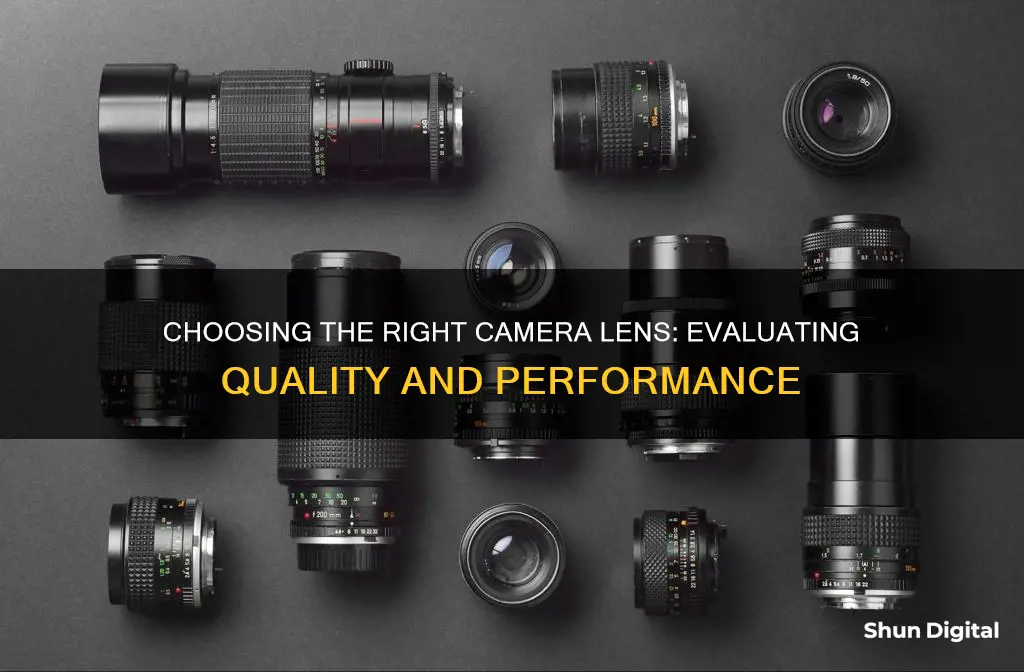
When it comes to evaluating camera lenses, there are a plethora of factors to consider. From sharpness to image stabilisation, and from autofocus to aperture, the world of camera lenses is a complex one.
One of the most important factors to consider is the type of lens you require. Prime lenses are non-zooming and often cheaper and faster, whereas zoom lenses can change focal lengths quickly, making them ideal for events or sports photography.
It's also important to consider the physical condition of the lens. While smaller scratches and a faded coating are usually harmless, bigger scratches or dents could indicate heavy usage and potential problems with functionality.
Other factors to consider include distortion, chromatic aberration, durability, ergonomics, and construction.
Ultimately, the right lens depends on your specific needs and requirements.
What You'll Learn
- Check for decentering by testing the sharpness in each corner of the frame
- Check for sticky aperture blades by cycling from maximum to minimum aperture
- Check for dust, fungus and scratches by using a point light source
- Check the zoom, focus and stabilisation mechanisms for any issues
- Check the mount and filter thread for scratches or damage

Check for decentering by testing the sharpness in each corner of the frame
When testing a lens for sharpness, it is important to check for decentering by testing the sharpness in each corner of the frame. Decentering is when lens elements are poorly aligned on the optical axis, which can lead to inconsistent sharpness. This can cause images to seem soft on one side but not the other, or perhaps one corner is significantly softer than the rest.
To test for decentering, you will need a nicely textured subject (with enough detail to judge the sharpness) that's 30m to 100m away from the camera. Place your camera on a tripod and take 5 test photos: one with your subject in the centre, and one in each of the corners.
First, focus on your subject in the centre of the viewfinder. You can use autofocus, but it's best to use manual focus and live view at maximum magnification. Take a shot and check if the subject is sharp; re-adjust if needed. Then, turn off autofocus and swivel the camera on the tripod so the subject is in one of the extreme corners of the image. Take a shot, and repeat this process for the other three corners.
When reviewing the images, you will get one of the following results:
- The subject is as sharp in the 4 corners as it was in the middle of the image. Perfect lens. Not decentered.
- All four shots are softer in the corner but quite equally so. This can be the result of a lens-typical sharpness drop-off in the corners or from field curvature. The lens is fine, it is not decentered.
- There are major visible differences between the four shots with the subject in the corner. Perhaps two corners are different than the other two, or only one is. The lens is decentered.
If your lens is significantly decentered, you have a few options:
- Return or exchange it
- Send it in for repairs (warranty does cover decentering)
- Keep using the lens and crop/sharpen the corners/edges, or scale down
It is important to note that not all lenses can be easily centred through service, and this process may be imperfect. In some cases, service technicians may lack the proper tools or put in little effort. Therefore, it is recommended to test for decentering immediately after receiving a lens and send it back if significant decentering is found.
Decentering seems to be worse with wide-angle lenses, so it is advisable to test lenses that are shorter than 50mm, especially ultra-wides below 24mm. Additionally, no lens is ever 100% free from decentering, so try not to be too sensitive when evaluating your lens.
Choosing a Camera: Body, Lens, and Compatibility
You may want to see also

Check for sticky aperture blades by cycling from maximum to minimum aperture
When checking a camera lens for sticky aperture blades, it's important to cycle from maximum to minimum aperture to see if the blades are functioning as they should. To do this, set the lens to the lens to the "A" position and actuate the lever on the rear of the lens to open the diaphragm. When you release the lever, the blades should snap shut immediately with no hesitation. If they don't, this could be a sign of sticky aperture blades.
Sticky aperture is usually caused by excess oil or liquified grease leaking into the aperture mechanism. This can happen when the grease used to lubricate the lens breaks down due to age or exposure to high temperatures, causing the solid and liquid components to separate. The liquid oil can then make its way to the aperture blades and cause them to stick together.
It's worth noting that some lenses are more prone to sticky aperture than others, due to the type of oil and grease used, and the amount of grease used. Additionally, sticky aperture blades can also be caused by mechanical problems in the lens, such as damage to the aperture mechanism or a disconnected or worn-out return spring.
If you suspect that your lens has sticky aperture blades, it's recommended to get it repaired or replaced. While it is possible to clean the aperture blades yourself, it requires disassembling the lens and can be a tedious and delicate process.
Exploring the Intricacies of 35mm Camera Lenses
You may want to see also

Check for dust, fungus and scratches by using a point light source
When checking a camera lens for dust, fungus, and scratches, it is important to use a point light source, such as a torch or a strong desk lamp. Remove the lens from the camera and take off the front and rear lens caps.
Hold the lens up to the light source and look through both ends of the lens to spot any dust, fungus, or scratches. If you see anything that looks like a cobweb, ice crystals, or fuzzy spots, this could be a sign of fungus. Small scratches on the front lens are usually not a big issue, but scratches on the rear element are more of a concern as they can affect the overall image quality.
If you see any dust particles, you can try using a lens blower to remove them. If there is fungus, you may need to consult a professional lens technician to determine if the lens can be cleaned.
EF-S Lenses: Full-Frame Camera Compatibility Explored
You may want to see also

Check the zoom, focus and stabilisation mechanisms for any issues
When checking the zoom, focus, and stabilisation mechanisms of a camera lens, there are several factors to consider. Firstly, the zoom mechanism involves various components and parameters that work together to change the focal length and angle of view. The focal length determines the field of view and magnification, with common ranges including 18-55mm, 24-70mm, and 70-200mm. The zoom ratio, calculated by dividing the longest focal length by the shortest, affects the magnification range and image quality, as higher ratios may introduce more optical aberrations.
To evaluate the zoom mechanism, pay attention to the speed and accuracy of zooming. Different types of motors are used in zoom lenses, including stepping motors, direct-drive motors, and voice-coil motors, each offering varying levels of speed, accuracy, and noise. The zoom speed, measured in seconds or milliseconds, refers to the time taken to move between the shortest and longest focal lengths.
Regarding focus, it is important to ensure that the lens can focus accurately. Check both auto and manual focus settings by photographing a small, nearby object and reviewing the images. Examine if the selected focus point is the sharpest, or if the area in front or behind the object is in focus. This process can help identify issues with front or back focus, which may require correction in the camera settings or adjustment by an expert.
Image stabilisation is a crucial feature, especially when shooting in low-light conditions or using long focal lengths. It helps reduce blur caused by camera shake or movement and can be achieved through optical or digital techniques, such as lens shifting, sensor shifting, or software algorithms. The effectiveness of image stabilisation can be measured by the amount of shake reduction, stabilisation accuracy, and stabilisation bandwidth.
Additionally, when evaluating a lens, consider factors such as edge softening, lens distortion, chromatic aberration, and autofocus performance. These aspects can influence the overall image quality and your experience as a photographer.
Defog Your Camera Lens: Quick and Easy Tricks
You may want to see also

Check the mount and filter thread for scratches or damage
When buying a camera lens, it is important to check the mount and filter thread for scratches or damage. The mount is the part of the lens that attaches to the camera body. It usually has a white dot that matches a dot on the camera, which helps you align the lens correctly. Over time, the lens mount can become loose, and you may need to get it serviced by a professional.
When checking the mount, look for scratches, dents, or other signs of damage. The contacts on the mount should also be clean and unworn. These contacts are responsible for the communication between your camera and your lens, so it is important to make sure they are in good condition. A defective mount can also affect the camera's lens mount, so it is important to be cautious when attaching a lens with a damaged mount.
In addition to checking the mount, you should also inspect the filter thread for any damage. The filter thread is typically located on the opposite end of the lens from the mount. It is used for attaching filters or other accessories to the lens. If the filter thread is damaged, it can be difficult or impossible to attach filters or other accessories.
When examining the filter thread, look for any signs of mistreatment, such as scratches, dents, or other damage. Try attaching a filter to the thread to ensure that it can be mounted and removed easily. If the filter thread is damaged, it may be possible to have it repaired by a technician. However, in some cases, it may be more cost-effective to simply replace the lens.
By taking the time to carefully inspect the mount and filter thread, you can help ensure that your camera lens is in good condition and will function properly. This step is especially important when buying a used lens, as it can help you avoid purchasing a faulty or damaged product.
How Lenses Transform Your Camera's Vision
You may want to see also
Frequently asked questions
Sharpness is a subjective measure and it often takes looking at many sample images to see the results from real-world tests. Pay special attention to the entire frame, especially the corners to judge the overall sharpness.
Edge softening refers to the deterioration of sharpness at the corners of an image. This is usually due to the composition and quality of the glass elements within the lens.
Lens distortion is anything that alters the spatial appearance of lines within the frame. There are two main forms of distortion: barrel and pincushion. Barrel distortion is common with wide-angle lenses and appears as a bulged effect. Pincushion distortion is the opposite and occurs when telephoto lenses are zoomed to their maximum magnification.
Chromatic aberration is the technical term for the unsightly discolouration that sometimes occurs around high-contrast areas in a photo. It is evident to some extent in all lenses but is more perceivable at wide or small apertures.
To check for dust, fungus and scratches, use a good point light source. While some level of dust is normal, excessive amounts or large chunks should be a cause for concern.


