Keeping your camera lenses and rubber coating clean is essential for maintaining image quality and ensuring your equipment lasts a long time. While lenses are designed to be durable, the rubber coating is more fragile and prone to degradation over time. To clean the rubberized coating on cameras and lenses effectively, it's crucial to use the right tools and techniques. Here's a step-by-step guide to help you achieve that.
What You'll Learn
![]()
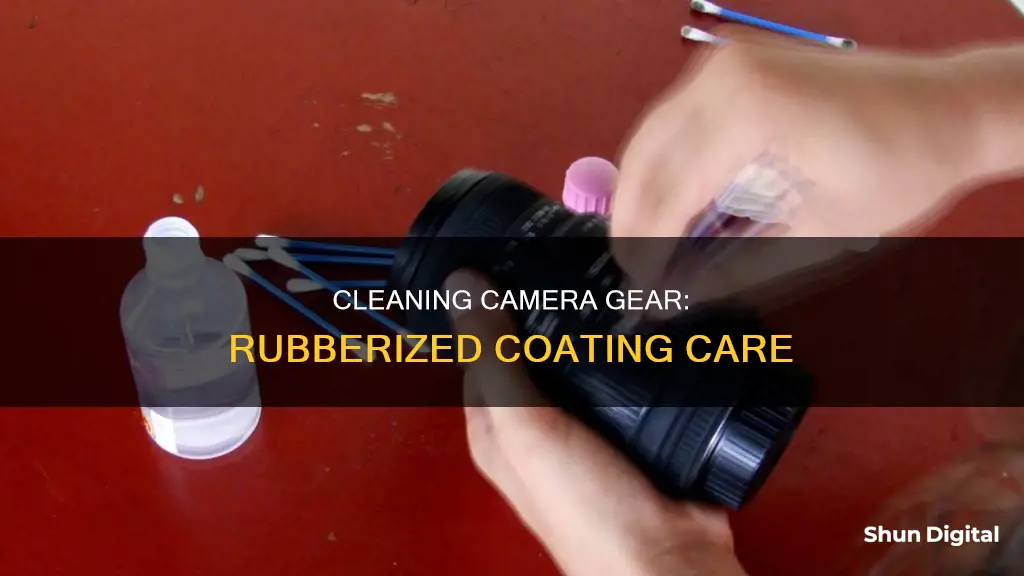
Use a blower to remove loose dust and debris
To clean the rubberized coating on your camera and lenses, it is important to first remove any loose dust and debris from the equipment. This can be done effectively by using a blower.
A blower is a tool that propels air and can be used to remove dust and debris from delicate surfaces such as camera lenses. When using a blower to clean your camera and lenses, it is important to follow these steps:
- Inspect the area you will be working in and remove any potential flying debris that could cause damage to your equipment. This includes items such as fallen branches, sticks, and lightweight outdoor furniture.
- Wear protective gear, including closed-toe shoes, long clothing to cover your arms and legs, and eye protection to shield your eyes from flying debris.
- Visualize your desired outcome and create a plan for how you will direct the airflow to effectively remove the dust and debris from your camera and lenses.
- Hold the blower at a shallow angle to the surface of your camera or lens, and use a smooth back-and-forth motion as you slowly move the blower across the equipment.
- Allow the blower to rest after each interval of use, and then use a rake or vacuum attachment to collect any remaining dust or debris.
By following these steps, you can effectively use a blower to remove loose dust and debris from your camera and lenses, ensuring that they are clean and well-maintained.
Universal Camera Lenses: A Myth or Reality?
You may want to see also
![]()
Use a soft-bristled brush to remove stubborn dust and dirt
When cleaning your camera lens, it is important to first remove as much dust and dirt as possible. This can be done with a blower or a soft-bristled brush. A soft-bristled brush is ideal for removing stubborn dust and dirt from your camera lens.
Soft-bristled brushes are designed to be yielding and gentle, so they won't damage the lens. The bristles should be similar in texture to velvet or cotton, with a smooth and agreeable feel. The brush should also be clean, as any dirt or oil on the bristles could be transferred to the lens.
When using a soft-bristled brush, gently sweep it across the surface of the lens in circular motions. This will help to lift away any dirt or dust particles without applying too much pressure. It is important to be careful and gentle when cleaning your lens to avoid scratching or damaging the surface.
If the lens has oily fingerprints or smudges, you can apply a few drops of lens cleaning solution to a lens tissue or cleaning cloth before gently removing them. Again, use circular motions, working from the centre of the lens outwards.
By following these steps, you can effectively remove dust, dirt, and smudges from your camera lens, ensuring it is clean and ready for use.
Compatibility of Pentax Lenses with Fujica Cameras
You may want to see also
![]()
Apply a lens cleaning solution to a microfiber cloth
When cleaning your camera lens, it is important to use a lens-cleaning solution that is suitable for optical coatings. Apply a drop or two of the lens-cleaning solution to a microfiber cloth. Microfiber cloths are popular for cleaning lenses, but it is important to keep them clean, as they are often used for multiple cleanings. If you wash the cloth, do not use a fabric softener, as this may leave a chemical residue on the cloth and create streaks on the lens.
After applying the solution, use the cloth to gently wipe the lens in a circular motion, working from the outer part of the lens to the centre. This will help to remove fingerprints, oil, smudges, dirt, and dust. It is important to use a light touch when wiping the lens, as too much pressure can damage the lens.
If you do not have a microfiber cloth, you can also use lens tissues or lens-cleaning wipes. However, these should be disposed of immediately after use, as reusing them will only put the dirt back on the lens.
The Camera Power of the Note 9
You may want to see also
![]()
Wipe the lens with the cloth, using a circular motion
When cleaning your camera lens, it's important to use a blower or brush to remove any dust or dirt before you begin wiping the lens with a cloth. This will prevent you from accidentally scratching the lens as you wipe it.
Once you've removed the dust and dirt, you can start wiping the lens with a cloth using a circular motion. Start by applying a few drops of lens cleaning solution to a lens tissue or cleaning cloth. Then, using a circular motion, gently wipe the lens surface, working from the centre outwards. This will help to remove any oil, fingerprints, and grime from the lens.
It's important to be gentle when wiping the lens, as too much pressure can damage the lens coating. You should also avoid using too much cleaning fluid, as excess fluid can flow inside the camera and damage the optics.
By following these steps, you can effectively clean your camera lens and keep it in good condition.
Tomorrow's Eclipse: Camera Lenses at Risk?
You may want to see also
![]()
Buff off any remaining residue with a clean, dry cloth
Buffing off any remaining residue with a clean, dry cloth is the final step in cleaning the rubberized coating on cameras and lenses. This step is crucial to ensure that no dirt or residue is left behind, which could otherwise attract dust and grime and defeat the purpose of cleaning.
When buffing, use gentle, circular motions with a soft microfiber cloth. Ensure the cloth is clean and dry, as any moisture or dirt on the cloth can be transferred to the rubber surface, defeating the purpose of the cleaning process.
It is also important to note that some sources recommend using a conditioner specifically designed for the type of rubber being cleaned. This can help restore the rubber's suppleness and protect it from future degradation. However, it is always a good idea to spot test any conditioner on a small area first to ensure it does not cause discolouration or further damage.
Additionally, it is worth mentioning that this buffing step should only be performed after the previous steps of cleaning have been completed. These steps typically include using a blower or brush to remove loose dust and debris, followed by a cleaning solution and a microfiber cloth to wipe away any remaining dirt, oils, or smudges.
By following these steps and taking care during the buffing process, photographers can effectively clean the rubberized coating on their cameras and lenses, ensuring their equipment remains in good condition and producing high-quality images.
Lens Specification for Crop Sensor Cameras: What You Need to Know
You may want to see also
Frequently asked questions
Use 90% isopropyl alcohol or methylated spirits to remove the rubber coating. Be careful not to let the alcohol drip into the camera's joints or electronics.
You will need a blower, soft-bristled brush, microfiber cloth, lens cleaning tissues, and lens cleaning liquid.
First, use a blower and a soft-bristled brush to remove dust and debris. Then, apply a few drops of lens cleaning liquid to a lens tissue or microfiber cloth and gently wipe the lens surface in a circular motion, working from the centre outwards. Finally, use a clean, dry lens tissue or microfiber cloth to remove any remaining moisture.
Always attach the lens cap when your camera is not in use and store your lenses in a clean, sealed camera bag or pouch. Avoid placing your lenses in dusty areas or leaving them uncovered on open shelves.