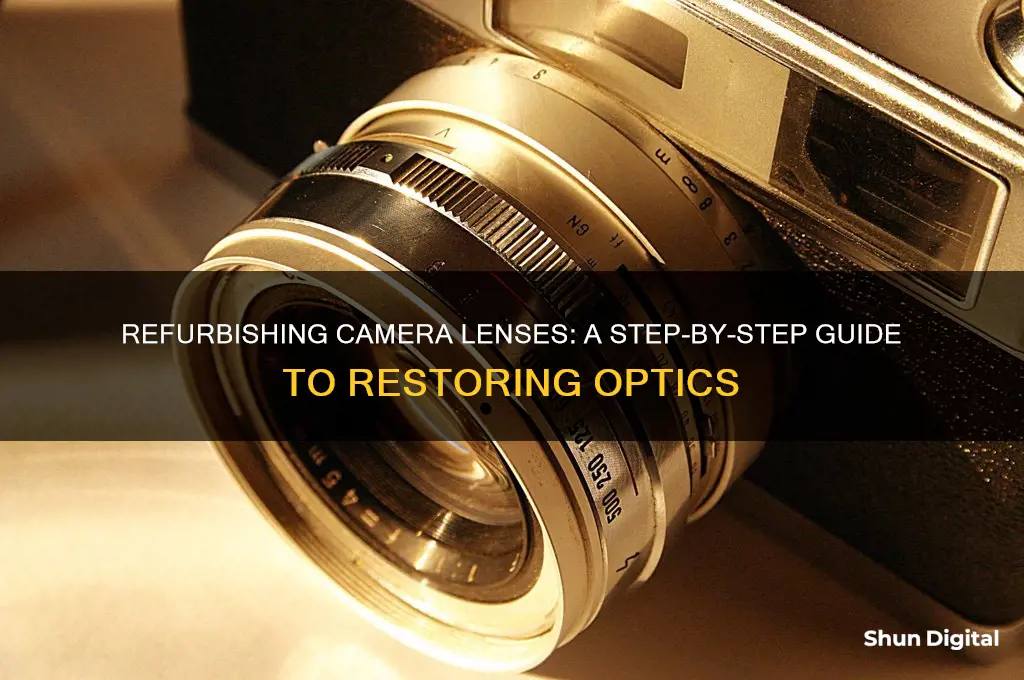
Camera lenses are notoriously fragile, and it can be challenging to repair them without causing further damage. While some people may attempt DIY repairs, it is generally recommended to seek professional help to avoid doing more harm than good. Here are some tips and guidelines on how to refurbish camera lenses:
Tools and Materials Needed:
- Screwdrivers: Precision screwdrivers with interchangeable heads are ideal, as camera lenses have tiny screws.
- Lens spanner wrench: This tool helps unscrew the retaining rings holding the lens elements.
- Lens cleaning solution: Use a specialised solution to clean the lens elements without causing damage.
- Microfibre cloth: For wiping away dust and smudges.
- Lens blower: Removes dust from hard-to-reach areas.
- Lens repair tape: Secures loose elements and holds parts together during repair.
Common Camera Lens Problems:
- Scratched lens elements: Examine the lens under bright light to identify scratches, which can reduce image quality.
- Loose lens mounts: The lens may wobble or not attach securely to the camera body.
- Broken lens elements: Dropping or impacting the lens can result in cracked or broken elements, leading to blurry or distorted images.
Disassembling the Lens:
- Remove the lens cap and any filters.
- Carefully remove screws holding the lens barrel with the appropriate screwdriver.
- Separate the lens barrel into components, noting the order for reassembly.
- Use the lens spanner wrench to unscrew retaining rings, then lift out each lens element.
- Inspect each element for scratches or damage.
Cleaning and Repairing Lens Elements:
- Use a lens blower to remove dust.
- Apply lens cleaning solution to a microfiber cloth and gently wipe each element in a circular motion.
- For stubborn smudges, use a lens cleaning pen or tissue.
- To repair scratches, use a lens polishing compound with a microfiber cloth, rubbing in a circular motion until scratches disappear. Alternatively, use a DIY lens repair kit with filler material.
Fixing Loose or Broken Lens Mounts:
- Tightening a loose lens mount: Remove screws holding the mount, apply thread-locking adhesive, and reinsert the screws.
- Repairing a broken lens mount: This may require replacing the mount, a complex task best left to professionals.
Reassembling the Lens:
- Refer to your disassembly notes to ensure proper stacking order.
- Take your time and use lens repair tape to hold loose components in place.
- Avoid rushing, as this can lead to further damage or misalignment.
Testing the Repaired Lens:
- Mount the lens on the camera body to check for stability.
- Test autofocus to ensure it works accurately and quickly.
- Take test shots with different settings, examining the images for abnormalities.
Preventing Future Lens Damage:
- Use lens caps and filters to protect lens elements.
- Handle the lens gently, avoiding drops or impact.
- Store the lens in a protective case or bag when not in use.
- Clean the lens regularly with a blower and microfiber cloth, avoiding harsh cleaning solutions.
When to Seek Professional Repair:
- Extensive damage, such as multiple broken elements or a severely damaged lens mount.
- Lack of experience or understanding of lens mechanics.
- Warranty coverage: Contact the manufacturer or authorised repair centre to avoid voiding the warranty.
| Characteristics | Values |
|---|---|
| Tools and Materials | Screwdrivers, lens spanner wrench, lens cleaning solution, microfiber cloth, lens blower, lens repair tape |
| Common Problems | Scratched lens elements, loose lens mounts, broken lens elements |
| Step-by-Step Guide to Disassembling | Remove lens cap and filters, unscrew lens barrel, separate components, unscrew retaining rings, lift out lens elements, inspect for scratches or damage |
| How to Clean and Repair Scratched or Damaged Lens Elements | Use lens blower, apply lens cleaning solution with microfiber cloth, use lens polishing compound or DIY lens repair kit |
| Fixing Loose or Broken Lens Mounts | Tighten with screwdriver and thread-locking adhesive, or replace with new lens mount |
| Reassembling Tips | Refer to notes, take your time, use lens repair tape |
| Testing Repaired Lens | Mount lens, test autofocus, test image quality |
| Preventing Future Damage | Use lens caps and filters, handle with care, store properly, clean regularly |
| When to Seek Professional Repair Services | Extensive damage, lack of experience, warranty coverage |
What You'll Learn

Tools and Materials
Before you begin repairing your camera lens, it is essential to gather the necessary tools and materials. Here is a list of some essential items you will need:
Screwdrivers
A set of precision screwdrivers with interchangeable heads is ideal for camera repairs, as they come in various sizes to fit different screws. Be sure to get JIS (Japanese Industrial Standard) when repairing Japanese equipment. Never buy cheap ones, as they are flimsy and may harm your gear. Vessel is a good brand that is not expensive and well-made.
Lens Spanner Wrench
This tool is used to unscrew the retaining rings that hold the lens elements in place. The workman's compass has the same function but there will be times when a lens opener is the correct tool for a job.
Lens Cleaning Solution
A specialised lens cleaning solution is necessary to clean the lens elements without causing damage.
Microfibre Cloth
This cloth is used to wipe away dust and smudges from the lens surface.
Lens Blower
A lens blower is used to remove dust particles from hard-to-reach areas of the lens.
Lens Repair Tape
This tape is used to secure loose lens elements or hold parts together during the repair process.
These tools and materials can be purchased from various online retailers or camera repair shops. It is important to invest in high-quality tools to ensure that you can effectively repair your camera lens without causing further damage.
Other Tools and Materials
- Precision micro screwdrivers
- Regular drivers
- Friction wrenches
- Lens sucker
- Blower
- Pipe-key
- Lens vise
- Grease
- Lens tissue
- Tweezers
- Solvents
- Acetone
- Shellac
- Dremel and its stand
- Tin containers
- Micro screw-extractor
- Drill bits
- Hand taps
- Denatured alcohol
- Nail polish remover
- Q-tips
- Hydrogen Peroxide & Ammonia
- Cerium Oxide
- LED lamp
- Files and sandpaper
- Rubber gloves
- Rubber mallet
- Rubber bottle opener
- Multi-meter
- Hobby knife
- Contact cement
- Nail polish
- Micro-meter
Best Places to Sell Your Camera Lenses Online
You may want to see also

Common Problems and Identification
Camera lenses are fragile and require careful handling. Here are some common problems you may encounter and how to identify them:
Physical Damage: Check for any physical damage by turning the zoom and focusing rings. Listen for any unusual sounds and look for any resistance or unevenness in the movement. Also, examine the front element of the lens for scratches or other damage.
Sealing and Mount Issues: Inspect the sealing of the lens and the lens mount for any scratches, corrosion, or damage. Ensure that the lens mount is secure and intact.
Autofocus Problems: Put the lens on your camera and test the autofocus function. Take some test shots and check for issues such as uneven focus, lack of sharpness, or excessive chromatic aberration and vignetting.
Sharpness and Focus Issues: Use a tripod to perform a sharpness test by photographing a flat, parallel subject or downloading a sharpness test image. Check if the centre point remains in the centre during focusing and defocusing, and ensure that both sides of the image are in focus simultaneously.
Focus Accuracy: Use a calibration chart to perform a focus accuracy test to determine if your lens is back or forward-focusing. Many lenses can be fine-tuned in-camera or using lens software.
Error Messages: If your lens is displaying error messages, it could indicate a software issue. Try updating the firmware to resolve the problem.
Scratches on Front Element: Scratches on the front element can cause halos or artefacts in your images. Try using scratch-removing wax and a small polisher to buff out superficial scratches. For deeper scratches, you may need to replace the front element, which is a delicate procedure best left to professionals.
Stiff or Stuck Rings: If the focus or zoom ring is stiff, stuck, or difficult to turn, it may require cleaning or lubrication. This issue is commonly resolved by disassembling the lens and applying the appropriate lubricant to the affected areas.
Water Damage: Water ingress can cause corrosion and damage to the internal components of the lens. If your lens has been exposed to water, it is important to dry it thoroughly and inspect for any signs of corrosion or damage.
Corrosion: Corrosion can affect electrical contacts, lens elements, and other metal parts. It is often caused by water damage or exposure to humid environments. Corroded parts may need to be cleaned or replaced.
Broken or Damaged Filters: If a filter is stuck or broken, it can be challenging to remove. Special tools such as filter wrenches or rubber gloves may be needed to safely remove the filter without damaging the lens.
Lens Software Issues: Some lenses have software that can be used to adjust settings or perform calibrations. If you are experiencing issues with your lens software, ensure that you have the latest version installed and that all settings are configured correctly.
Remember to always handle your lenses with care and store them in a safe place when not in use. Regular cleaning and maintenance can also help extend the life of your lenses and prevent some of these common issues.
Cleaning Your SLR Camera Lens: A Step-by-Step Guide
You may want to see also

Disassembling the Lens
Tools and Materials
Before you begin, ensure you have the right tools and materials. You will need:
- A set of precision screwdrivers with interchangeable heads
- A lens spanner wrench
- Lens cleaning solution
- Microfibre cloth
- Lens blower
- Lens repair tape
- Remove the lens cap and any filters attached to the front of the lens.
- Remove the screws that hold the lens barrel together.
- Gently separate the lens barrel into its individual components, noting the order in which the components are stacked for reassembly.
- Use the lens spanner wrench to unscrew the retaining rings that hold the lens elements in place. Be careful not to use too much force, as this can damage the lens elements.
- Once the retaining rings are removed, carefully lift out each lens element and place them on a clean, lint-free surface.
- Inspect each lens element for scratches or damage.
- Continue disassembling the lens until all components are separated.
It is important to take your time during the disassembly process and handle each component with care. Avoid applying excessive force or twisting motions, as this can cause damage to the lens.
Amazon Prime Day: Camera Lenses Included in the Sale?
You may want to see also

Cleaning and Repairing Lens Elements
The condition of your camera lenses is a major factor affecting image quality. Clean lenses produce sharp and crisp photos and tend to last longer than dirty lenses. Therefore, it is important to protect your camera lenses and ensure they are well-maintained. Below are some tips on cleaning and repairing lens elements.
Testing Your Lens for Damage
Before attempting to clean or repair your lens, it is important to determine whether it is damaged. Start by researching online and comparing your lens with others of the same model. Check forums and manufacturer websites for sample photos and user discussions to identify any issues with your lens. You can also visit a local photography store to test the lens. Additionally, inspect the lens for any physical damage, such as scratches on the glass elements or the lens body.
Cleaning Your Lens
When cleaning your lens, use a manual air blower to remove dust and a soft-bristled brush to keep the lens scratch-free. Avoid using your breath, as the acids in it can damage lens coatings. Instead, invest in a high-quality camera cleaning kit with microfiber cloths and lens wipes. Ensure the microfiber cloth is clean and never use fabric softener when washing it, as the chemicals can damage the lens coating. Use a small amount of lens cleaning solution to remove fingerprints and smudges without leaving streaks. Always attach the lens cap when your camera is not in use and store your lenses in a camera bag to prevent dust buildup.
Repairing Lens Elements
If your lens is damaged, it is recommended to seek professional help. However, if you wish to attempt repairs yourself, there are some common issues you can address. For scratches on the front element, use a scratch-removing wax and a small polisher drill to buff the element. This technique may remove the coating, so proceed with caution. If the scratch is deep, you may need to replace the front element, which requires disassembling the lens. In this case, it is best to refer to specific instructions for your lens model.
For a broken lens mount, you can typically unscrew the damaged part and replace it with a new one. Ensure you keep the contact plate in place to maintain communication between the camera and the lens. When replacing parts, always use high-quality tools and precision screwdrivers to avoid further damage.
Sigma Lenses: Compatible with Full-Frame Cameras?
You may want to see also

Fixing Loose or Broken Lens Mounts
Lens mounts are one of the most common parts of a camera to break when dropped. The good news is that they are usually easy to replace, and the parts are affordable. However, if you want to replace the lens mount yourself, you will need to follow the specific instructions for your lens or brand. Typically, you will need to unscrew the damaged part and screw back in the new one.
Step-by-Step Guide to Replacing a Lens Mount
- Unscrew the damaged lens mount: This is usually done by turning the lens mount in a counter-clockwise direction. Be sure to keep track of any small parts or screws that may come loose during this process.
- Remove the old contact plate: The contact plate is how the camera and lens communicate. It is usually held in place by small screws or clips. Be very careful when removing the contact plate, as it is delicate and can be easily damaged.
- Insert the new contact plate into the new lens mount: Make sure that the contact plate is securely attached to the new lens mount before screwing it into place.
- Screw the new lens mount into place: This is usually done by turning the lens mount in a clockwise direction until it is tight. Be careful not to overtighten the lens mount, as this can damage the threads or strip the screws.
Tips for Replacing a Lens Mount
- It is important to keep the contact plate in place when replacing a lens mount. If the contact plate is not secure, the camera and lens will not be able to communicate properly.
- When purchasing a replacement lens mount, make sure to get the correct size and type for your specific lens and camera model.
- If you are unsure how to replace the lens mount yourself, it is best to take it to a professional or authorised repair centre.
- To prevent lens mount damage, use a UV filter to protect the front element of your lens and store your camera and lenses in a padded bag.
Camera Lenses: Do They Age Like Wine or Rust?
You may want to see also
Frequently asked questions
Camera lenses can experience a range of issues, from scratches on the lens elements to loose or broken lens mounts. Other problems include broken lens elements due to impact or drops, and issues with autofocus and image quality. It is important to identify these problems before attempting any repairs.
You will need a set of precision screwdrivers with interchangeable heads, a lens spanner wrench, lens cleaning solution, a microfiber cloth, a lens blower, and lens repair tape. Invest in high-quality tools to ensure effective repairs without causing further damage.
Disassembling a camera lens requires patience and precision. Start by removing the lens cap and any filters, then carefully remove the screws holding the lens barrel together. Separate the lens barrel into its components, noting the order for reassembly. Use a lens spanner wrench to unscrew the retaining rings and gently lift out each lens element.
Use a lens blower to remove dust, then apply lens cleaning solution to a microfiber cloth and gently wipe the lens elements in a circular motion. For repairs, use a lens polishing compound with a microfiber cloth, rubbing it onto the scratched area until scratches disappear. Alternatively, use a DIY lens repair kit with filler material.
For a loose lens mount, tighten the screws with a screwdriver and apply thread-locking adhesive. If the lens mount is broken, it may need to be replaced, which is a complex repair that may require professional assistance.


